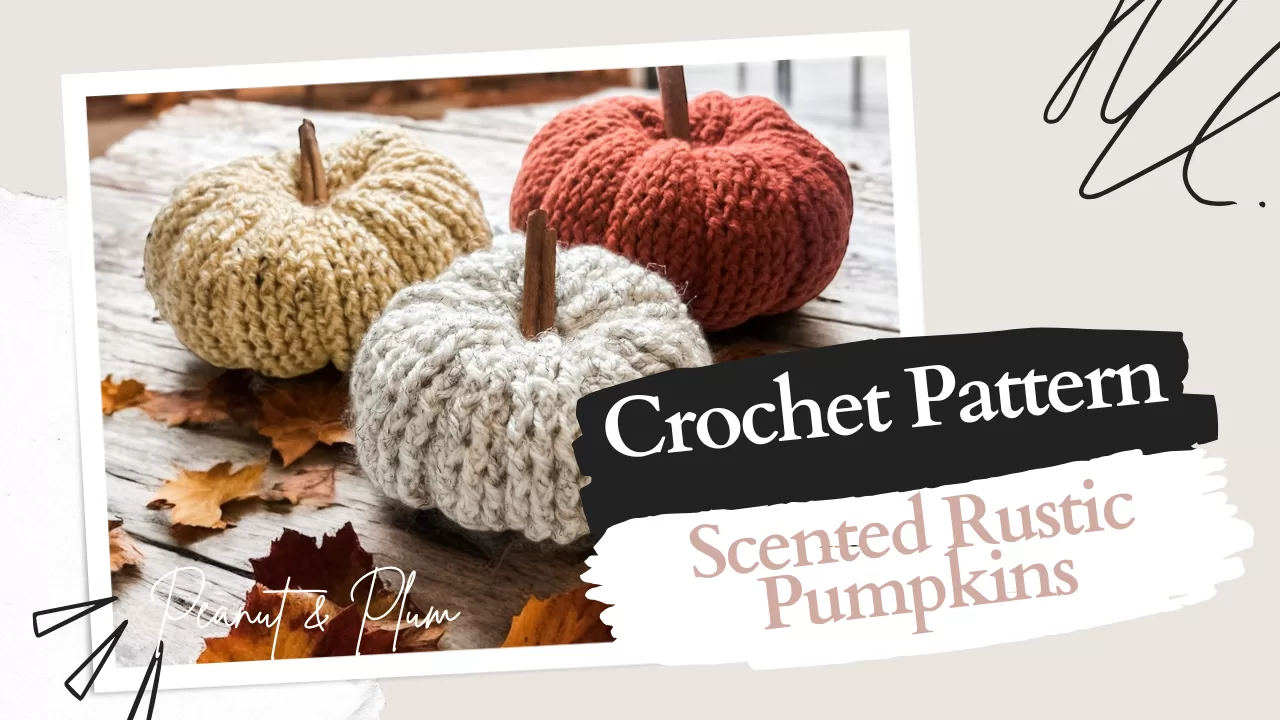
Free Crochet Pumpkin Pattern – Easy Fall Decor + Video Tutorial
Crochet Pumpkin Pattern
Easy Crochet Fall Decor Ideas
Easy Crochet Fall Decor Ideas
This free crochet pumpkin pattern is perfect for creating cosy autumn and fall decor. If you’re decorating your home, making gifts, or adding seasonal touches, these easy crochet pumpkins are beginner-friendly, quick to make, and beautifully rustic.
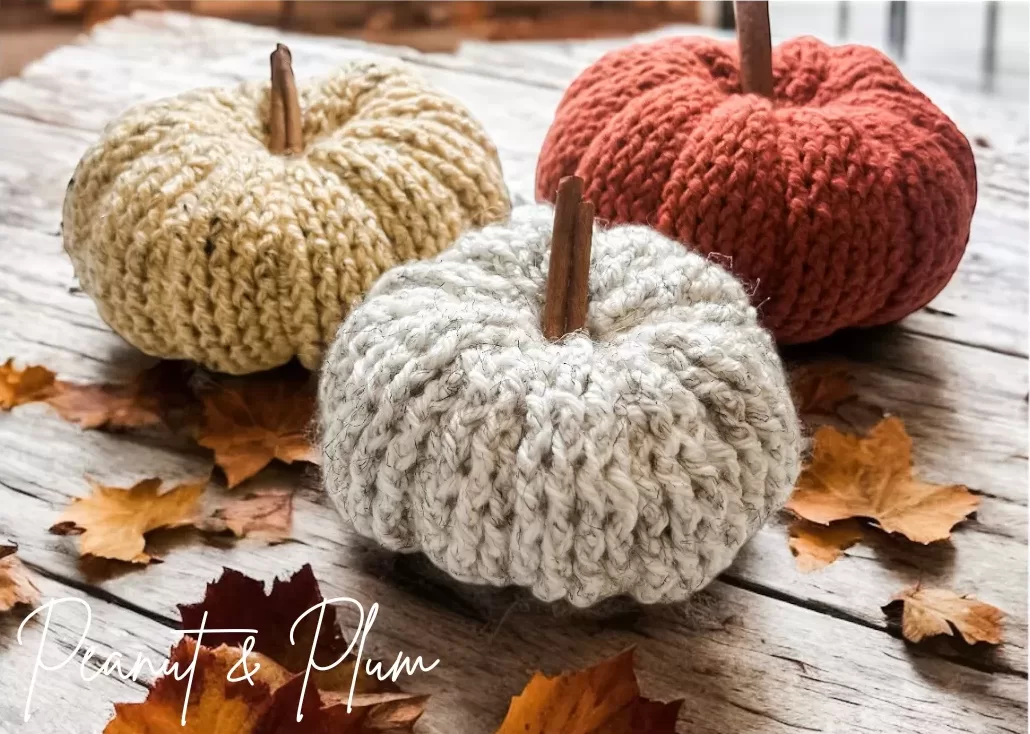
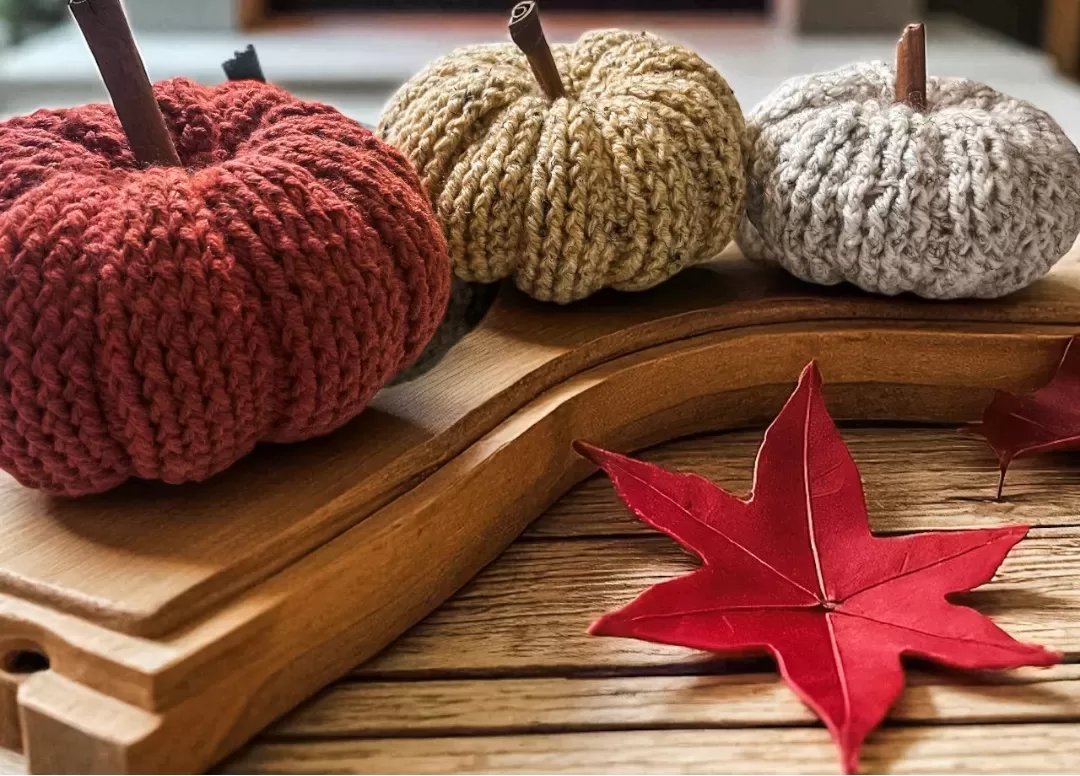
Nothing says autumn quite like handmade Crochet Pumpkins. Picture a cosy home filled with warm yarn tones, cinnamon stick stems, and the comforting scent of spice. These rustic scented pumpkins double up as beautiful seasonal decorations and natural holiday air fresheners, making them perfect for mantels, shelves, tablescapes, gifts, and market makes. They’re simple, charming, and one of those little projects that instantly makes your home feel more seasonal.
This post includes affiliate links. These links are carefully chosen by me to help make your Crochet project as simple and enjoyable as possible. If you purchase through one of these links, I may earn a small commission at no extra cost to you.
Quick Pattern Info
Skill level: Easy / Beginner Friendly
Yarn: Aran or worsted weight yarn
Yarn used: King Cole Big Value Aran
Colours: Rust, Honeysuckle & Berber
Hook: 5mm
Stitches: US DC / UK TR, FPDC / FPTR, SC decrease / UK DC decrease
Sizes: Small, Medium & Large pumpkins
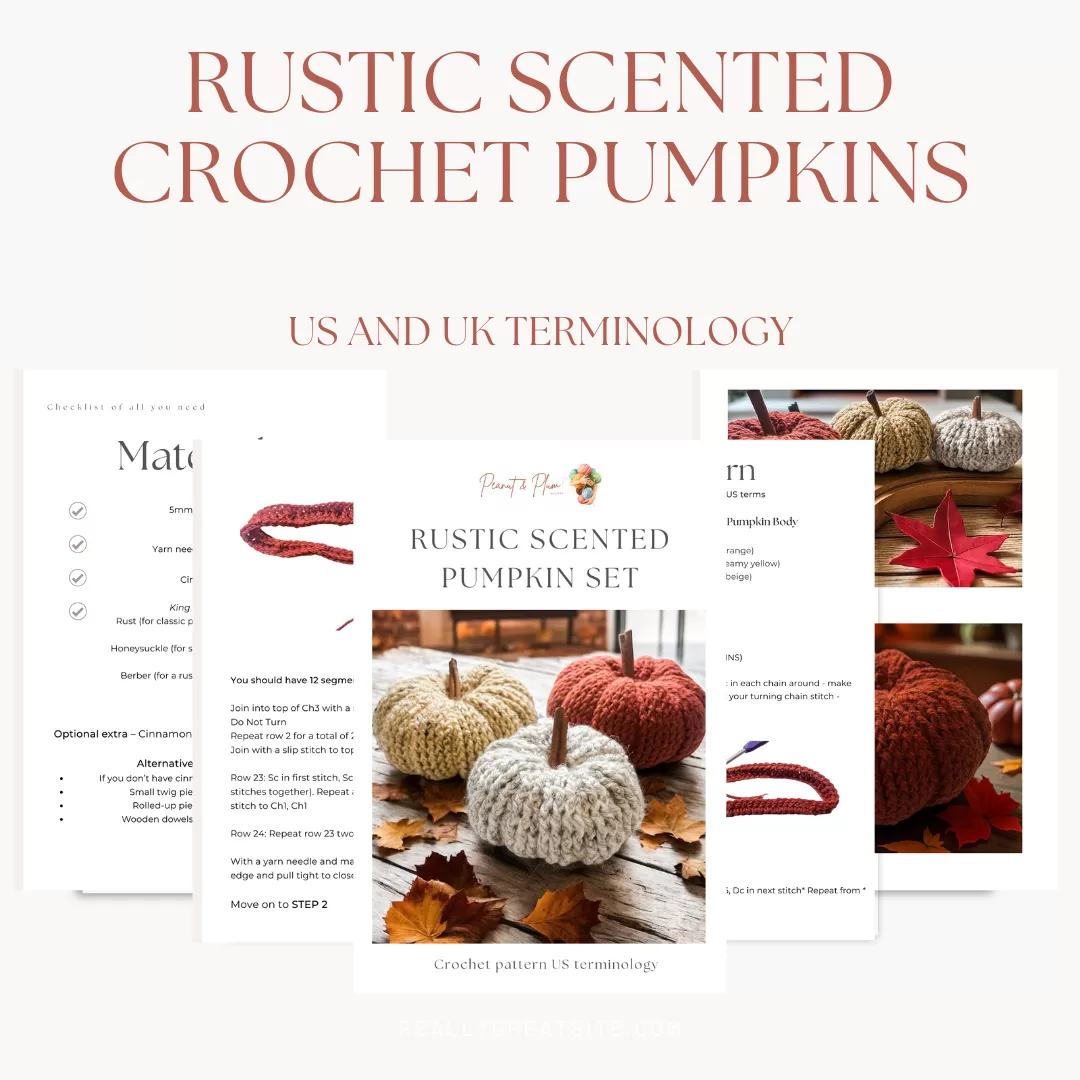
What’s Included
The printable PDF includes three pumpkin sizes, UK and US terminology, step-by-step stitch explanations, photo guidance, yarn suggestions, customisation tips, and a full video tutorial link to help you make a rustic scented pumpkin set with confidence.
Why You’ll Love This Crochet Pumpkin Pattern
This beginner-friendly crochet pumpkin pattern walks you through making a rustic cinnamon-scented pumpkin set using simple stitch variations. If you’re new to crochet, these pumpkins are forgiving, quick to make, and use very little yarn, making them a lovely seasonal project for building confidence.
They are also perfect for experienced crocheters who want a satisfying stash-busting make. You can create a whole pumpkin patch in different sizes, colours, textures, and yarn weights, then use them year after year as part of your autumn decor.
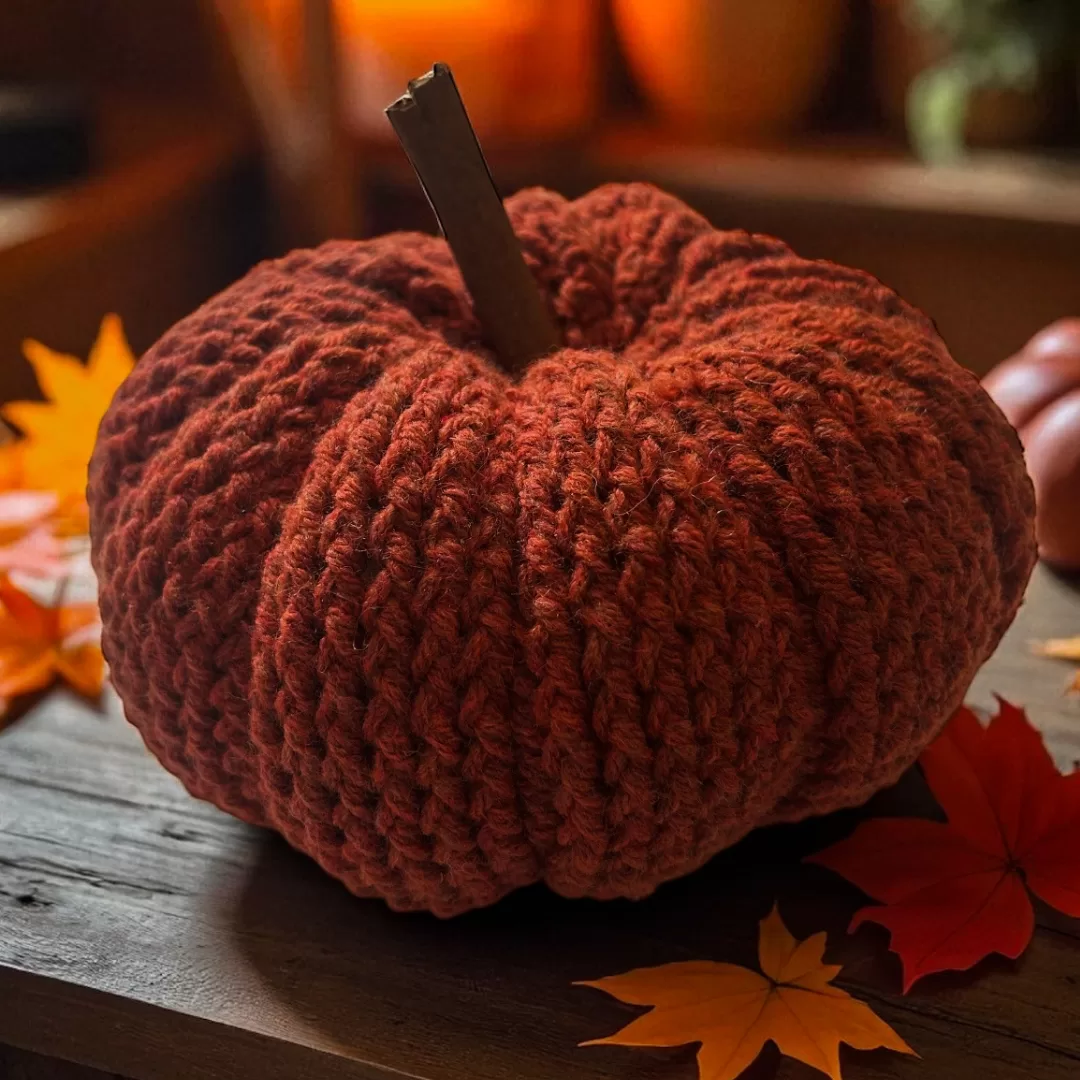
How the stitch works: raised front post stitches create the ribbed pumpkin texture, while simple double crochet sections build the body quickly. The pumpkin is then gathered, stuffed, shaped, and finished with a cinnamon stick stem for that rustic farmhouse look.
The cinnamon stick stems are more than decorative. They add a gentle seasonal fragrance and can be refreshed each year with a little cinnamon or clove essential oil.
Key Features
- Beginner-friendly seasonal crochet project
- Uses simple US DC / UK TR stitch variations
- Raised ribbed texture for a realistic pumpkin shape
- Great stash-busting project
- Includes small, medium, and large pumpkins
- Finished with real cinnamon stick stems
- Quick enough for gifts, markets, and autumn displays
The Yarn and Feel
These crochet pumpkins were made using King Cole Big Value Aran in rustic autumn tones: Rust for classic pumpkin orange, Honeysuckle for a soft creamy yellow, and Berber for a neutral farmhouse beige. Together, they create a warm earthy palette that works beautifully for autumn decorating.
Aran or worsted weight yarn gives the pumpkins enough structure to hold their shape while still being soft and easy to gather. You can use leftover yarn scraps, experiment with textured yarns, or make a full matching set from one colour palette.
Gauge is not as critical for this project as it would be for clothing. The most important thing is creating a fabric that feels firm enough to hold stuffing without large gaps, while still being flexible enough to gather into a plump pumpkin shape.
Yarn Alternatives
If you cannot find King Cole Big Value Aran, any aran or worsted weight yarn will work well. For chunkier or finer yarns, adjust your hook size and follow the same shaping technique.
- Stylecraft Special Aran
- Paintbox Yarns Simply Aran
- Hayfield Bonus Aran
- Lion Brand Vanna’s Choice
- Loops & Threads Impeccable

For a larger statement pumpkin, try chunky yarn with a larger hook. For mini pumpkins, use DK yarn and a smaller hook. Slight variations in size, shape, and tension add to the handmade farmhouse charm.
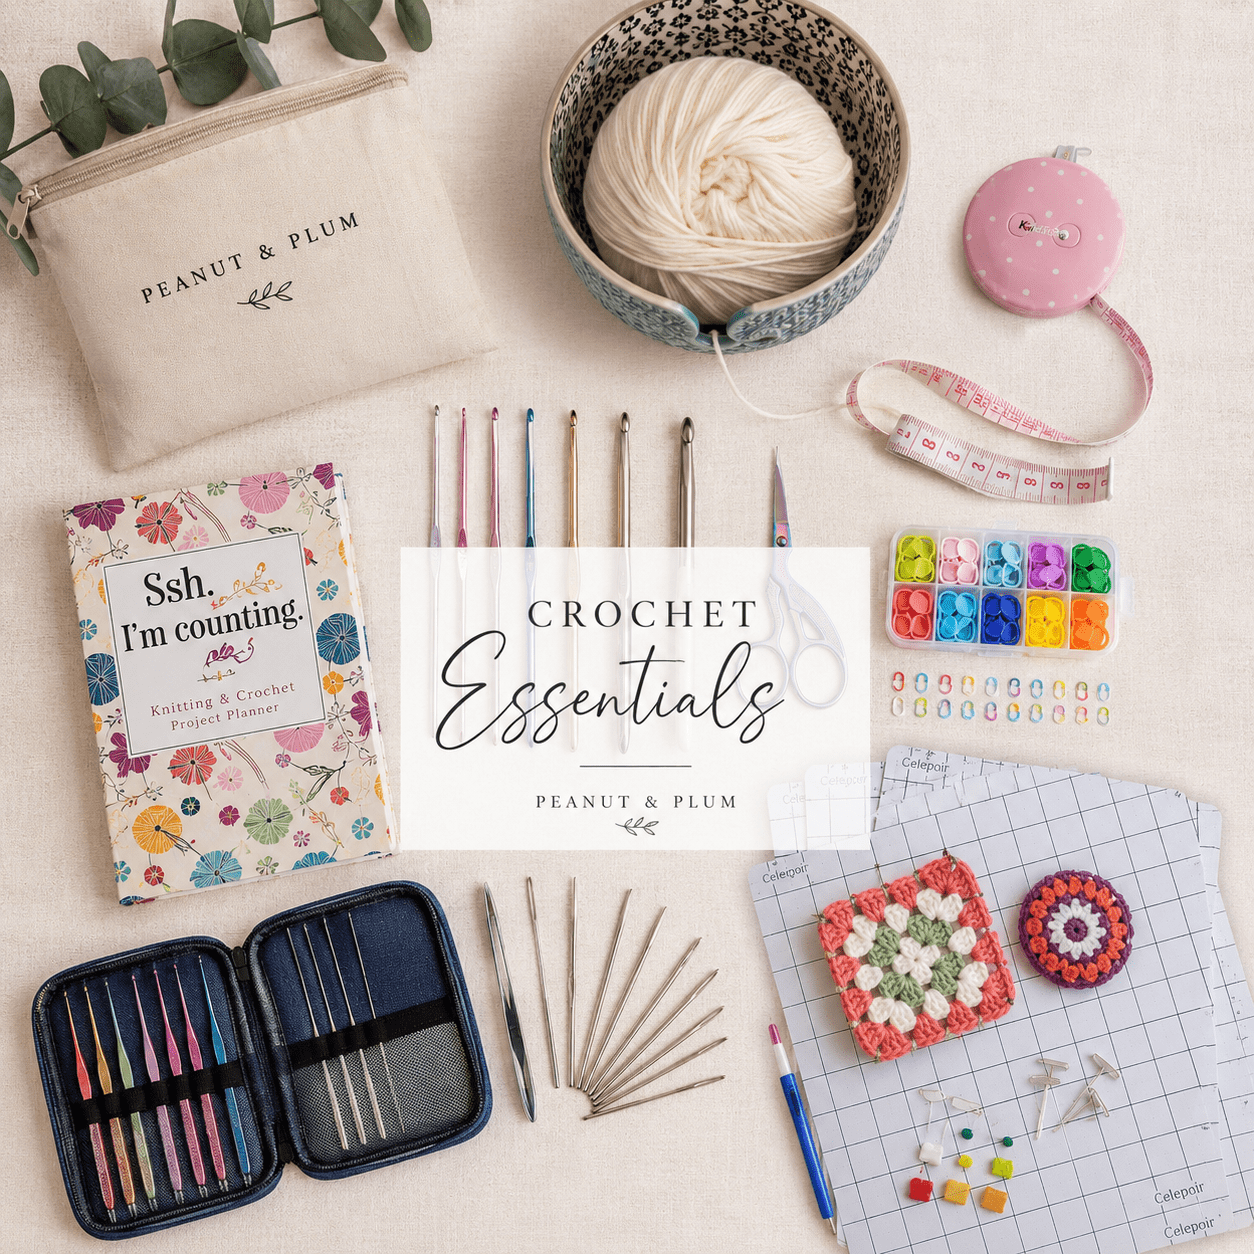
Shop the Full Supply List
I’ve linked helpful Crochet tools and supplies for this project, including hooks, stitch markers, yarn needles, scissors, stuffing tools, and finishing supplies to make getting started nice and simple.
Everything is gathered in one easy place on Amazon so you can get started without hunting around.
Stitches Used in This Crochet Pumpkin Pattern
This pumpkin pattern uses simple stitches with textured post-stitch placement to create the raised pumpkin ridges. The pattern includes UK and US stitch terms so you can follow the version that feels most familiar.
UK Crochet Terms
Double Crochet: Insert hook into the stitch, yarn over, pull up a loop, yarn over and pull through both loops. Used for decreases and shaping.
Treble Crochet: Yarn over, insert hook into the stitch, pull up a loop, yarn over and pull through two loops twice.
Front Post Treble Crochet: Work around the post of the stitch from the row below to create raised ribbing.
US Crochet Terms
Single Crochet: Insert hook into the stitch, yarn over, pull up a loop, yarn over and pull through both loops. Used for decreases and shaping.
Double Crochet: Yarn over, insert hook into the stitch, pull up a loop, yarn over and pull through two loops twice.
Front Post Double Crochet: Work around the post of the stitch from the row below to create raised ribbing.
If you can work a US Double Crochet / UK Treble Crochet and learn a simple front post placement, you can make these pumpkins.
Pumpkin Sizes and Customising Tips
The beauty of this pattern is that you can make your pumpkins in different sizes. To make larger pumpkins, chain more stitches and work more rows. For smaller pumpkins, chain fewer stitches and work fewer rows.
Small: approximately 38cm wide x 15cm high
Medium: approximately 44cm wide x 17cm high
Large: approximately 52cm wide x 19cm high
Your pumpkin circumference should be roughly twice as wide as it is tall to create that plump pumpkin shape. Gauge is flexible here, so focus more on the finished shape and fabric density than exact stitch tension.
Common Mistakes to Avoid
- Twisting the starting chain before joining in the round
- Stuffing too firmly, which can stretch the stitches
- Using a hook too large and creating gaps in the fabric
- Pulling the shaping yarn too tightly and distorting the pumpkin
- Forgetting to secure the cinnamon stick stem if the pumpkin will be handled often
Skill builder: this pattern helps you practise working in the round, front post stitches, simple decreases, gathering, shaping, and finishing a decorative crochet project neatly.
Crochet Pumpkin Video Tutorial
To make this pattern even easier, a step-by-step crochet-along video tutorial is available. Whether you’re a visual learner or just want extra guidance, the video walks you through each stage — from working the pumpkin to shaping, stuffing, and finishing with a cinnamon stick stem.
Free Crochet Pumpkin Pattern
Notes: Pattern is written in US terms with UK terms in brackets. Be careful not to twist your starting chain when joining in the round.
Large Pumpkin
Beginning chain: Ch 85, join into first ch with a slip stitch. Row 1: Ch 3, working in the round, dc (tr UK) in each chain around — 84 stitches. Ch 3. Do not turn. Row 2: FPdc (FPtr UK) 6, dc (tr UK) in next stitch, *FPdc (FPtr UK) 6, dc (tr UK) in next stitch* repeat from * around. You should have 12 segments with 6 raised front posts in each. Join into top of ch 3 with a slip stitch, ch 3. Do not turn. Repeat row 2 for a total of 23 rows. Row 24: sc (dc UK) in first stitch, sc (dc UK) in next 4 stitches, sc decrease (dc decrease UK). Repeat around, sc (dc UK) in last stitches. Join with slip stitch to ch 1, ch 1. Row 25: repeat row 24. Move on to stuffing and shaping.
Medium Pumpkin
Beginning chain: Ch 73, join into first ch with a slip stitch. Row 1: Ch 3, working in the round, dc (tr UK) in each chain around — 72 stitches. Ch 3. Do not turn. Row 2: FPdc (FPtr UK) 6, dc (tr UK) in next stitch, *FPdc (FPtr UK) 6, dc (tr UK) in next stitch* repeat from * around. You should have 12 segments with 6 raised front posts in each. Repeat row 2 for a total of 18 rows. Row 19: sc (dc UK) in first stitch, sc (dc UK) in next 4 stitches, sc decrease (dc decrease UK). Repeat around. Row 20: repeat row 19. Weave around the bottom open edge and pull tight to close.
Small Pumpkin
Beginning chain: Ch 60, join into first ch with a slip stitch. Row 1: Ch 3, working in the round, dc (tr UK) in each chain around — 59 stitches. Ch 3. Do not turn. Row 2: FPdc (FPtr UK) 6, dc (tr UK) in next stitch, *FPdc (FPtr UK) 6, dc (tr UK) in next stitch* repeat from * around. You should have 12 segments with 6 raised front posts in each. Repeat row 2 for a total of 14 rows. Row 15: sc (dc UK) in first stitch, sc (dc UK) in next 4 stitches, sc decrease (dc decrease UK). Repeat around. Row 16: repeat row 15. Weave around the bottom open edge and pull tight to close.
Stuff, Shape and Finish
- Turn the piece right-side out and fill with stuffing until plump but not overstretched.
- Add a little cinnamon powder or spiced essential oil if you want extra fragrance.
- Weave along the open edge and pull to close securely.
- Push a real cinnamon stick into the centre top as the stem. Add a dab of hot glue if needed.
- For extra definition, use a long yarn strand to wrap through the centre and around the outside ridges, pulling gently to shape.
Styling Ideas
- Arrange them in a wooden bowl or wicker basket with pinecones and leaves.
- Place them on a mantelpiece beside candles for a warm autumn glow.
- Add them to a table centrepiece with fairy lights for cosy seasonal dinners.
- Use them as gift toppers for autumn wrapping.
- Refresh the scent each year with cinnamon or clove essential oil.
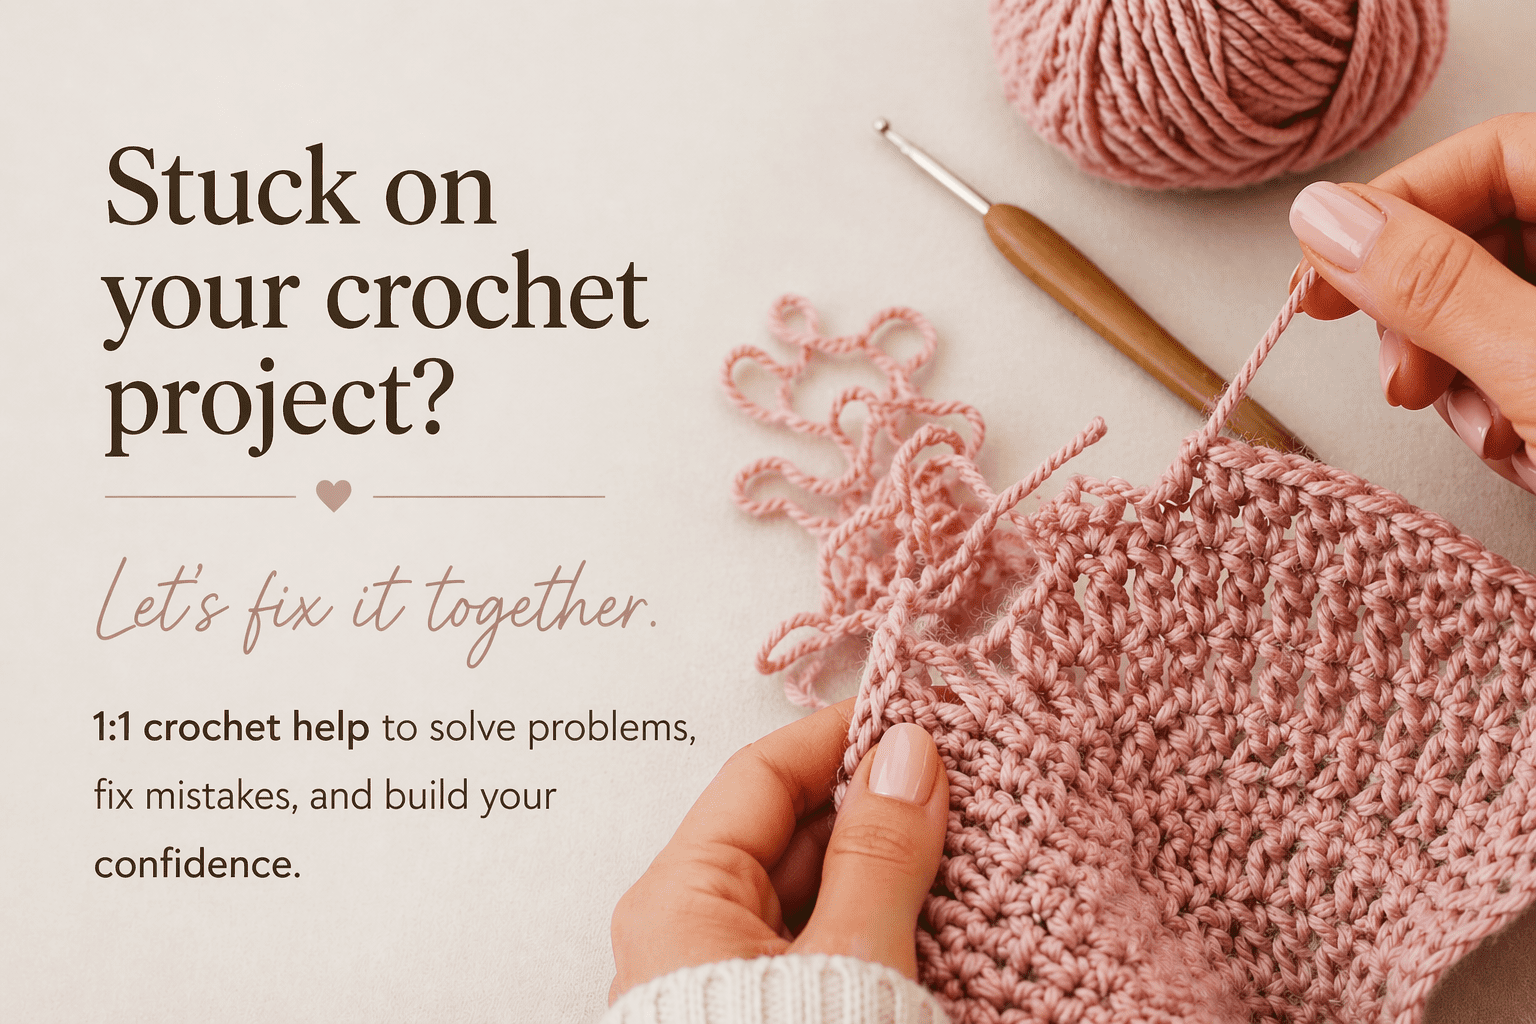
Need Extra Help?
Stuck On
Your
Pumpkins?
If you get stuck on stitch placement, shaping, stuffing, finishing, or understanding the instructions, you can book a 30-minute 1:1 Crochet help session and work through it properly together.
Perfect if you prefer personalised help instead of spending hours trying to figure things out alone.
Book 1:1 Crochet HelpNew to Reading Crochet Patterns?
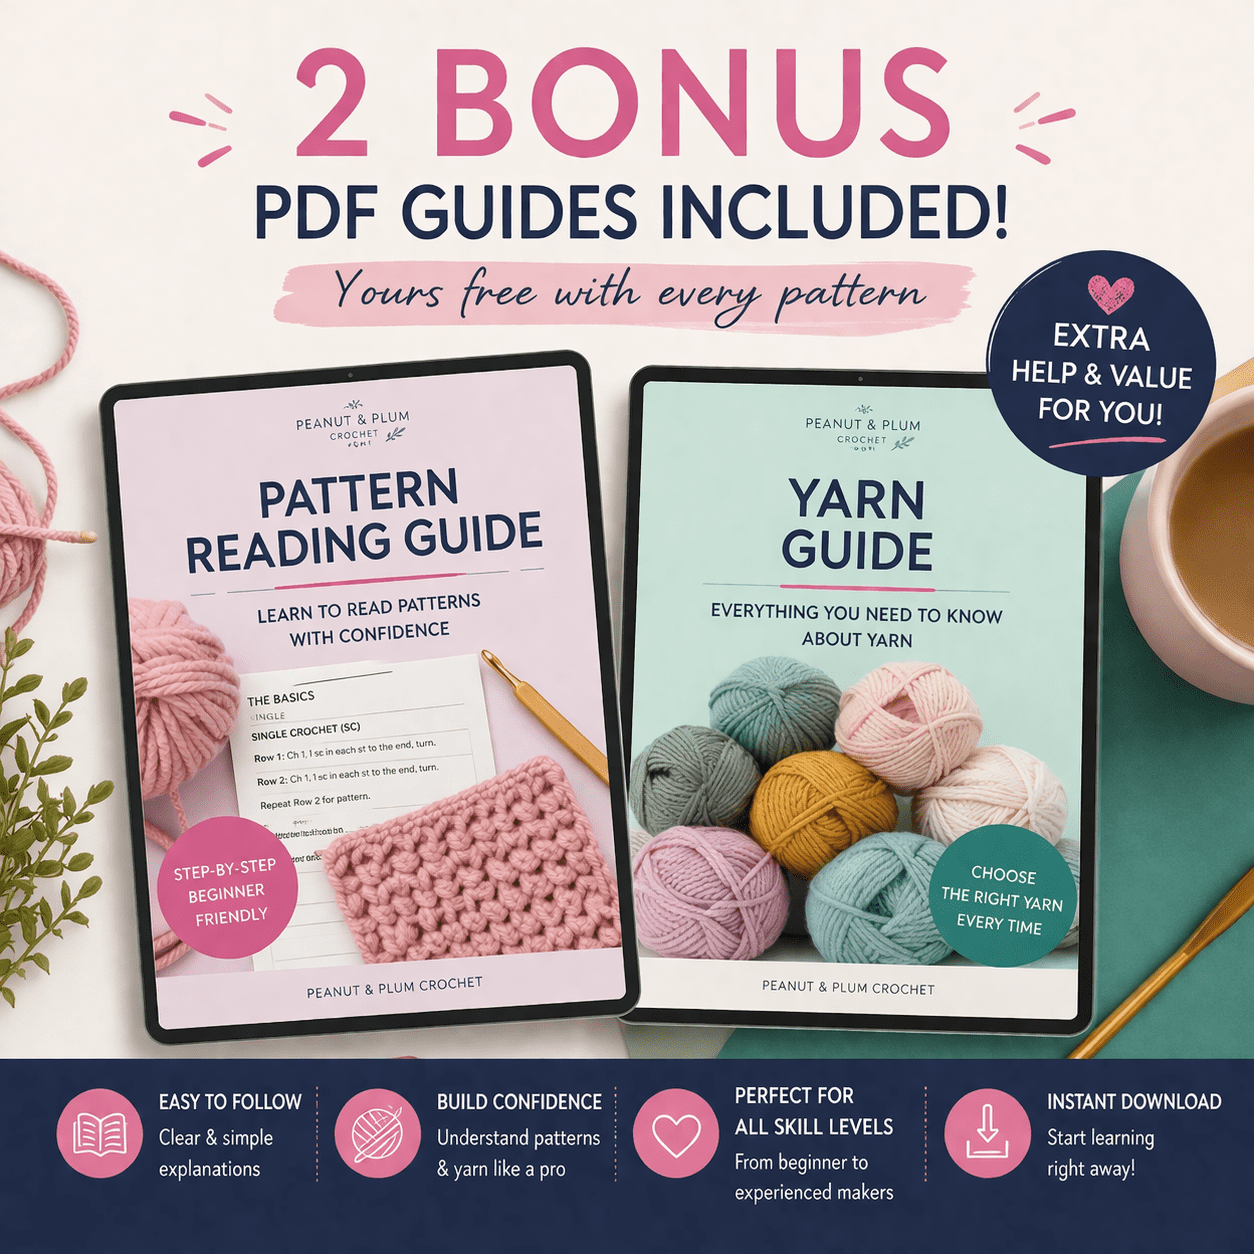
If crochet patterns ever feel confusing, my complete guide to reading crochet patterns breaks down terminology, abbreviations, repeats, and layout so everything feels much easier to follow.
If you’re newer to pattern reading, you may also find it helpful to read through my Crochet Pattern Reading guide to understand stitch terms, repeats, and layout before starting.
Ready to Get Started?
Grab the pattern, check your yarn and tools, and start your own rustic pumpkin patch.
The downloadable PDF gives you a cleaner crochet experience with structured, step-by-step instructions, printable formatting, and no ads or distractions — so you can focus fully on making your pumpkins with confidence.
Prices may be slightly higher on other platforms due to selling fees.
Bundle and Save
Save 20% on 3 items with code MBUY20
Save 10% on 2 items with code MBUY10
Want More Seasonal Crochet Projects?
Take a look at these cosy seasonal crochet projects for more festive inspiration.

Happy Crocheting!
I’d love to see your finished pumpkins. Share your makes with #PeanutandPlum.
Peanut & Plum
Follow