
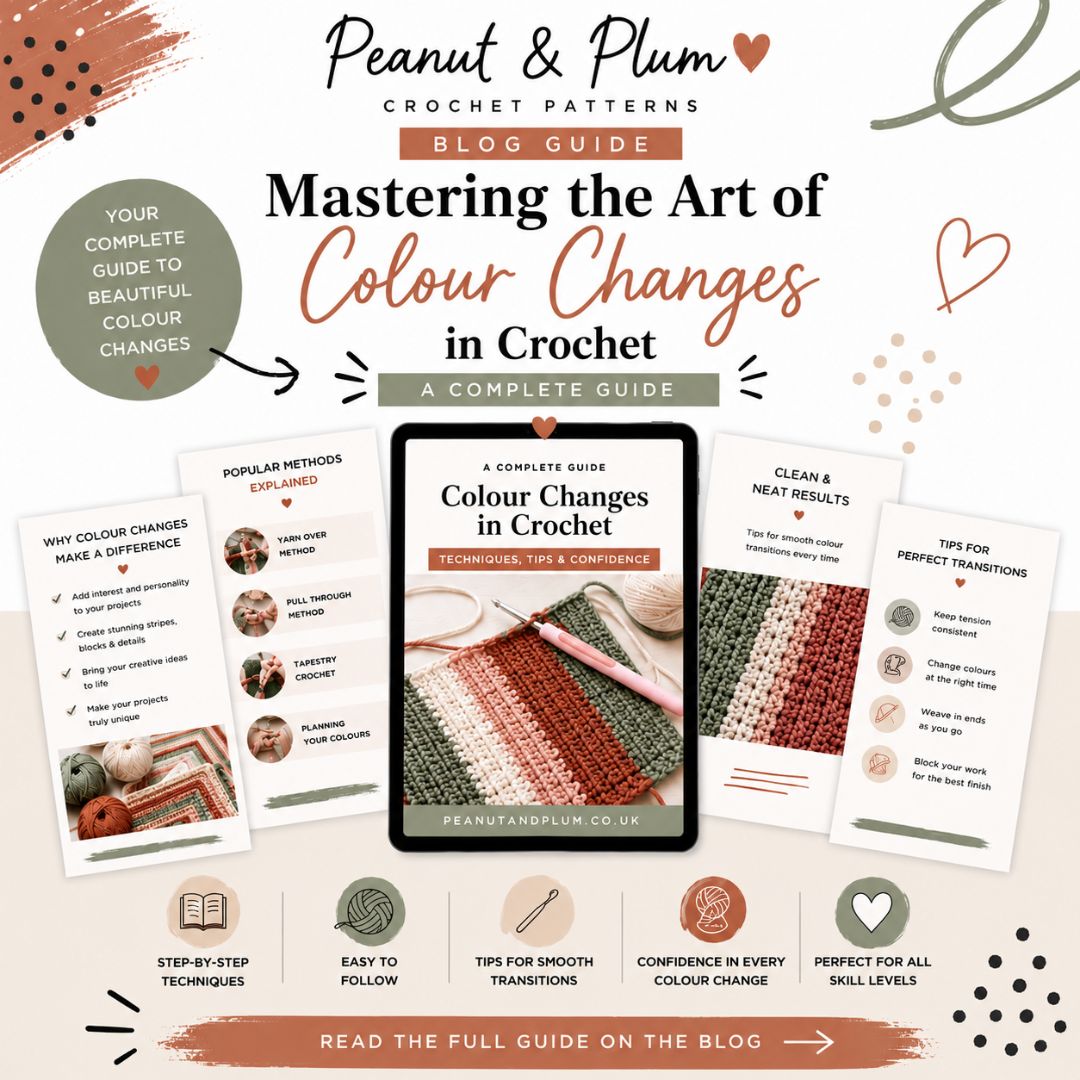
Mastering the Art of Colour Changes in Crochet
Crochet Tutorial
A Complete Guide to Crochet Colour Changes
How to Change Colours in Crochet
Ready to take your crochet projects from simple to stunning? Learning how to change colours in crochet is your secret weapon for adding stripes, bold shapes, clean blocks, tapestry details, elegant accents, and beautiful colourwork to your handmade projects.
This modern maker’s guide walks you through every technique you need, from basic colour switches to end-of-row colour changes, mid-row colour changes, carrying yarn across a row, carrying yarn up the side, standing stitches, weaving in ends, and building colourwork confidence. Whether you are a beginner or a seasoned stitcher, these techniques will help your colour changes look cleaner, neater, and much more professional. Think of this as your go-to colour change toolkit for crochet stripes, tapestry crochet, granny squares, graphghans, mosaic crochet, and colour block garments.
This post includes affiliate links. These links are carefully chosen by me to help make your Crochet project as simple and enjoyable as possible. If you purchase through one of these links, I may earn a small commission at no extra cost to you.
What This Guide Covers
This guide includes step-by-step colour change instructions, practical examples, finishing tips, carrying yarn techniques, project ideas, common mistakes to avoid, and helpful links so you can practise colour changes in real crochet projects.
The Golden Rule for Changing Colours in Crochet
The golden rule for crochet colour changes is simple: change colour on the final yarn over of the stitch before the new colour begins. This helps the new colour sit neatly at the start of the next stitch, row, round, or section instead of creating a messy join.
The Basic Switch: Example Using Double Crochet
- Work the stitch as normal until the last yarn over.
- Drop the old colour.
- Yarn over with the new colour and pull through to finish the stitch.
- Keep crocheting with the new colour — voilà!
Pro tip: Leave a 6″ tail of both colours so you can weave them in later without stress. This reduces the risk of your ends working their way loose over time.

End-of-Row Colour Changes for Crochet Stripes
Changing colours at the end of a row gives you crisp, clean lines that are perfect for striped blankets, scarves, garments, and simple colour block projects.
- Finish the last stitch of the row, but use the new colour to close it.
- Turn your work.
- Chain up with the new colour and keep stitching.
Hack: Secure your yarn tails as you go or weave them in afterward using a yarn needle. If your project is reversible, take extra care to weave in tails so they do not peek through.
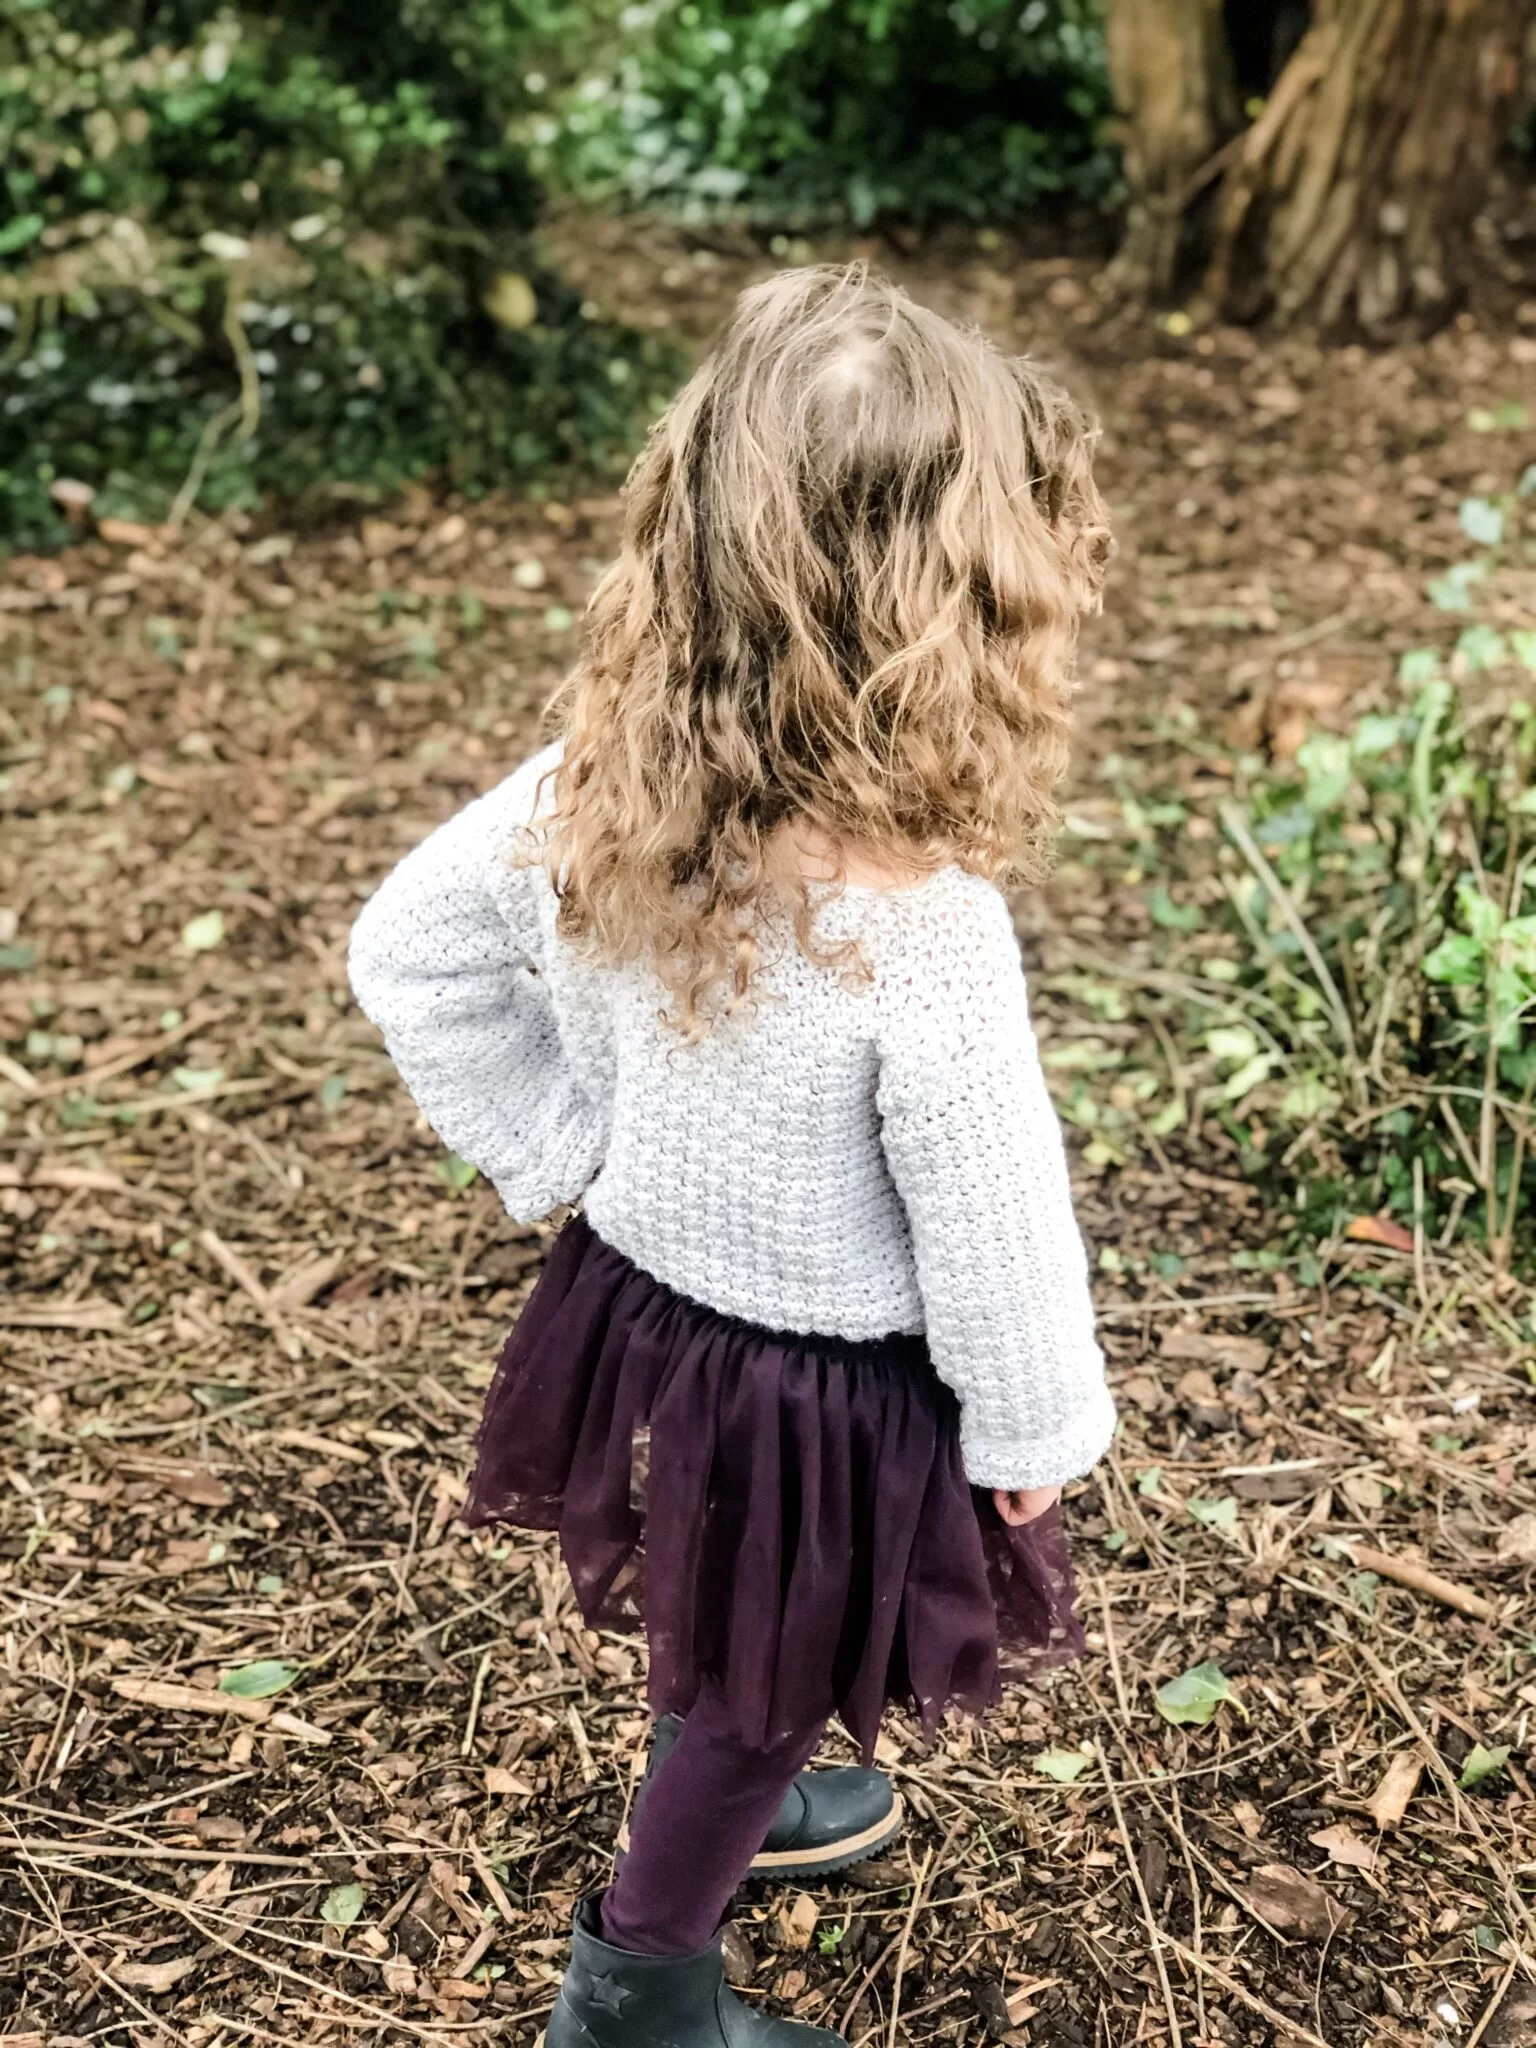
Practise Colour Changes with the Sun-Kissed Sweater
Why not try the Sun-Kissed Sweater to practise changing colours in a wearable crochet project?

Mid-Row Colour Changes for Tapestry Crochet, Intarsia and More
This method is key for working graphic designs, characters, letters, motifs, or multi-colour blocks. Mid-row crochet colour changes are especially useful for tapestry crochet, intarsia crochet, graphghans, and colour block designs.
- Stop before the final yarn over of the last stitch in the old colour.
- Yarn over with the new colour to complete the stitch.
- Continue crocheting with the new shade.
Tips:
- Twist your yarns together at the back of your work to prevent gaps.
- Keep your tension even to avoid puckering.
- Use stitch markers to help keep track of design changes.
How to Carry Yarn Across a Crochet Row
Carrying yarn across the row is ideal for patterns with frequent colour changes, such as tapestry crochet, pixel crochet, colour charts, and small repeated motifs.
How it works:
- Lay the unused yarn over the top of the previous row.
- Crochet over it with your active yarn.
Pros: no cutting and rejoining, fewer ends to weave in, and a cleaner finish.
Cons: carried yarn can become bulky or peek through on lighter stitches. To minimise visibility, choose similar yarn weights, avoid overly loose stitches, and be careful when carrying dark yarn behind a very light colour.
Alternative: Only carry yarn short distances. For larger gaps, it is usually better to drop and rejoin the colour rather than carrying it across a long section.
How to Carry Yarn Up the Side
Working stripes just a few rows tall? You do not always need to cut your yarn every time. Carrying yarn up the side is helpful when you will return to the same colour within a few rows.
- Leave the unused colour hanging at the side.
- When you are ready to use it again, simply pick it up.
- Crochet over the float or twist it with your working yarn to secure.
Finishing tip: Add a border or edge stitch, such as single crochet or reverse single crochet, to hide the carried yarn and create a polished edge.
Where it is useful: Great for projects like granny square blankets, striped dishcloths, striped scarves, baby blankets, and multi-colour garments.
Standing Stitches for Seamless Joins in the Round
Instead of using a chain to start a new colour in the round, standing stitches create a clean, stitch-like appearance. This is especially useful when you want colour changes to look less obvious in motifs, hats, mandalas, granny squares, or circular projects.
Example: Standing Double Crochet
- Start with a slip knot on your hook.
- Yarn over and insert into the desired stitch.
- Finish the double crochet as usual.
Why it is useful: It blends seamlessly into the work and avoids the bump of a chain.
Best for: Hats, motif rounds, mandalas, granny squares, or anywhere you want invisible joins.
How to Weave in Crochet Ends Neatly
No one wants their hard work to unravel. When you change yarn colours in crochet, weaving in ends securely is just as important as making the colour change itself.
- Thread the tail onto a yarn needle.
- Weave into several stitches of the same colour, following the pattern of the stitch.
- Weave back in the opposite direction to lock it in.
- Trim the excess close to the stitch.
Expert tip: Split the yarn slightly as you weave to create more friction and a tighter hold.
Best Yarn Types for Crochet Colourwork
The yarn you choose can make a big difference to how clean your crochet colour changes look. Smooth yarns usually show colourwork more clearly, while fluffy or highly textured yarns can hide stitch detail and make colour changes look softer.
- Cotton: crisp stitch definition, ideal for tapestry crochet, bags, dishcloths, and clean colour blocks.
- Acrylic: affordable, easy to find, and great for blankets, scarves, beanies, and practice projects.
- Wool and wool blends: warm, flexible, and helpful for garments, hats, and projects that need bounce.
- Fuzzy or textured yarns: beautiful for soft effects, but they can blur sharp colour changes and make stitches harder to see.

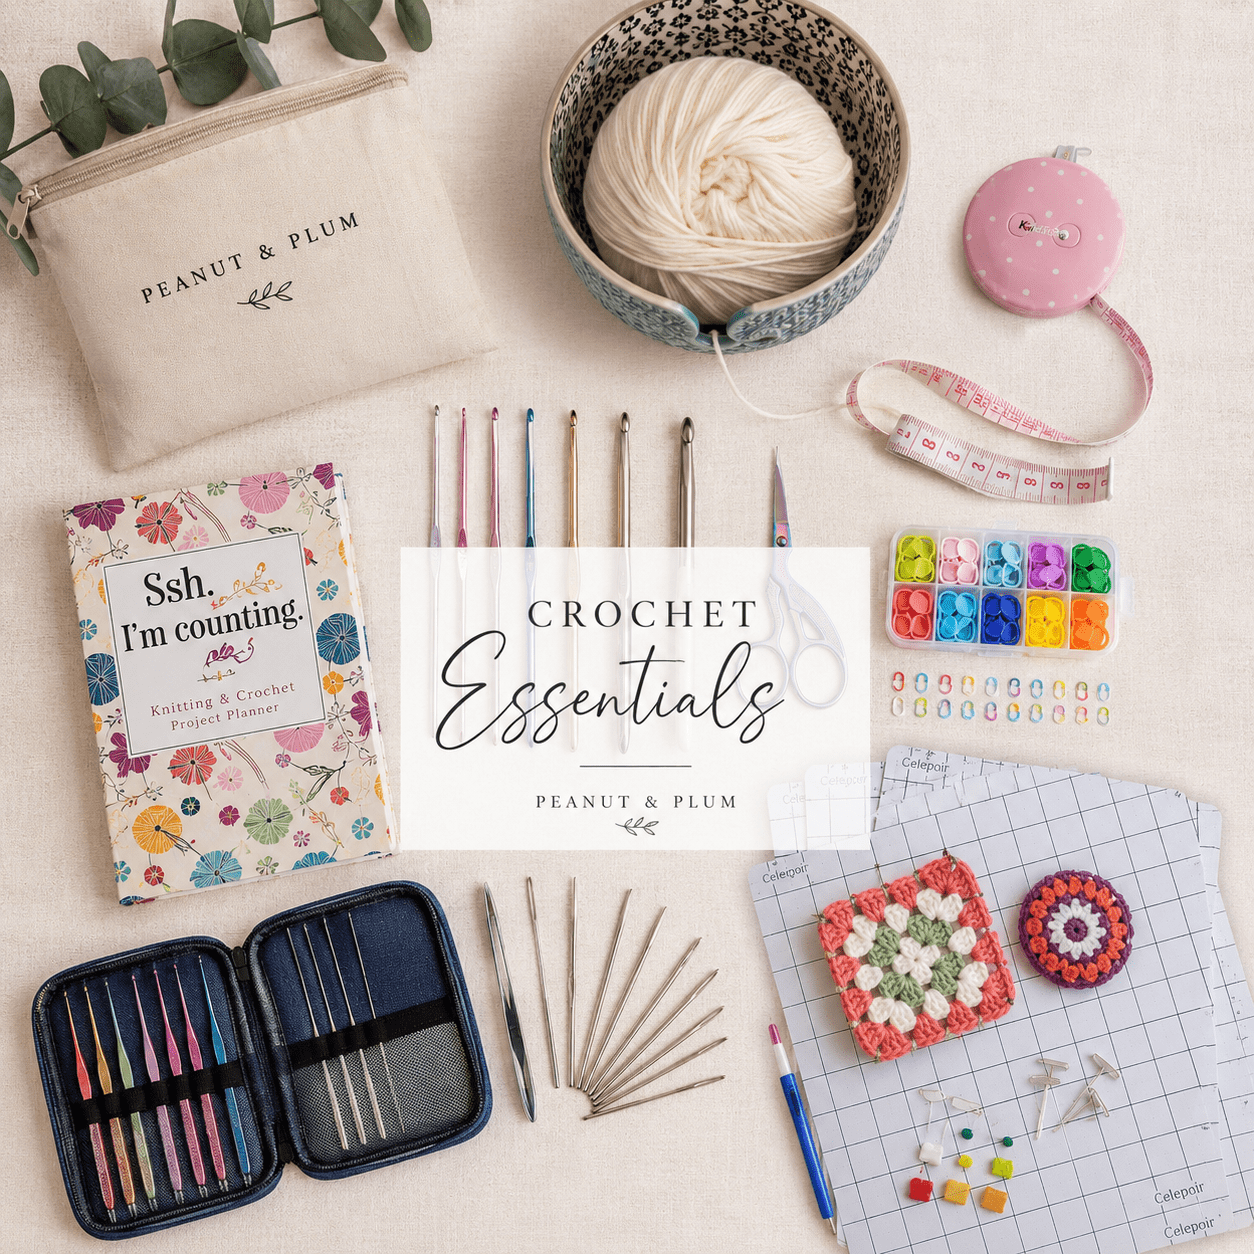
Shop Supplies
I’ve linked useful Crochet tools and supplies for practising colour changes, including hooks, yarn needles, stitch markers, scissors, and project tools to make getting started nice and simple.
Everything is gathered in one easy place on Amazon so you can get started without hunting around.
Crochet Colour Change Tips for Cleaner Results
- Use high-contrast colours for patterns that stand out.
- Keep your tension consistent when changing yarns.
- Use bobbins or mini skeins to manage intarsia or graph-based designs.
- Plan ahead: make colour changes on turning chains or stitch transitions where possible.
- For spiral rounds, learn how to do jogless joins to maintain clean striping.
Pro Tip: Swatch it first! Some colour changes look better on different stitch types or gauges.
Common Crochet Colour Change Mistakes
- Pulling carried yarn too tightly, which can pucker the fabric.
- Not finishing the previous stitch with the new colour.
- Cutting yarn too often and creating too many ends to weave in.
- Using a dark carried yarn behind a very pale stitch where it may show through.
- Forgetting to secure tails properly, especially on washable or well-used projects.
- Changing colours after completing the full stitch, which can make the new colour appear one stitch late.
Skill builder: colour changing helps you build confidence with tension, stitch placement, yarn management, neat finishing, and reading colourwork instructions.
Colour Change Ideas for Real Crochet Projects
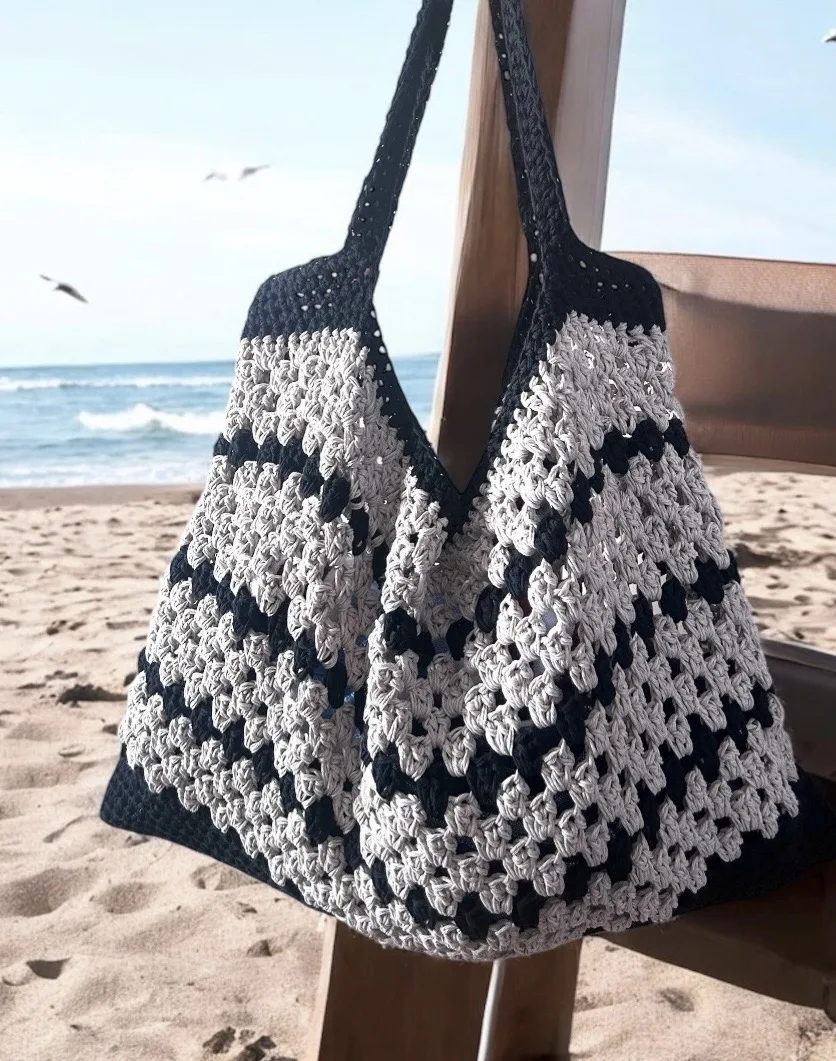
- Stripes: Great for baby blankets, scarves, sweaters, dishcloths, and beach bags.
- Granny Squares: Change colour every round or alternate every other round.
- Chevron Patterns: Add dynamic movement to blankets, jumpers, and scarves.
- Graphghans: Use colour changes to create logos, characters, lettering, or scenes.
- Mosaic Crochet: Works with two colours and clever stitch placement to create intricate designs.
Projects to Practise Crochet Colour Changes
Practice these techniques in small, confidence-boosting projects before moving on to bigger colourwork pieces.
- Two-tone dishcloths
- Striped beanies
- Multicolour granny squares
- Bold bordered scarves
- Striped sweaters
- Tapestry crochet bags
- Mosaic crochet cushions
- Colour block shawls
Once you are comfortable, start exploring graphgans, custom pillows, statement sweaters, colour block scarves, or bold crochet home decor. Your colour palette is your creative playground, so do not be afraid to experiment.
Need Extra Help?
Stuck On Your
Colourwork?
If you get stuck on colour changes, stripes, carrying yarn, tapestry crochet, stitch placement, tension, or understanding the instructions, you can book a 30-minute 1:1 Crochet help session and work through it properly together.
Perfect if you prefer personalised help instead of spending hours trying to figure things out alone.
Book 1:1 Crochet Help
New to Reading Crochet Patterns?
If crochet patterns ever feel confusing, my complete guide to reading crochet patterns breaks down terminology, abbreviations, repeats, symbols, stitch counts, and layout so everything feels much easier to follow.
If you are learning colourwork, you may also find it helpful to read through my Crochet Pattern Reading guide so you feel more confident following repeats, row instructions, and pattern notes.
Ready to Practise Colour Changes?
Choose two colours, grab your hook, and start with a small swatch before moving into stripes, granny squares, tapestry crochet, or a colour block garment.
Small practice projects are the easiest way to build confidence. Once you understand how colour changes behave in different stitches, you can use them across blankets, garments, accessories, home decor, and detailed colourwork designs.
Bundle and Save
Save 20% on 3 items with code MBUY20
Save 10% on 2 items with code MBUY10
Want More Crochet Tutorials?
Take a look at these crochet guides and projects to keep building your skills.
Happy Crocheting!
I’d love to see your colourwork projects. Share your makes with #PeanutandPlum.
Peanut & Plum
Follow