

Autumn Leaves Crochet Cardigan
Crochet Cardigan Pattern
Autumn Leaves Crochet Cardigan Pattern
How to Crochet the Autumn Leaves Cardigan
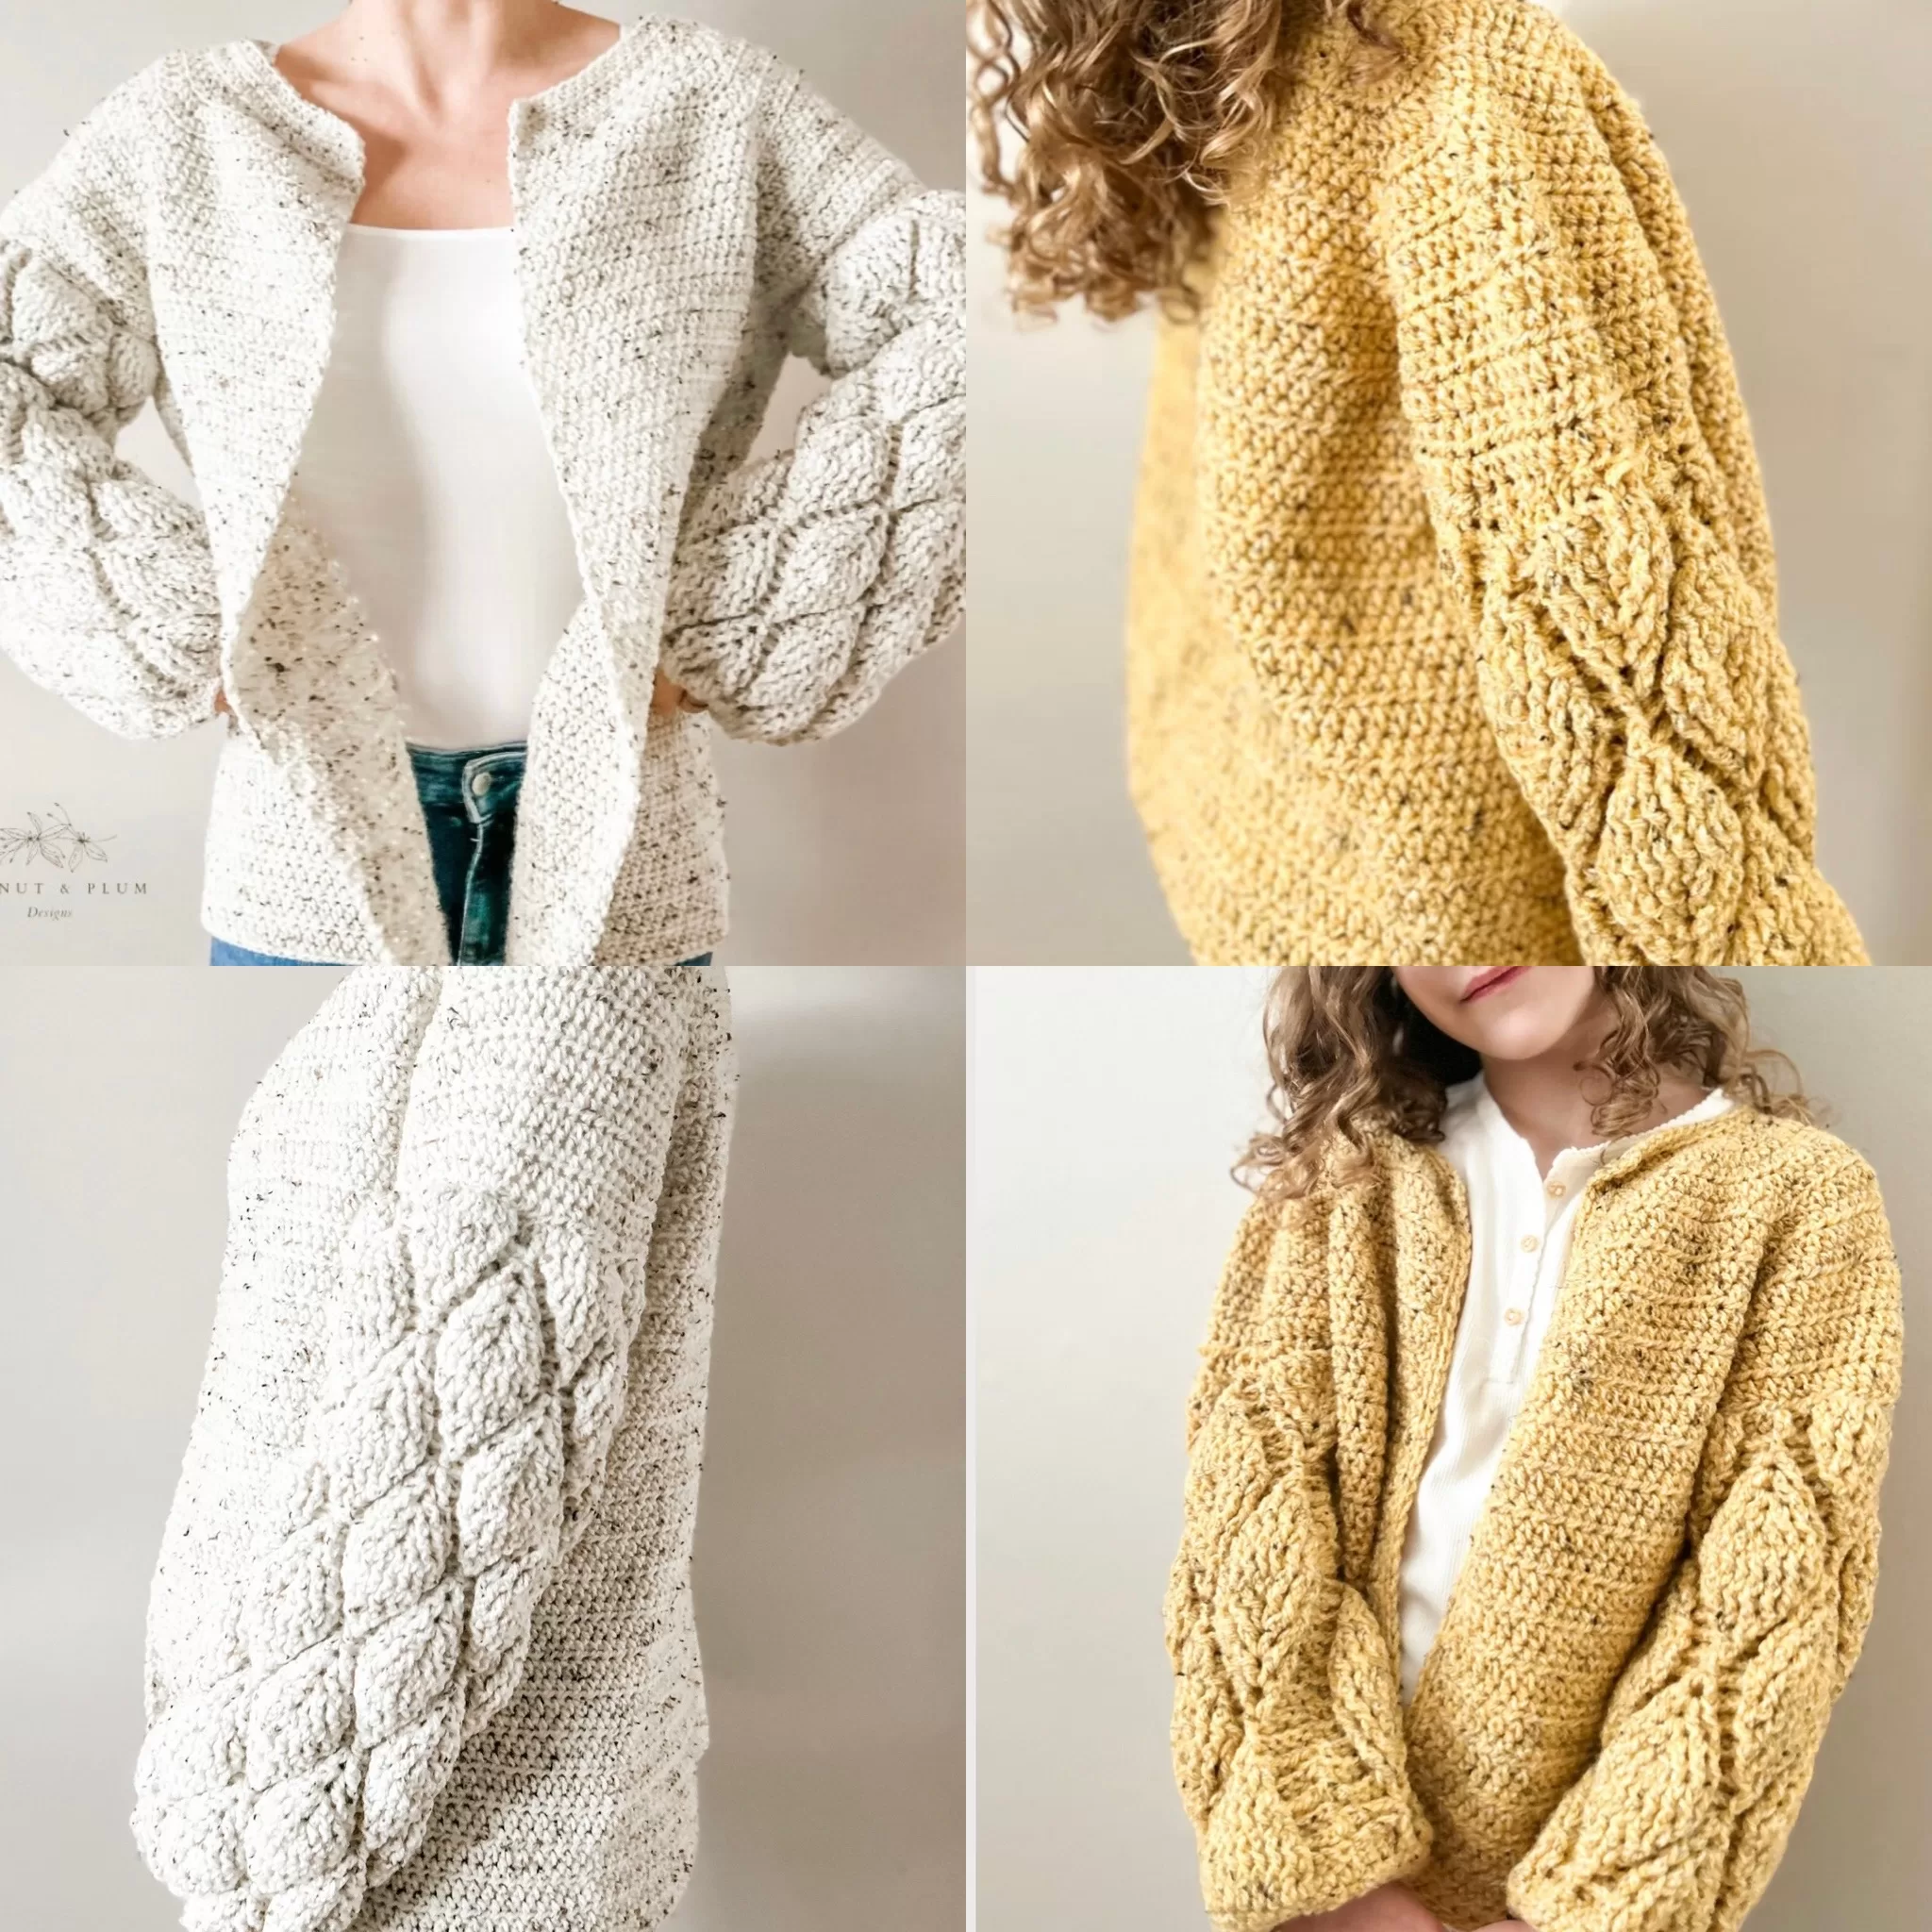
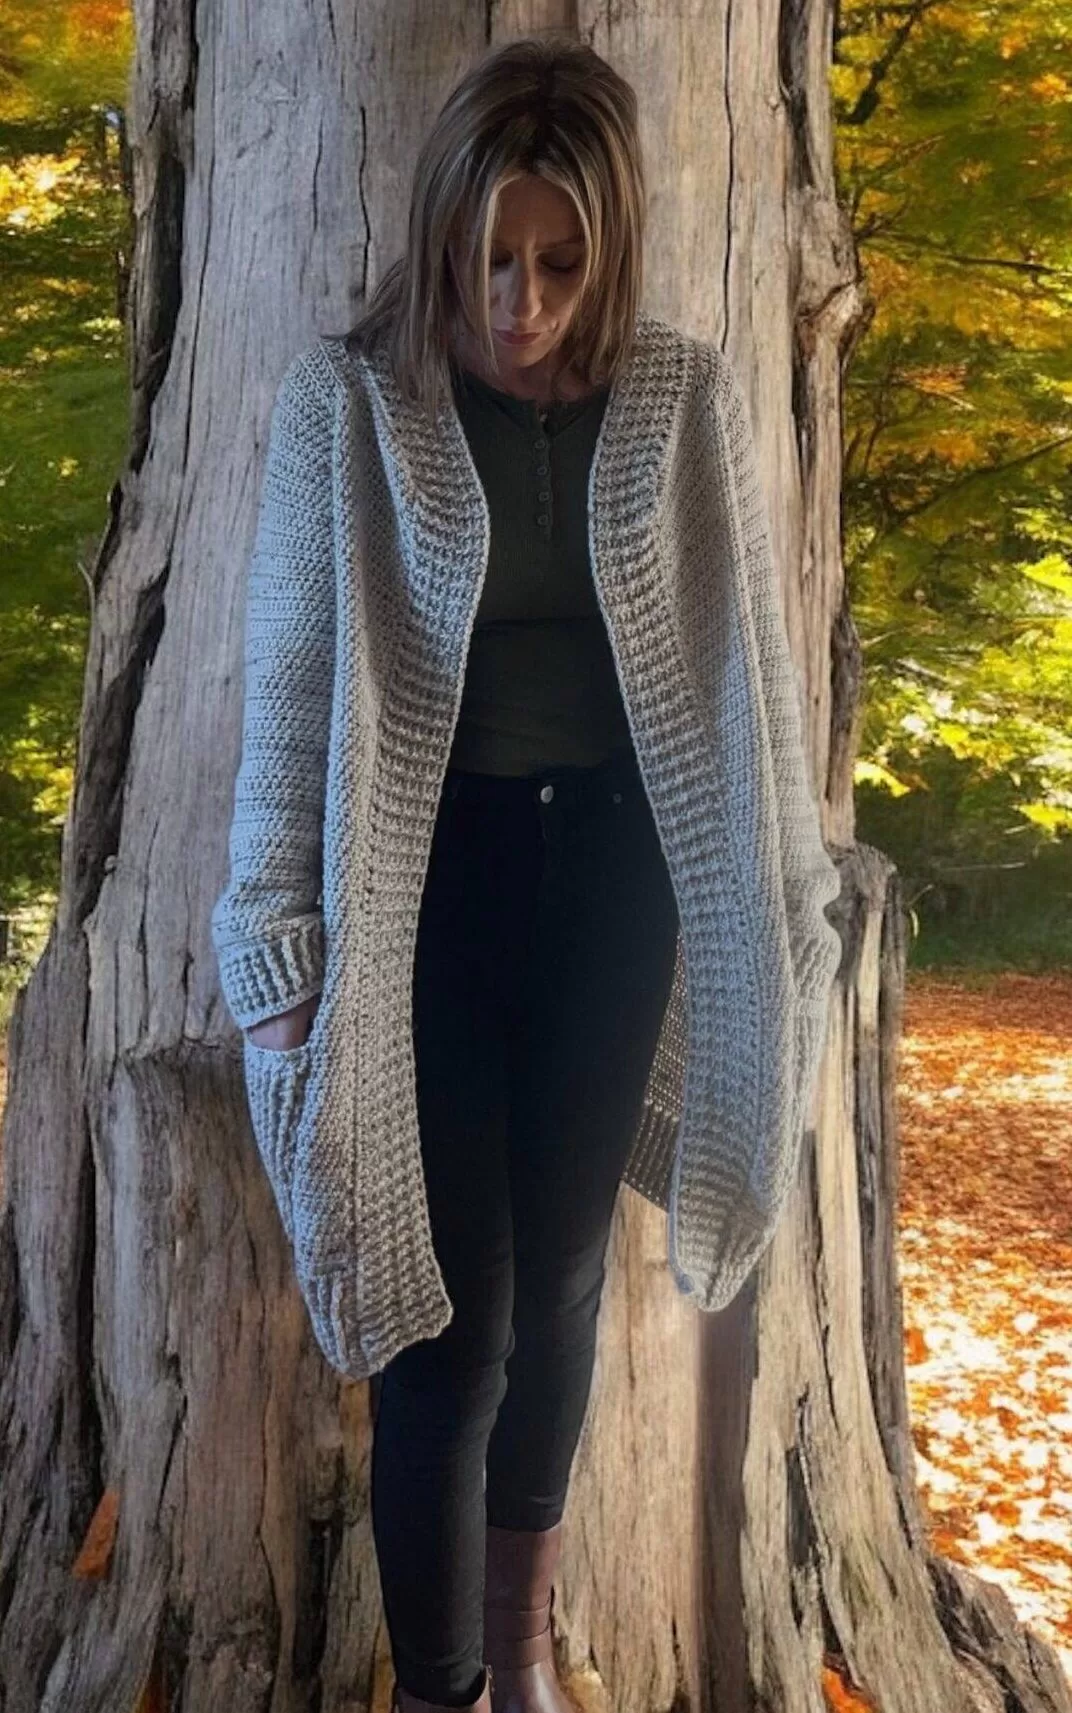
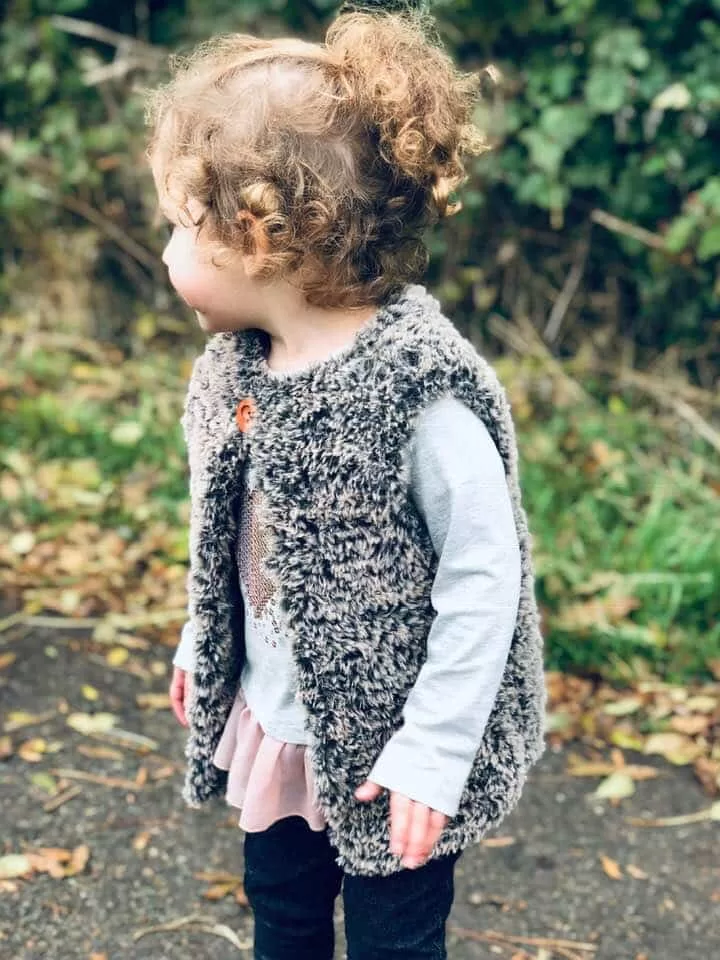
A cosy, textured Crochet Cardigan Pattern designed with a relaxed fit, soft autumnal yarn, and raised leaf stitch sleeves. Written for children and adults, this cardigan is perfect for layering through cooler months while still feeling stylish, wearable, and beautifully handmade.
The Autumn Leaves Crochet Cardigan captures everything lovely about handmade autumn layers: soft fibres, warm colour, relaxed shaping, and a statement sleeve detail that makes the whole piece feel special without becoming too fussy. It is practical enough for everyday wear but pretty enough to feel like a proper handmade wardrobe piece.
This post includes affiliate links. These links are carefully chosen by me to help make your Crochet project as simple and enjoyable as possible. If you purchase through one of these links, I may earn a small commission at no extra cost to you.
Quick Pattern Info
Skill level: Confident Beginner / Intermediate
Yarn: Hayfield Bonus Aran with Wool
Colour used: Glencoe
Hooks: 6mm / J and 5mm / H
Construction: Raglan-style cardigan with separate sleeves
Fit: Relaxed with approx. 3″ stretch
Sizes: Children’s 5/6 years to Adult XLarge
Feature: Raised leaf stitch sleeve design
What’s Included
Ad-free PDF pattern, written instructions, sizing guidance for children and adults, leaf stitch guidance, stitch explanations, construction notes, yarn and hook information, and helpful support for making a soft textured cardigan with confidence.
Why You’ll Love This Cardigan
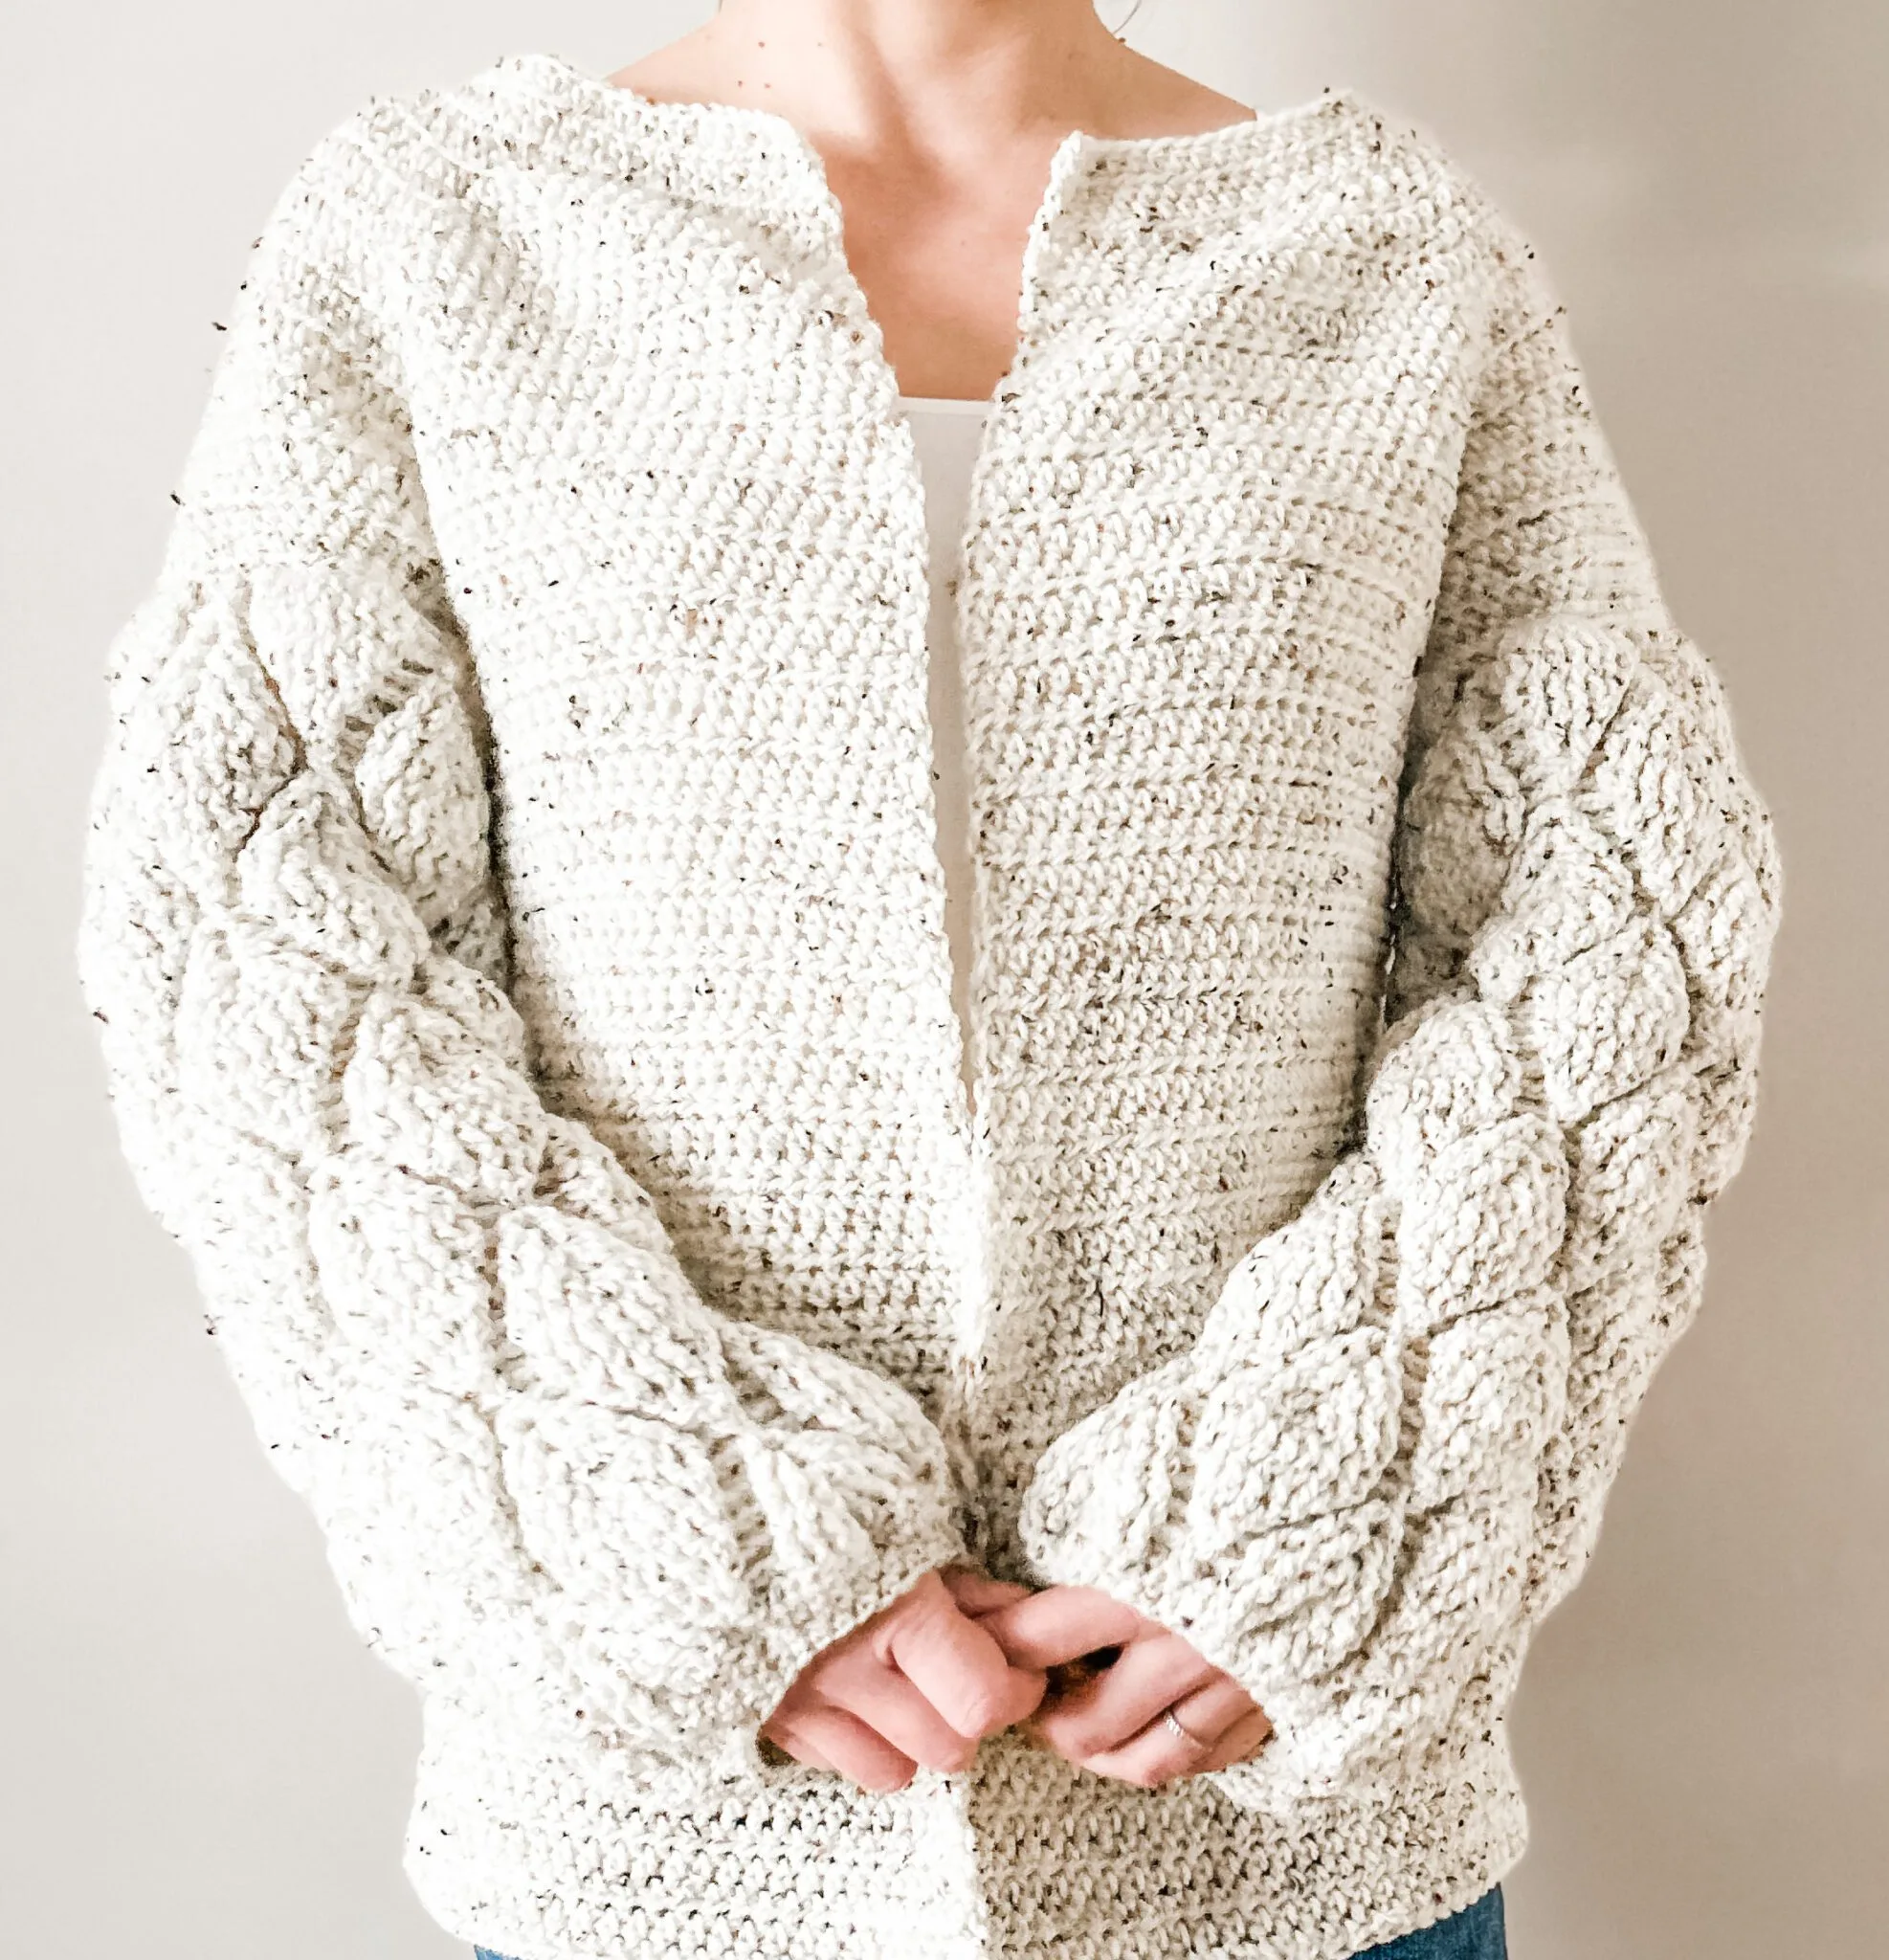
This cardigan has that lovely autumn layering feel: cosy without being too heavy, textured without being overwhelming, and relaxed enough to wear over everyday outfits. The body keeps the shape simple and wearable, while the raised leaf stitch sleeves give the design its signature detail.
The relaxed fit means it works beautifully over tops, dresses, school outfits, jeans, leggings, or winter basics. It has approximately 3″ of stretch for comfort, so it feels easy to wear rather than stiff or restrictive.
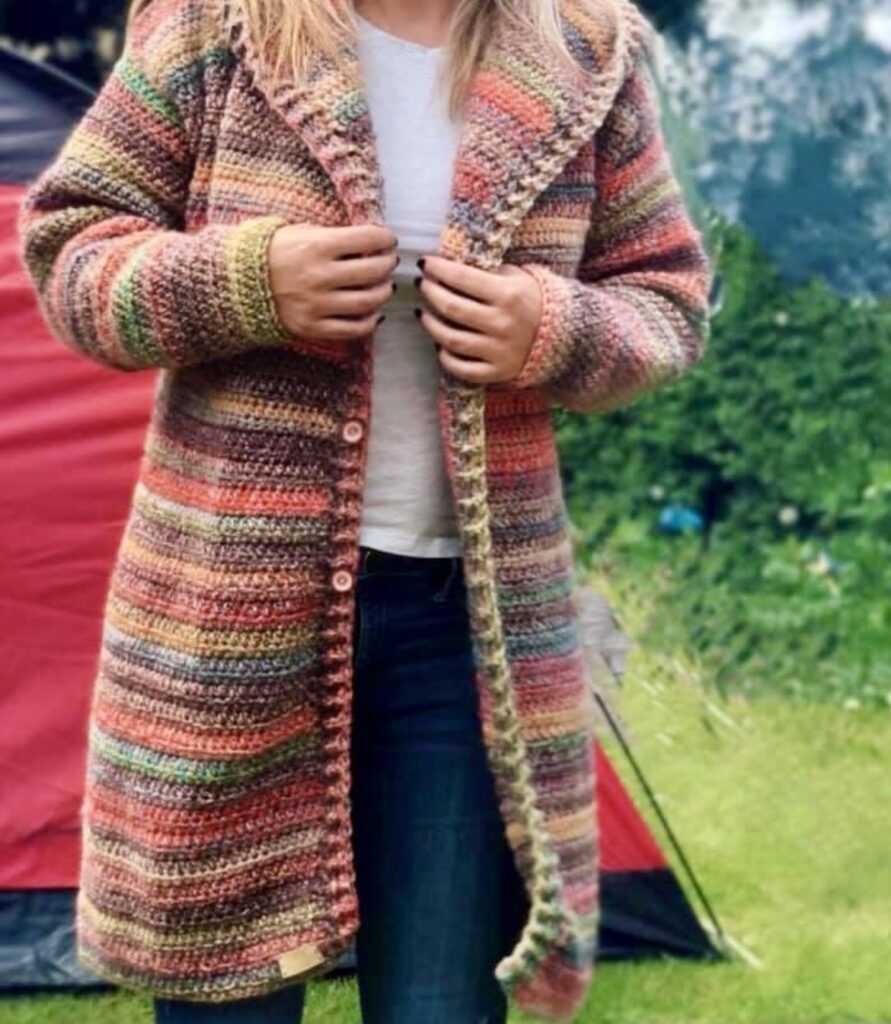
The leaf stitch design is the part that makes this cardigan feel special. It adds raised texture, seasonal detail, and a handmade finish that looks far more intricate than the simple body construction suggests.
Key Features
- Relaxed cardigan fit for easy layering
- Raised leaf stitch sleeve detail
- Children and adult sizes included
- Soft aran-weight yarn with wool content
- Autumnal colour and cosy texture
- Great for confident beginners moving into garment making
The Yarn and Feel
The sample cardigan uses Hayfield Bonus Aran with Wool in the shade Glencoe. This yarn gives the cardigan a warm, soft, slightly rustic feel that suits the autumn leaf theme beautifully.
The wool content helps add warmth and softness, while the aran weight gives the cardigan enough structure to hold its shape. This is especially helpful for the raised leaf stitch design because the texture needs enough definition to stand out clearly.
Tip: for the leaf stitch sleeves, choose a yarn with good stitch definition. Very fluffy yarns can hide the leaf detail and make the textured design harder to see.

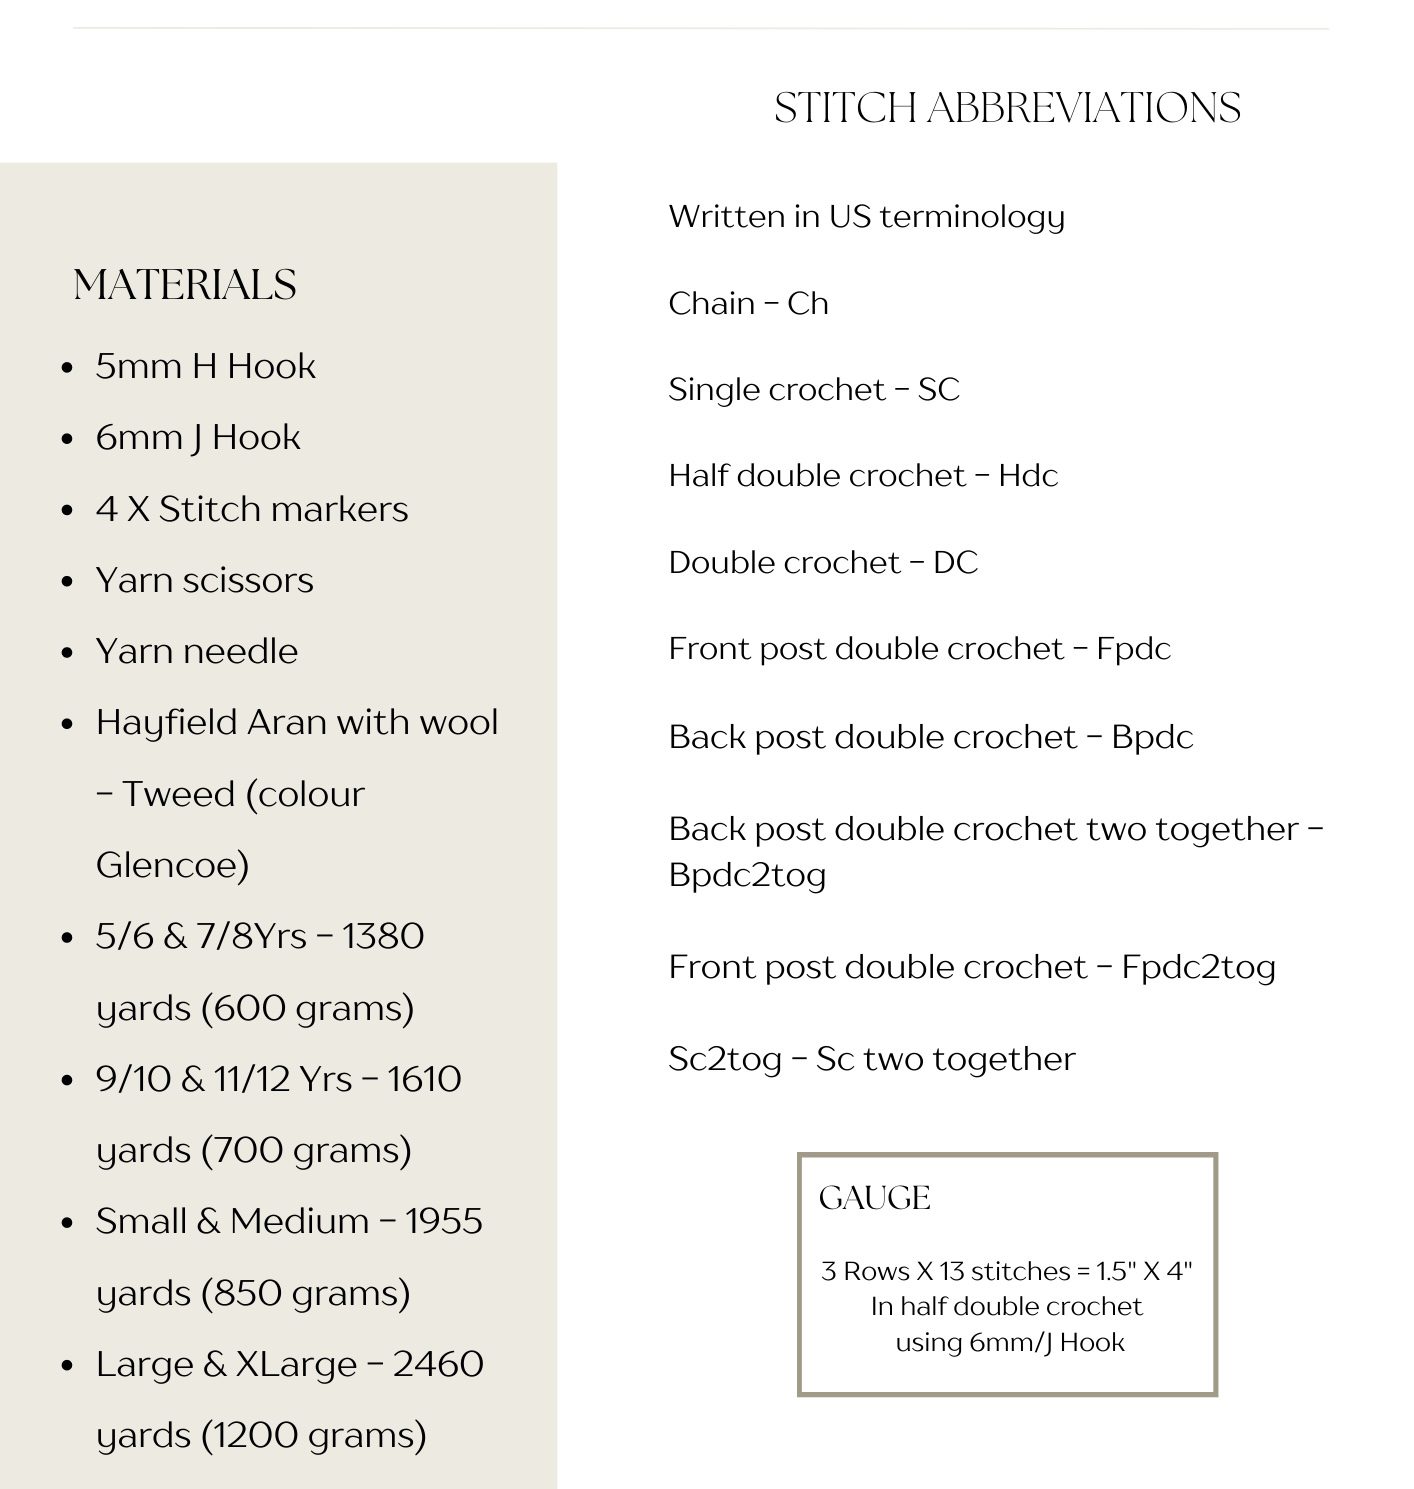
Stitches Used: UK and US Terms
This cardigan uses simple base stitches with a more decorative raised leaf stitch on the sleeves. That makes the pattern a lovely next step if you are comfortable with basic Crochet stitches and want to try a garment with a little more texture.
US terminology: chain, slip stitch, single crochet, half double crochet, double crochet, increases, decreases, and raised leaf stitch placement.
UK terminology: chain, slip stitch, double crochet, half treble crochet, treble crochet, increases, decreases, and raised leaf stitch placement.
Half double crochet / half treble crochet: this stitch creates a fabric that is slightly taller than single crochet but not as open as double crochet. It works well for garments because it gives softness, structure, and a little stretch.
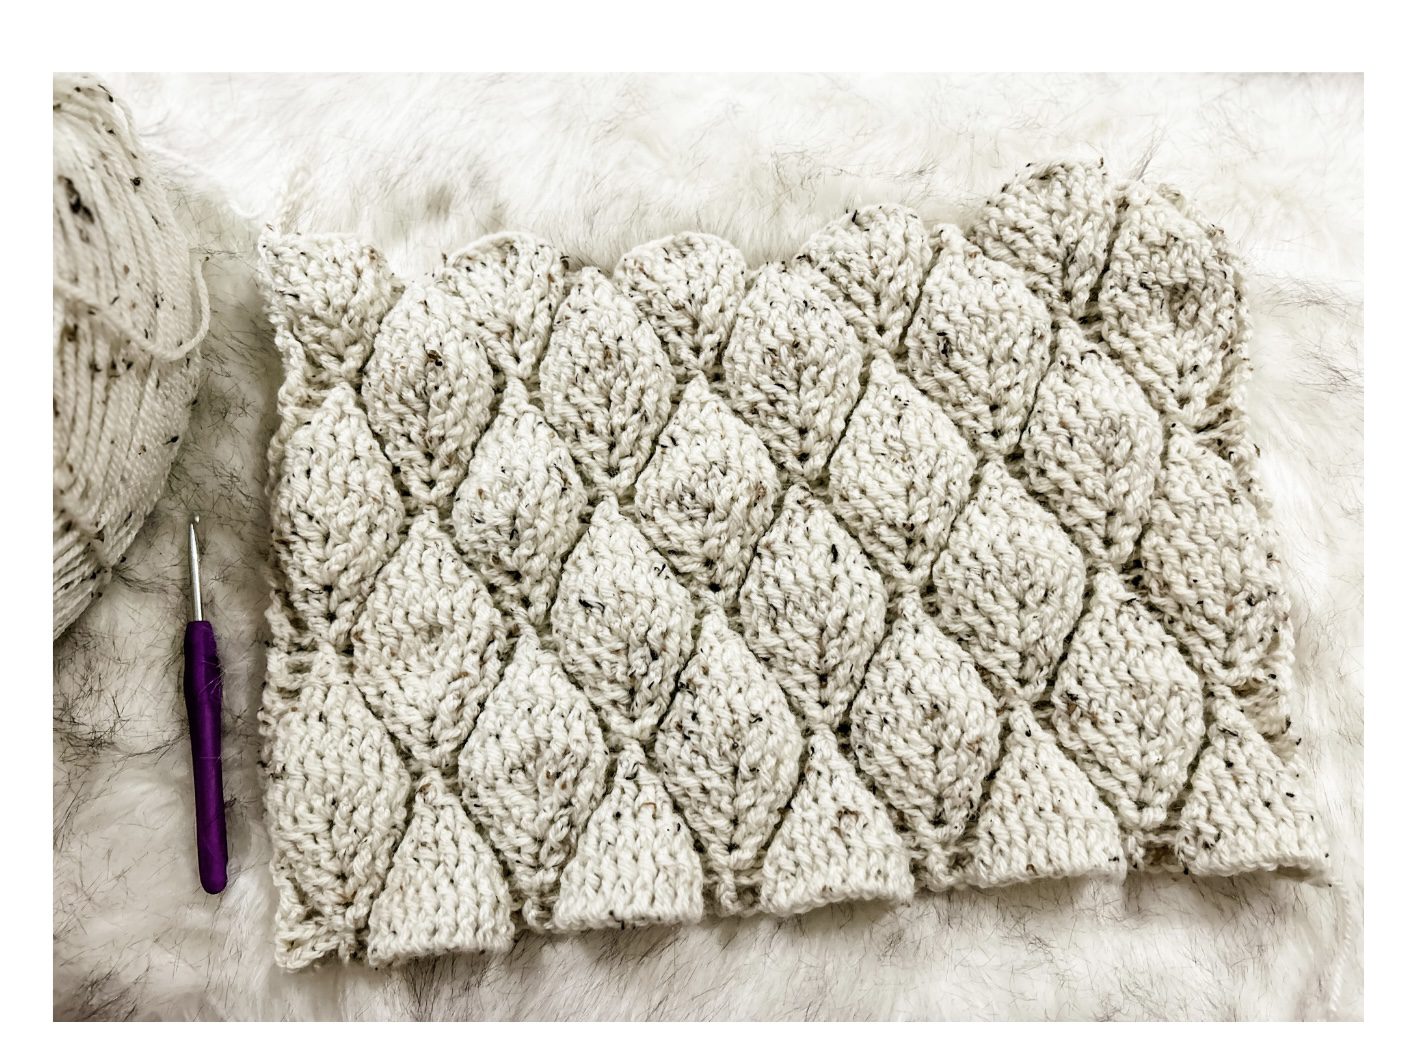
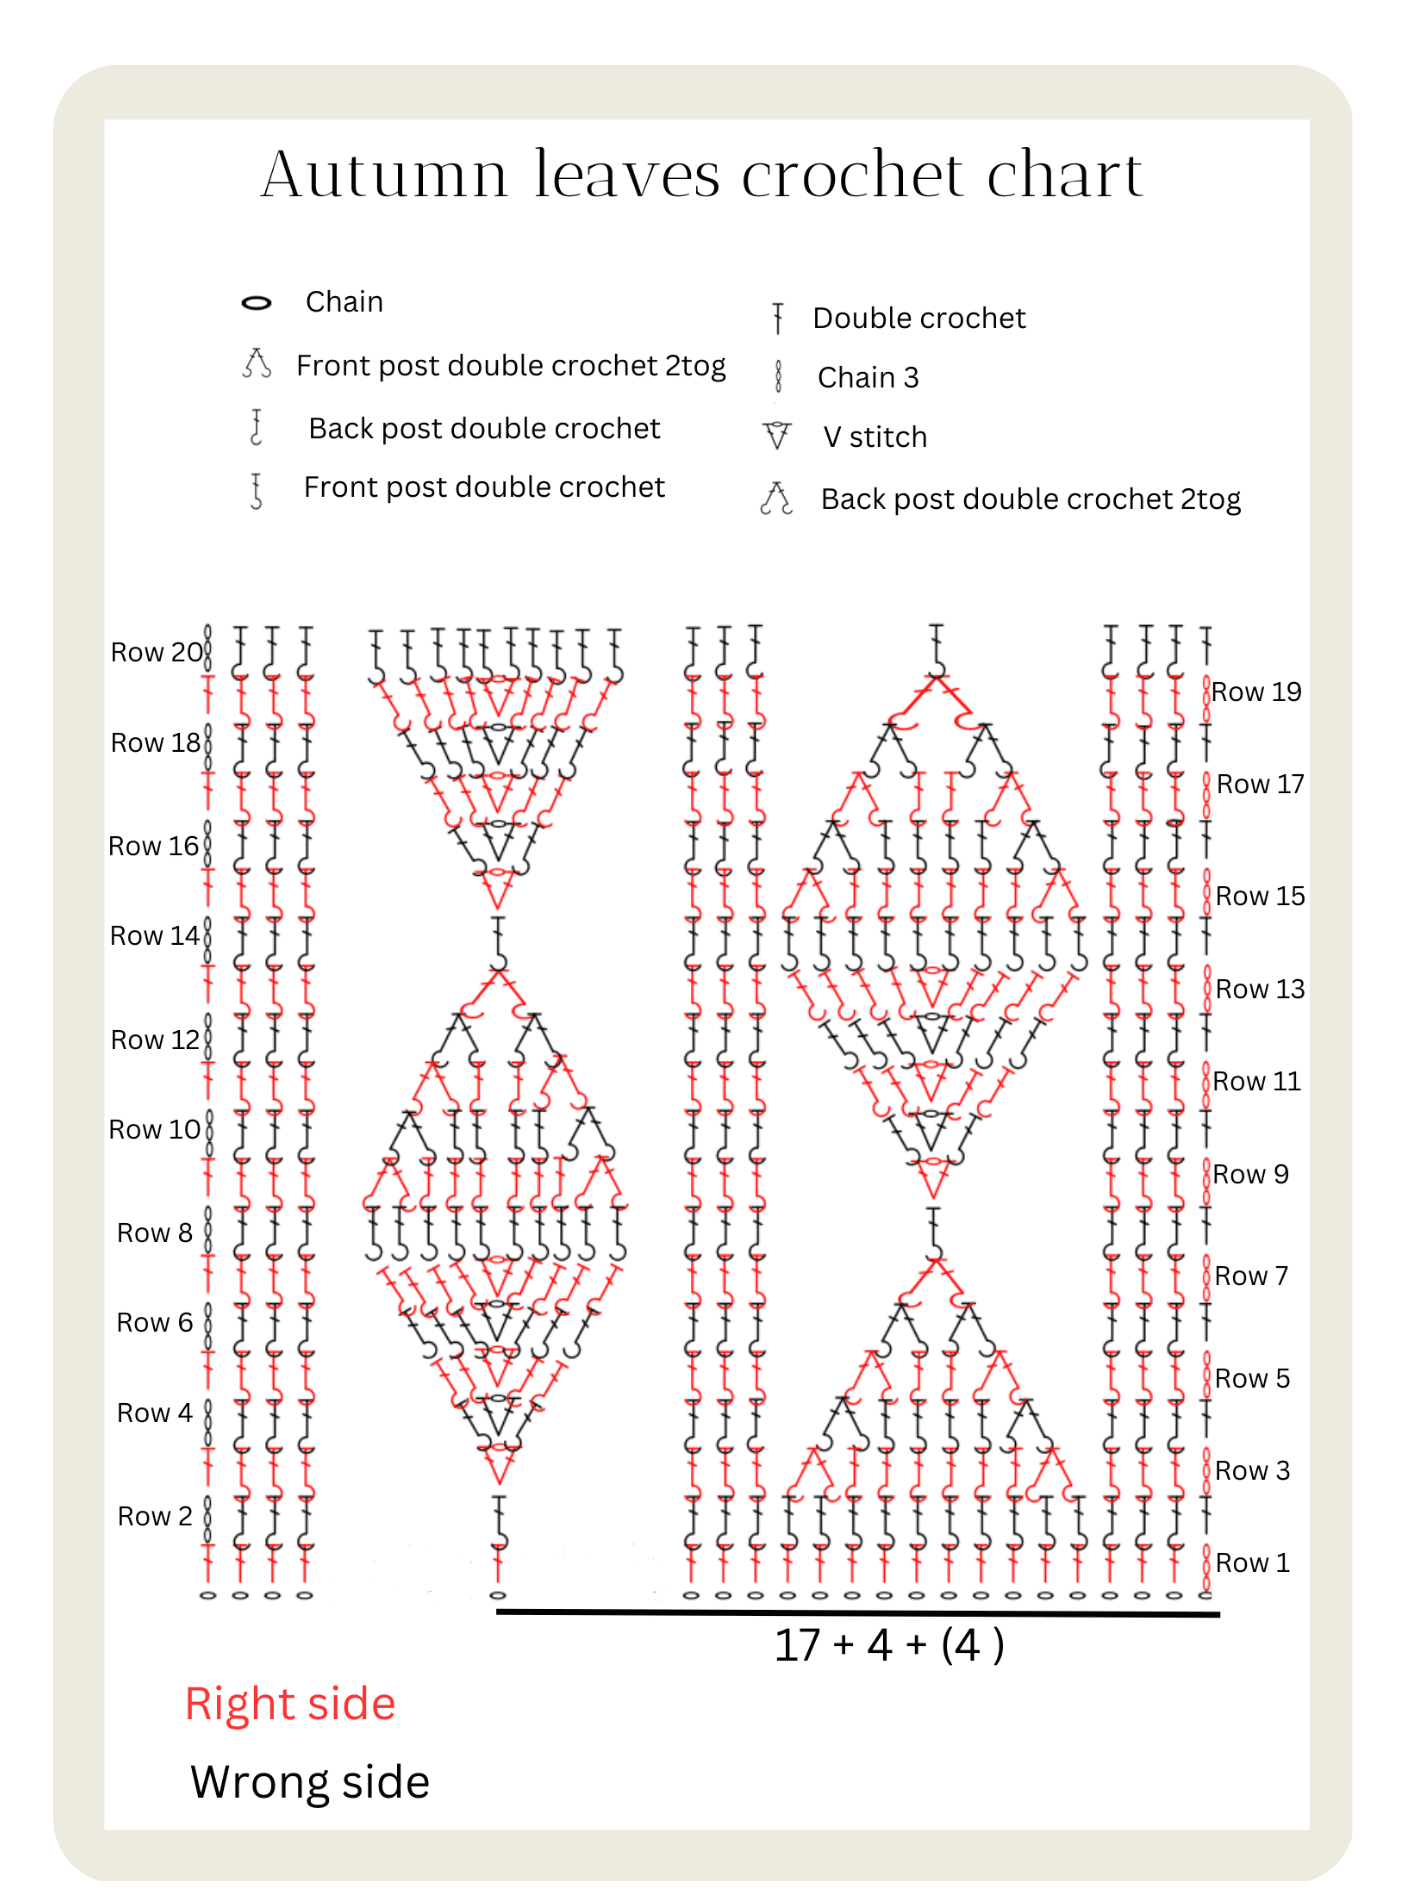
Raised leaf stitch: the sleeve texture is created by working stitches in a way that lifts parts of the fabric forward, forming a leaf-like shape. This creates a decorative raised pattern without needing colourwork or complicated shaping.
Raglan shaping: raglan construction uses increases placed at set points to shape the yoke and shoulders. It is a popular garment method because it creates a comfortable fit and helps the cardigan sit nicely across the shoulders.
Construction and Technique
The cardigan is written raglan style and worked from the top down. The body is created in simple rows, while the sleeves are worked separately with the raised leaf stitch design before being attached to the body.
This keeps the construction manageable while still giving the finished cardigan a statement detail. The simple body lets the leaf stitch sleeves stand out, so the cardigan feels balanced rather than overly busy.
Tip: keep the leaf stitch diagram close while working the sleeves. Highlighting or marking your size before you begin makes it much easier to follow the correct stitch counts and placement.


Common Mistakes to Avoid
- Skipping the gauge check before starting the cardigan
- Using a yarn that hides the raised leaf stitch texture
- Forgetting to mark or highlight the size you are following
- Working sleeve tension tighter than the body tension
- Pulling seams too tightly when attaching the sleeves
Skill builder: this pattern helps you practise garment shaping, relaxed fit construction, sleeve attachment, stitch diagrams, and decorative texture within a wearable cardigan project.
Using Different Yarn Fibres and Weights
Aran yarn is ideal for this cardigan because it works up quickly while still giving enough drape for a relaxed garment. A wool-blend aran is especially useful because it adds warmth, softness, and a little natural bounce.
Acrylic aran is a practical option if you want something washable, budget-friendly, and easy to care for. It may hold its shape slightly more than wool blends, which can be useful if you prefer a more structured cardigan.
Wool and wool blends add warmth, stretch, and a cosy autumn feel. They are ideal for cooler months and help the cardigan feel more like a proper outdoor layer.
Alpaca blends can create a softer, drapier cardigan, but they may make the leaf stitch less crisp if the yarn has too much halo. Choose a smooth alpaca blend if you still want the sleeve texture to show clearly.
Cotton aran can be used, but it will behave differently. Cotton has less bounce and can feel heavier in garments, so the cardigan may grow slightly with wear. It can work for a lighter transitional version, but always swatch and measure carefully.
If you change yarn weight, the finished size will change. DK yarn will create a lighter, smaller cardigan unless you adjust rows and stitch counts, while chunky yarn may make the cardigan larger, heavier, and less flexible.
Similar Yarn Alternatives
Choose aran or worsted yarns with good stitch definition so the leaf sleeves remain clear and textured.

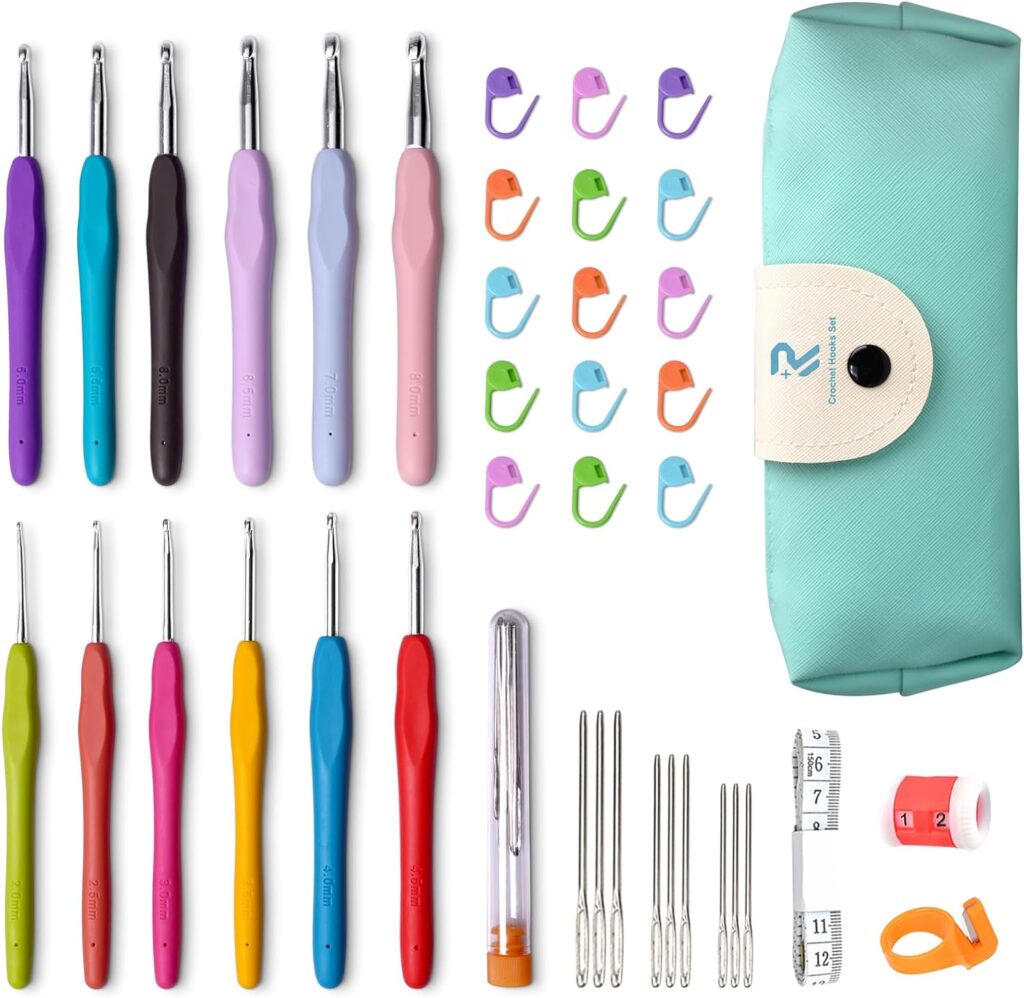
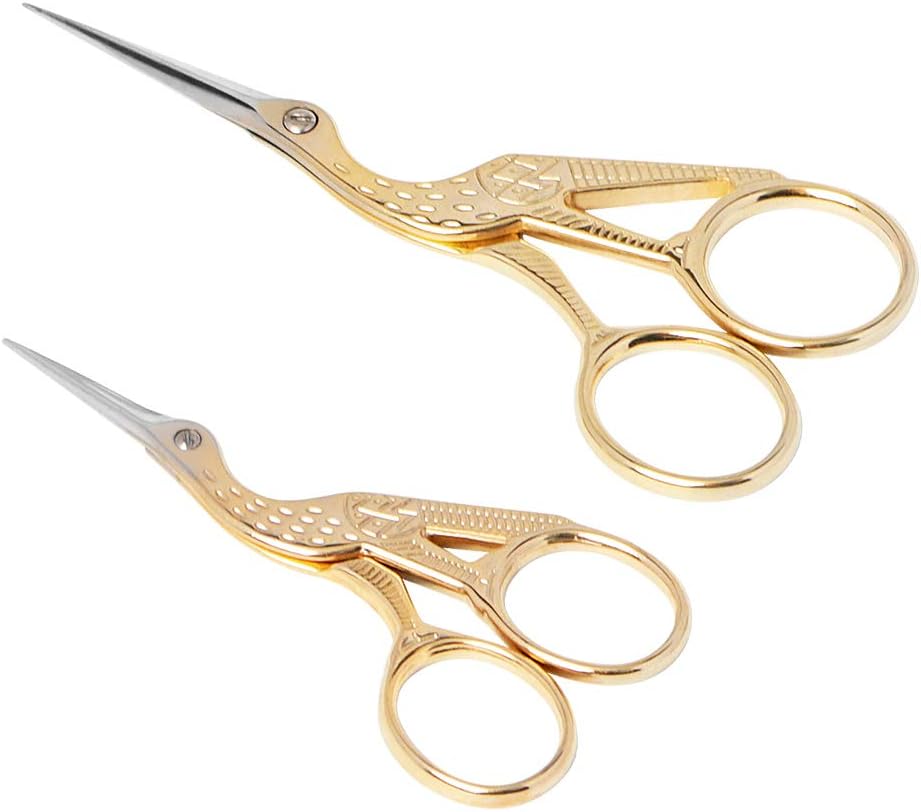
Hooks, Tools and Scissors
You will need 6mm and 5mm crochet hooks, stitch markers, scissors, and a yarn needle for weaving in ends and seaming. Stitch markers are especially useful for raglan shaping and sleeve placement.

Finished Sizes
The cardigan is true to size with approximately 3″ stretch for comfort. Measurements are taken at the chest.
5/6 Years
Chest: 26″
7/8 Years
Chest: 28.5″
9/10 Years
Chest: 29.5″
11/12 Years
Chest: 31″
Small
Chest: 35″
Medium
Chest: 38″
Large
Chest: 43.5″
XLarge
Chest: 48″
Styling Your Autumn Leaves Cardigan
This cardigan is easy to style because it has a relaxed shape and a soft autumn texture. Wear it over jeans and a plain tee for everyday layering, over a dress with boots for a cosy seasonal outfit, or over children’s basics for a handmade layer that still feels practical.
The leaf sleeves make it feel special without needing complicated styling. Neutral shades create a timeless cardigan, while warm browns, rusts, greens, ochres and plum tones lean beautifully into the autumn theme.
If you are making a child and adult version, this also works beautifully as a subtle matching set without feeling overly coordinated.
Crochet Guides and Pattern Support
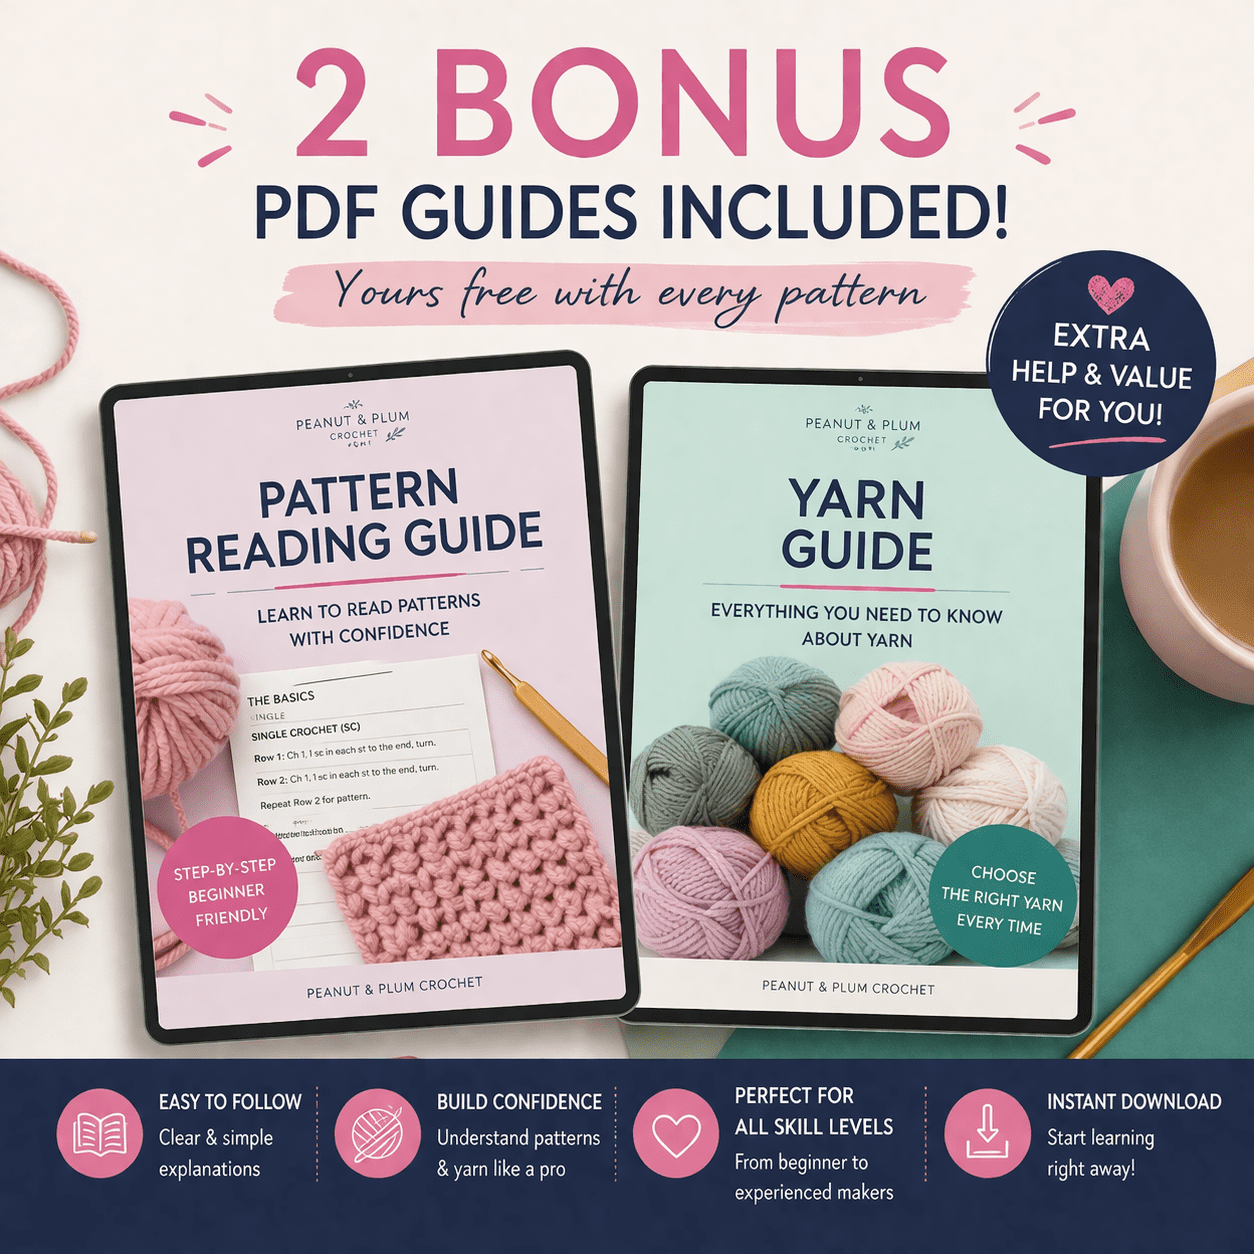
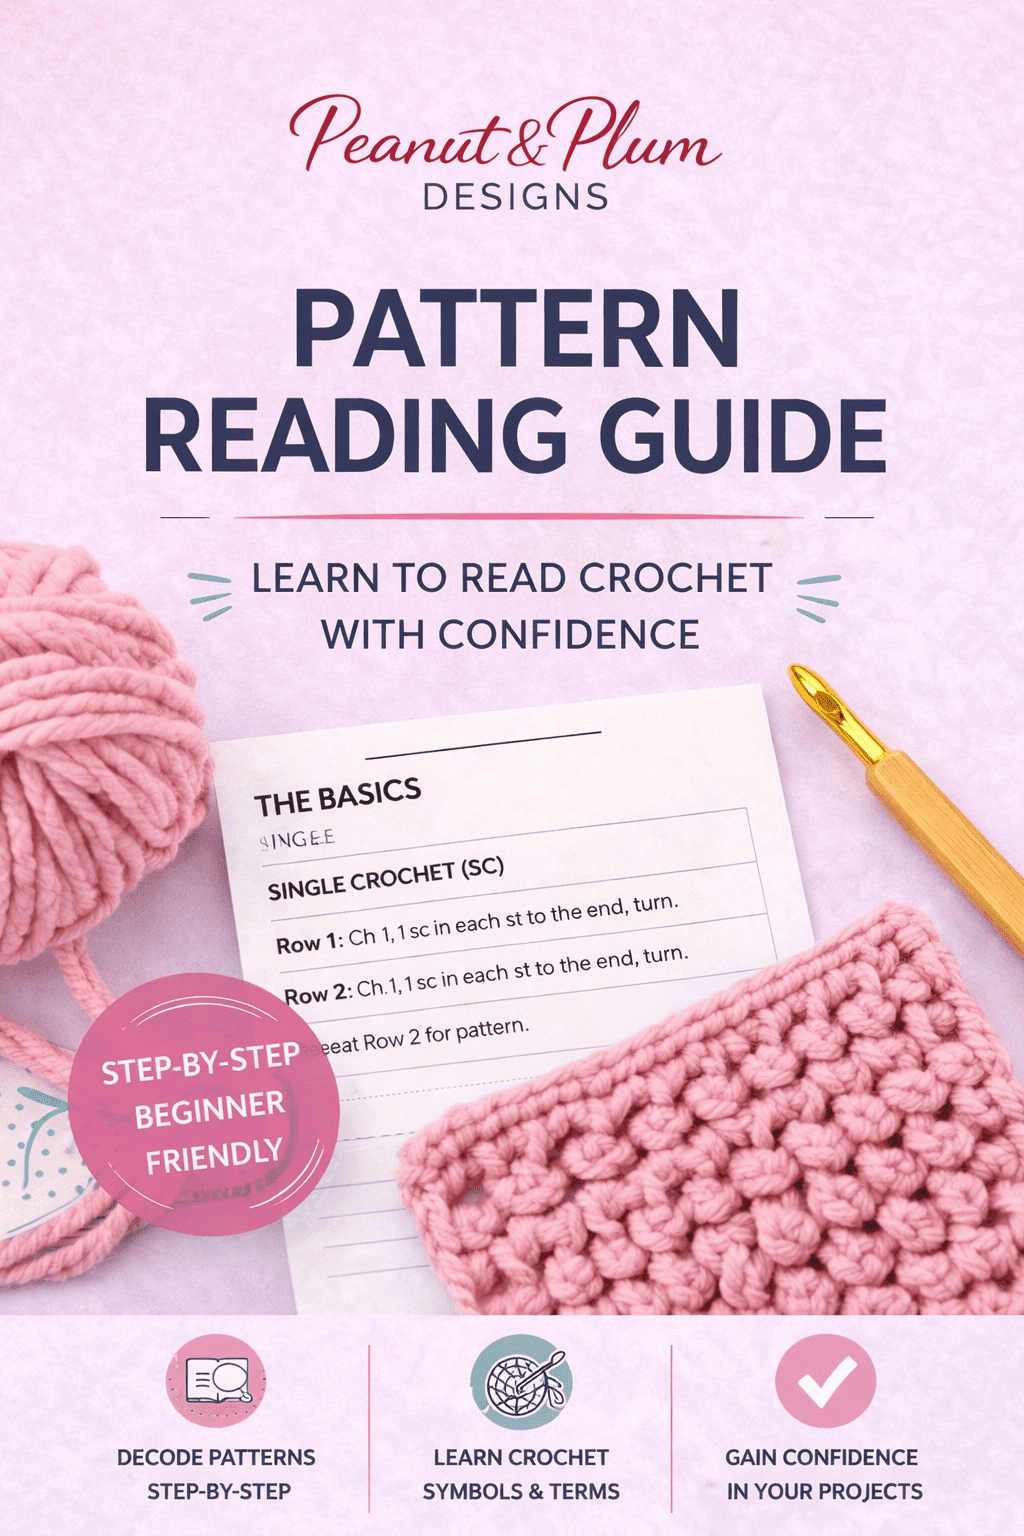
If garment patterns feel confusing, the Peanut & Plum Crochet guides are designed to make pattern reading, sizing, stitch terminology, yarn substitution and gauge much easier to understand.
New to Crochet Clothing?
My Crochet pattern reading guide breaks down terminology, sizing, repeats, layout and confidence tips so garment patterns feel much easier to follow.
Need extra help?
Stuck on your cardigan?
If you need help with raglan shaping, sizing, leaf stitch placement, sleeve attachment, stitch diagrams, or understanding the instructions, you can book a 30 minute 1:1 Crochet help session and work through it properly.
Buy the Pattern
The downloadable PDF gives you a cleaner Crochet experience with structured, step-by-step instructions, printable formatting, and no ads or distractions — so you can focus fully on making your cardigan with confidence.
Prices may be slightly higher on other platforms due to selling fees.
Ready to Get Started?
Everything you need to start your Autumn Leaves Crochet Cardigan is linked below so you can grab the pattern, choose your yarn and get your tools ready.
Bundle and Save
Building your Crochet pattern library? You can save when you buy more than one pattern.
Save 20% on 3 items with code MBUY20
Save 10% on 2 items with code MBUY10
Want More Crochet Cardigan Patterns?
Take a look at these cosy wearable Crochet layers for more handmade wardrobe inspiration.
Happy Crocheting!
I would love to see your finished cardigan — please share your makes with me using #PeanutandPlum.


One Comment