
Azelea Crochet Beanie Pattern and Tutorial
Crochet Beanie Pattern
Azalea Alpine Beanie Crochet Pattern
Azalea Alpine Beanie Crochet Pattern
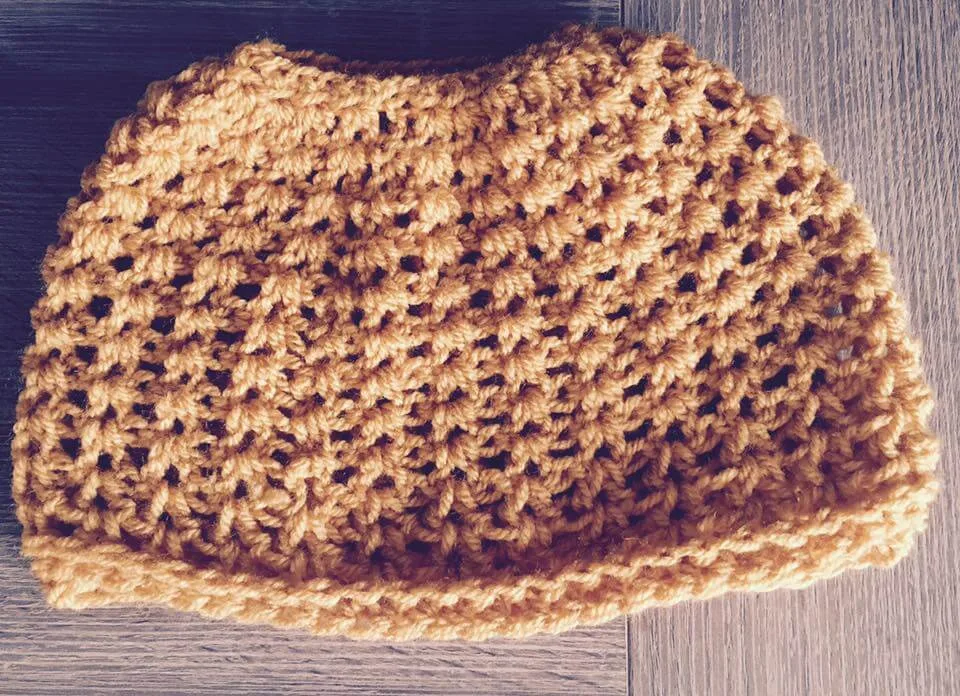
A cosy textured Crochet Beanie pattern using the Alpine stitch, with two brim styles, photo stitch support, and a video tutorial. This pattern is perfect for adventurous beginners who want to practise front post stitches and make a warm, stylish hat with a beautifully raised texture.
Thanks so much for checking out my Azalea Alpine Beanie Crochet Pattern and Tutorial. This design came after a little holiday break filled with the babies, far too much chocolate, and more Christmas films than I should probably admit. Honestly, I could still put one on now — decorations packed away or not.
As soon as I started planning a winter getaway, my mind wandered to what handmade accessories I obviously needed before anything had even been booked. Very sensible behaviour. I spotted some dreamy Alpine photos, and that was it — the stitch, the texture, and the cosy mountain feel all clicked together.
This beanie is warm, practical, and beautifully textured without being overwhelming. The Alpine stitch gives it that raised, almost cable-like finish, while the two brim options let you choose between a chunky cosy edge or a neater knit-look style.
This post may contain affiliate links. These are products I personally use, love, or recommend to help make your project as simple and enjoyable as possible. If you choose to purchase through these links, I may earn a small commission at no extra cost to you.

Quick Pattern Info
Skill level: Advanced Beginner / Intermediate
Sizes: Toddler, Junior, Teen and Adult
Yarn: Aran weight yarn in two colours
Hook: 5mm / H-8
Main stitch: Alpine stitch
Brim options: Chunky ribbed brim or neat knit-look brim
Finish: Optional faux fur or yarn pom pom
What’s Included
The PDF includes the Azalea Alpine Beanie pattern, photo stitch tutorials, sizing guidance, two brim designs, Alpine stitch help, clear written instructions, and helpful notes for making a polished textured beanie.
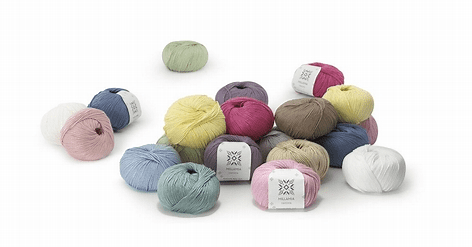
Yarn and Materials
I used aran acrylic yarn for both designs. Acrylic works really well for beanies because it is practical, washable, affordable and comes in a huge range of colours. It also gives good stitch definition, which helps the Alpine texture stand out clearly.
I always recommend choosing an aran weight yarn that gives you a warm but flexible fabric. For this beanie, you want enough structure for the Alpine stitch to stand out, but enough softness so the hat still feels comfortable to wear.
Recommended Yarn Alternatives
- Budget option: Stylecraft Special Aran — a practical 100% acrylic aran yarn with great colour choice and clear stitch definition.

- Premium option: MillaMia Naturally Soft Aran — a softer merino aran option for a more premium, cosy finish.
- Structure/fibre alternative: Stylecraft Special Aran with Wool — an acrylic/wool blend that adds warmth and a little extra structure while still being easy to work with.

Materials Checklist
- Aran weight yarn in two colours
- 5mm / H-8 crochet hook
- Yarn needle
- Scissors
- Pom pom maker or faux fur pom pom, optional
Shop Your Crochet Supplies
To make this beanie easier to start, here are the main supplies I recommend having ready before you begin.
I always recommend LoveCrafts for yarn because it makes it easy to compare fibre, weight and colour options before you start your project.

Approximate Yardage
Toddler: 70 yards of each colour
Junior: 85 yards of each colour
Teen: 95 yards of each colour
Adult: 110 yards of each colour
Tip: if you are adding a large pom pom or making the brim deeper, allow a little extra yarn so you are not playing yarn chicken at the end. We have all been there, and it is not character building.
Why You’ll Love This Beanie
The Azalea Alpine Beanie is cosy, textured, stylish, and satisfying to make. It has that lovely “I definitely know what I’m doing” look, without needing an overly complicated stitch pattern.
The Alpine stitch creates a raised, cable-like texture using stitches you may already know. It feels warm and slightly cushioned, making it perfect for winter hats, mountain walks, chilly school runs, and those days where your hair has absolutely chosen violence.
Tip: the Alpine stitch looks best when your tension is consistent, so take your time on the first few rounds until the rhythm settles.
Key Features
- Beautiful raised Alpine stitch texture
- Two brim styles included
- Sizes from toddler to adult
- Works beautifully with practical aran yarn
- Great project for practising front post stitches

Bonus PDF Guides Included
When you purchase Peanut & Plum PDF patterns, you’ll also receive helpful bonus guides designed to make your crochet projects easier to follow and more enjoyable.
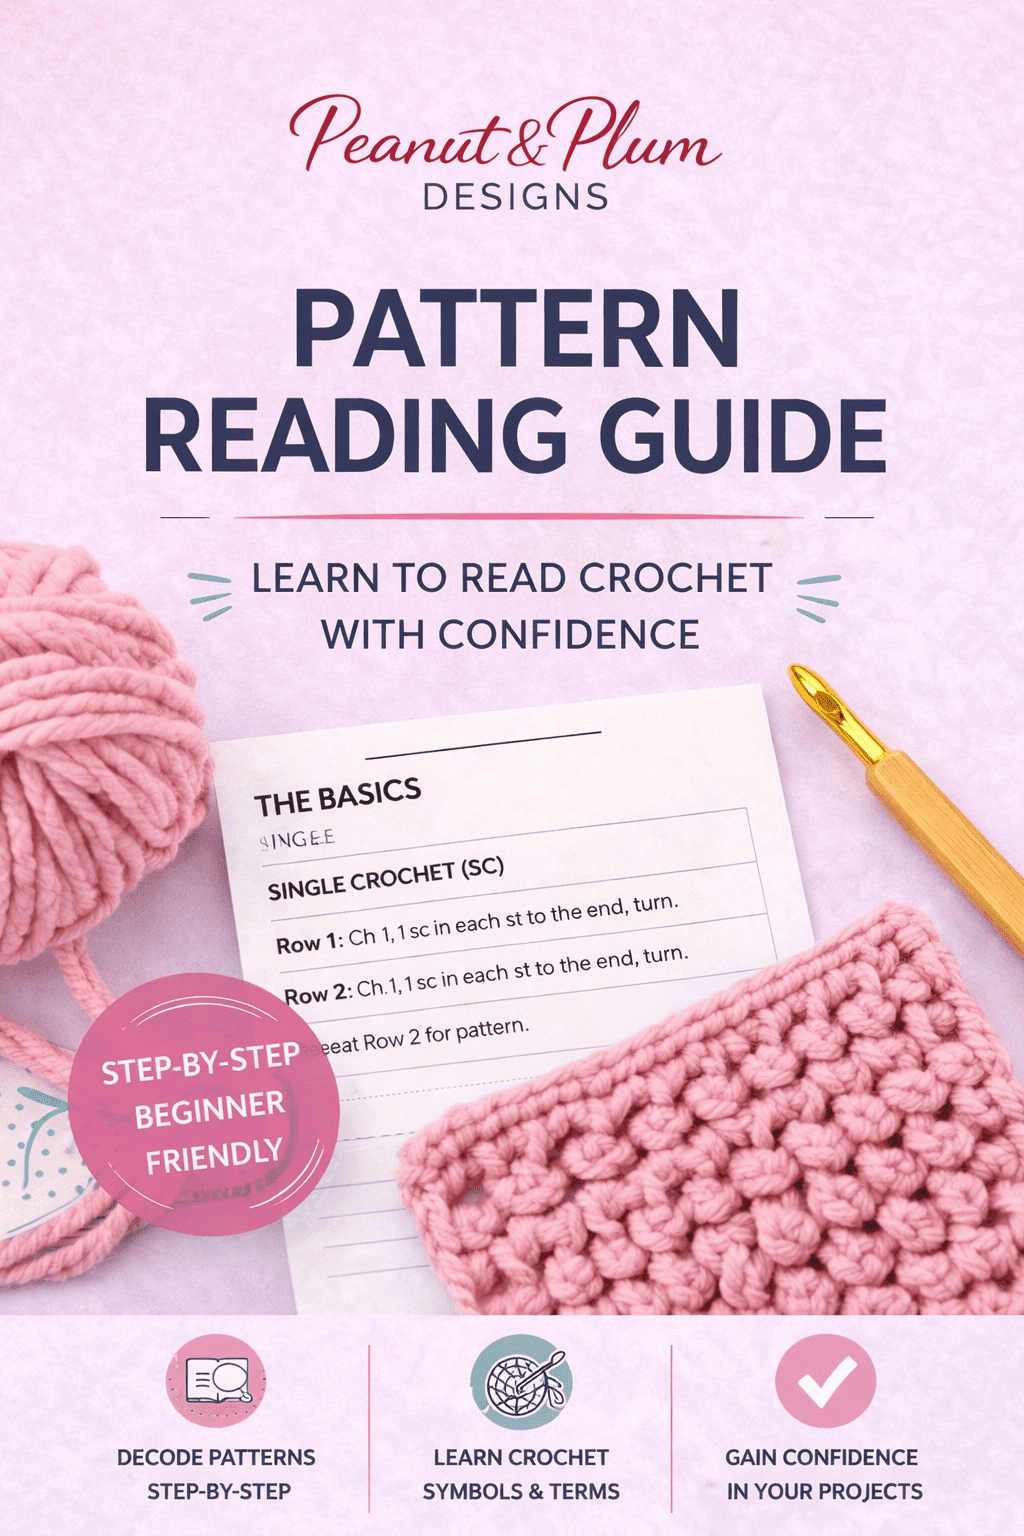
- Pattern Reading Guide: understand abbreviations, repeats, brackets, sizing and pattern layout.
- Yarn Guide: learn how yarn weight, fibre, stretch, texture and drape affect your finished project.
Tip: if front post stitches are new to you, the pattern reading guide is a handy extra for understanding stitch placement and repeat sections.
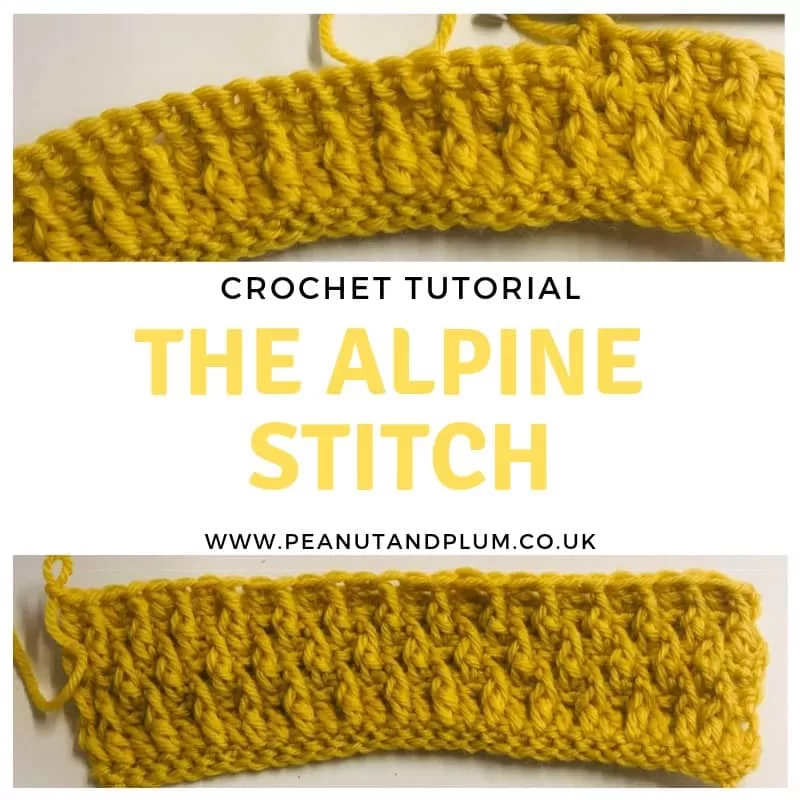
Why the Alpine Stitch?
The Alpine stitch had been sitting on my “must design with this” list for a while. It creates a gorgeous raised texture that looks a little like crochet cables, but it is much more approachable once you understand the repeat.
The stitch is made using simple rows and front post double crochet placement. If you are confident with double crochet and ready to try front post stitches, this is a brilliant stitch to build your skills.
How the Alpine stitch works: plain rows are alternated with front post stitches, which pull selected stitches forward and create the raised texture. The fabric feels warm, bouncy and slightly cushioned, making it ideal for beanies and winter accessories.
Yarn Tips for This Beanie
Yarn choice can change how your finished beanie feels. A smooth acrylic aran yarn will give clear stitch definition and easy care, while a wool blend can add extra warmth and a slightly more structured finish.
If you swap yarns, keep to aran weight and check your tension before making the full hat. A softer yarn may create a more relaxed beanie, while a firmer yarn may make the Alpine texture stand out more strongly.
Watch the Alpine Stitch Video Tutorial
If you are more of a visual learner, follow along with the Alpine stitch video tutorial below before starting your beanie.
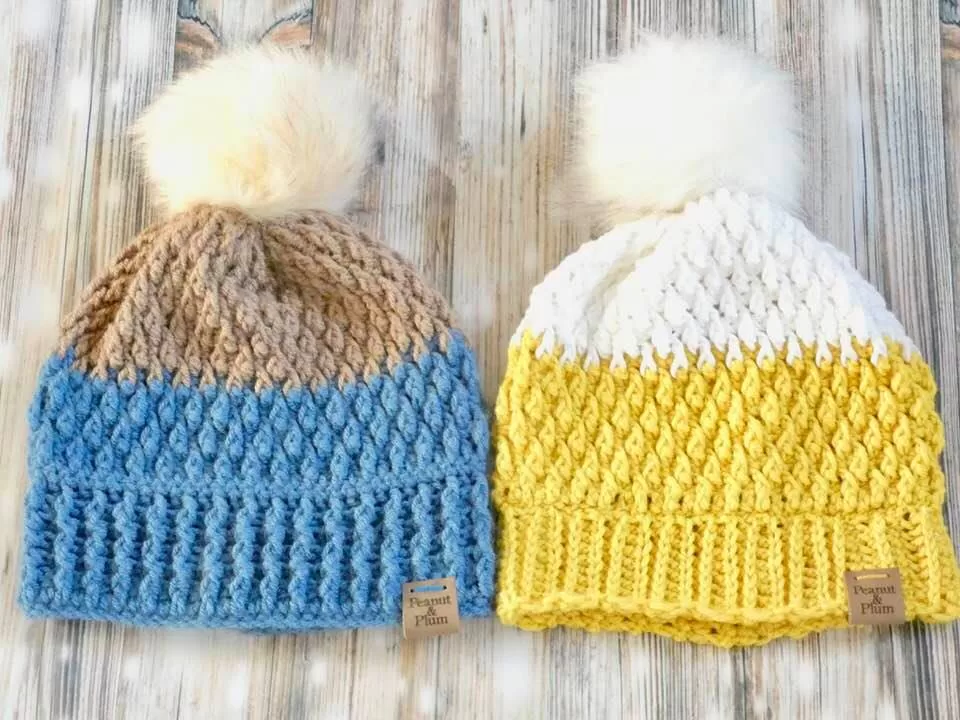
Two Designs, Two Vibes
I wanted this beanie to give you options, so the pattern includes two different brim designs. Both versions use the same Alpine stitch body, but the finish changes the overall feel of the hat.
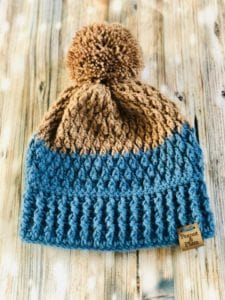
The Chunky Ribbed Brim
The blue beanie uses a chunky crochet ribbed brim. It has a stretchy, cosy feel and gives the hat a relaxed, slightly slouchy finish. It is perfect if you love a soft winter beanie with a little extra texture around the edge.
The Neat Knit-Look Brim
The yellow beanie has a neater knit-look brim. This gives a polished, handmade-but-store-worthy finish while still being completely crocheted. It works well if you prefer a snugger, more fitted style.
Tip: try the brim style that matches how you usually wear your hats. Slouchy and cosy? Choose the chunky rib. Neater and fitted? Choose the knit-look brim.
Stitches Used
- SC: Single crochet
- DC: Double crochet
- FPDC: Front post double crochet
- BPDC: Back post double crochet
How to work single crochet: insert your hook into the stitch, yarn over and pull up a loop, yarn over again and pull through both loops on your hook. This creates a firm, neat stitch that helps stabilise the beanie fabric.
How to work double crochet: yarn over, insert your hook into the stitch, yarn over and pull up a loop, yarn over and pull through two loops, then yarn over and pull through the final two loops. This adds height and helps the Alpine texture form.
How to work front post double crochet: yarn over, insert your hook from front to back to front around the post of the stitch below, then complete a double crochet as normal. This pulls the stitch forward and creates the raised Alpine texture.
How to work back post double crochet: yarn over, insert your hook from back to front to back around the post of the stitch below, then complete a double crochet as normal. This helps create ribbing and adds stretch to the brim.
Skill Level
This pattern is ideal for advanced beginners who are ready to try textured stitches, and intermediate crocheters who want a relaxing but satisfying winter accessory project.
If you have never tried front post stitches before, do not panic. The tutorial walks you through the stitch, and once you have completed a few repeats, the Alpine texture starts to make sense very quickly.
Skill builder: this pattern helps you practise Alpine stitch texture, front post stitches, brim construction, sizing, colour changes and neat finishing.
Common Mistakes to Avoid
- Working front post stitches into the top loops instead of around the post
- Pulling the Alpine stitch too tightly and shrinking the hat body
- Skipping gauge when changing yarn brands
- Forgetting which brim version you are following
- Attaching the pom pom before weaving in and securing all ends
Making It Your Own
The beauty of this beanie pattern is how customisable it feels while still being simple to follow. The texture gives the hat plenty of detail, so even plain colours look special.
- Add a faux fur pom pom for a soft winter finish
- Use two contrasting colours to make the Alpine texture stand out
- Work a deeper brim for a fold-over style
- Choose muted tones for a rustic look or bright shades for a fun statement beanie
The beanie is also a brilliant stash project because each size uses a manageable amount of yarn. Perfect for those leftover aran balls that are too pretty to ignore but not quite enough for a big project.
Why Crochet Your Own Beanie?
Store-bought hats are fine, but handmade beanies have personality. You can choose your colours, pick your brim style, add the pom pom you actually like, and make the fit suit you properly.
This pattern is also lovely for gifts. It is practical, warm, stylish, and quick enough to make more than one without questioning every life choice you’ve ever made.
Styling the Azalea Alpine Beanie
The Azalea Alpine Beanie works beautifully with cosy winter layers, chunky cardigans, denim jackets, wool coats, or casual school-run outfits. The blue version has a relaxed, outdoorsy feel, while the yellow version feels bright, cheerful and polished.
Wear it pulled low for warmth, slightly slouchy for a relaxed look, or with a big pom pom if you want that proper winter accessory feel. Handmade, but still stylish — exactly how we like it.
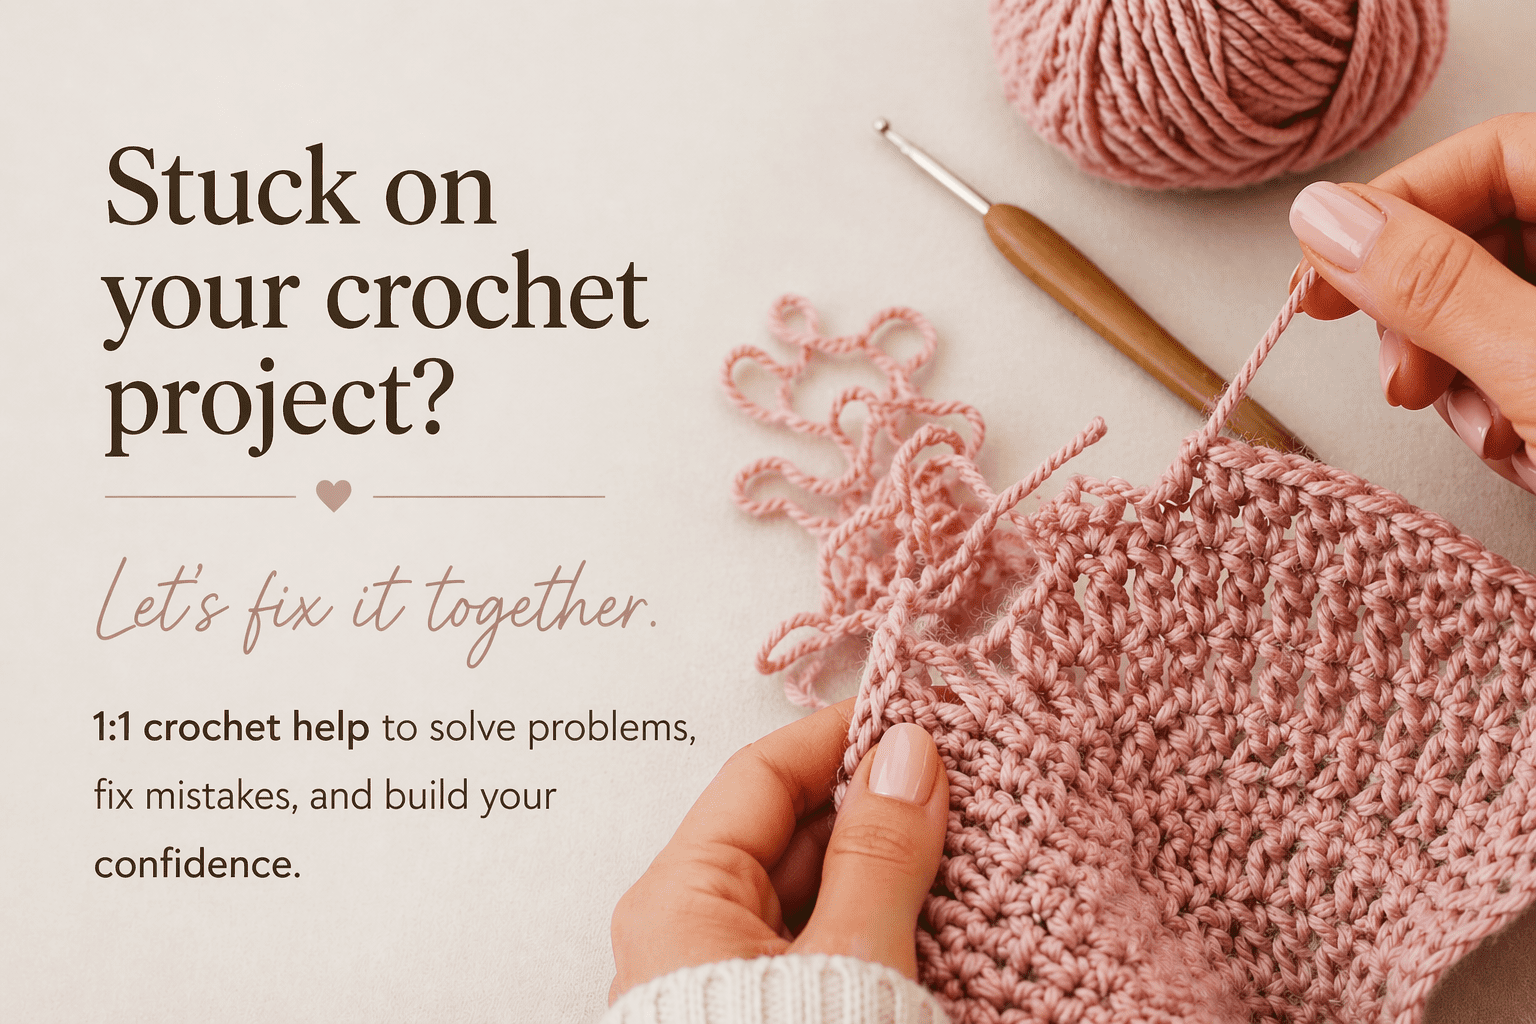
Need extra help?
Stuck on your beanie?
If you get stuck with the Alpine stitch, brim options, sizing, colour changes, or understanding the instructions, you can book a 30 minute 1:1 crochet help session and work through it properly.
New to Crochet Patterns?
If crochet patterns feel confusing, my complete guide to reading crochet patterns breaks down abbreviations, repeats, sizing and layout so everything feels much easier to follow.
Buy the Pattern
The downloadable PDF gives you a cleaner crochet experience with photo stitch tutorials, structured step-by-step instructions, printable formatting, and no ads or distractions — so you can focus fully on making your beanie with confidence.
Prices may be slightly higher on other platforms due to selling fees.
Bundle and Save
Building your crochet pattern library? Save when you buy more than one pattern.
Save 20% on 3 items with code MBUY20
Save 10% on 2 items with code MBUY10
Want More Alpine Stitch Patterns?
Try another textured project, browse more Peanut & Plum patterns, or build your confidence with the crochet pattern reading guide.
Ready to Get Started?
Everything you need to start your Azalea Alpine Beanie is linked below so you can grab the pattern, choose your yarn, and get your tools ready.
I would love to see your makes — please share with me using #PeanutandPlum
Follow Peanut & Plum
Happy crocheting,
Peanut & Plum