

Crochet Ribbed Cardigan – US & UK Terminology
Crochet Cardigan Pattern
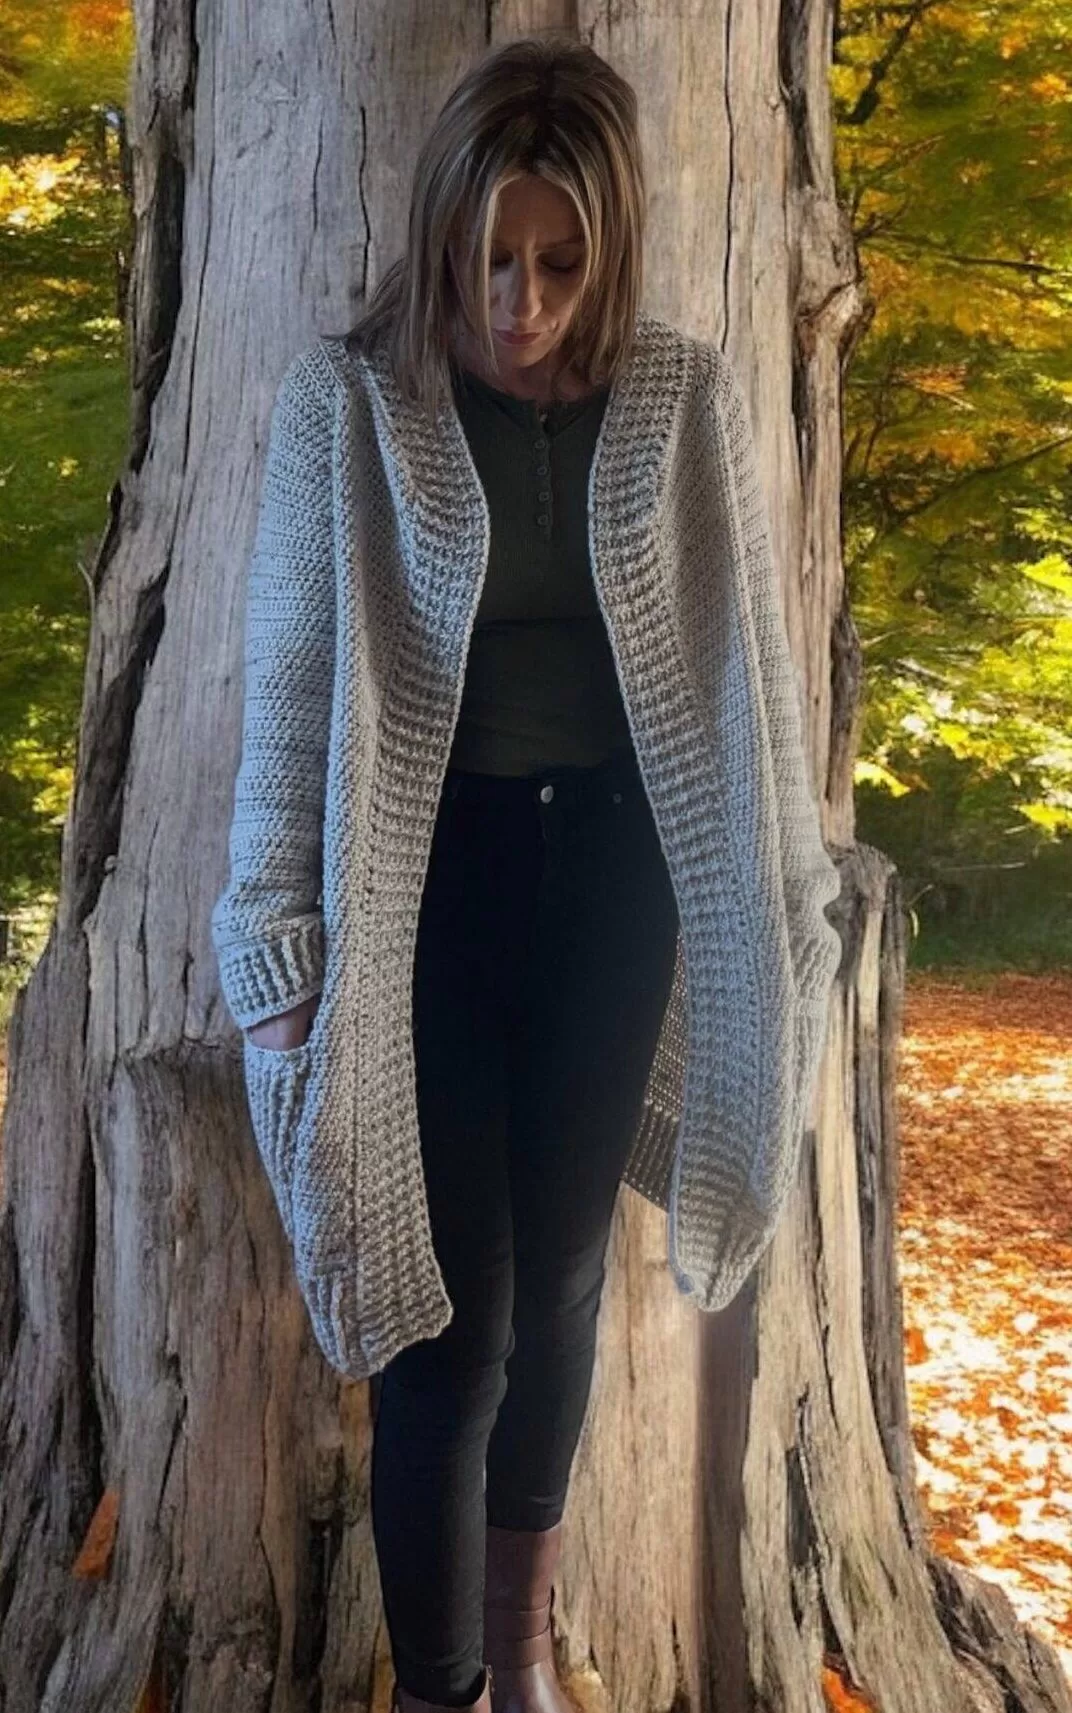
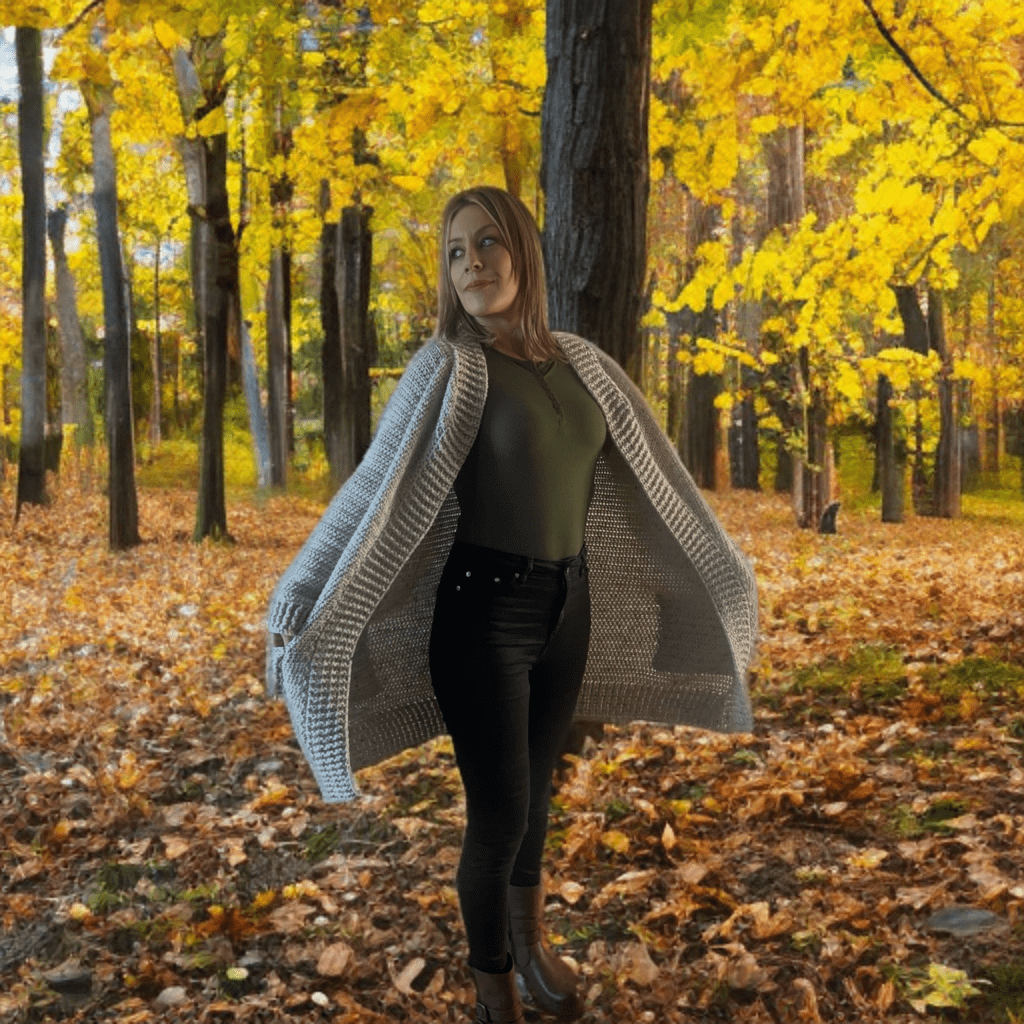
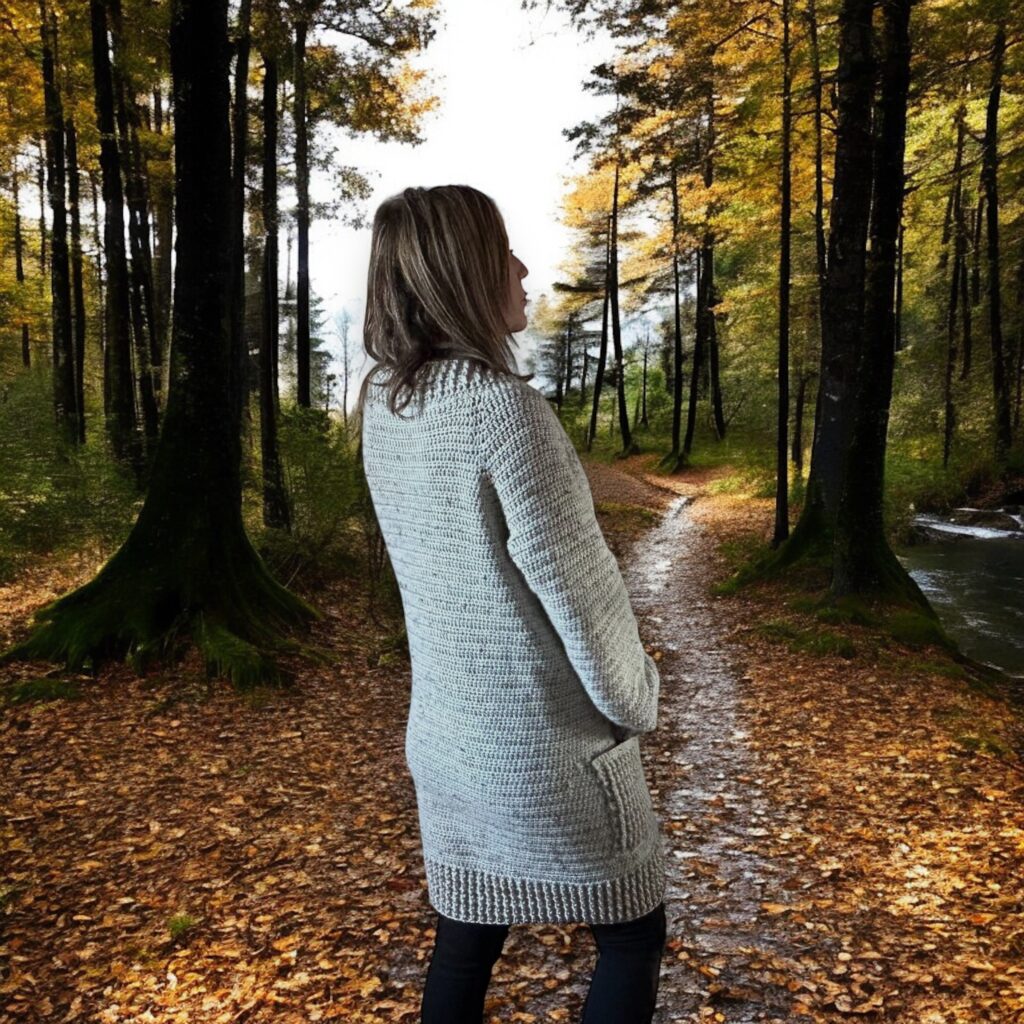
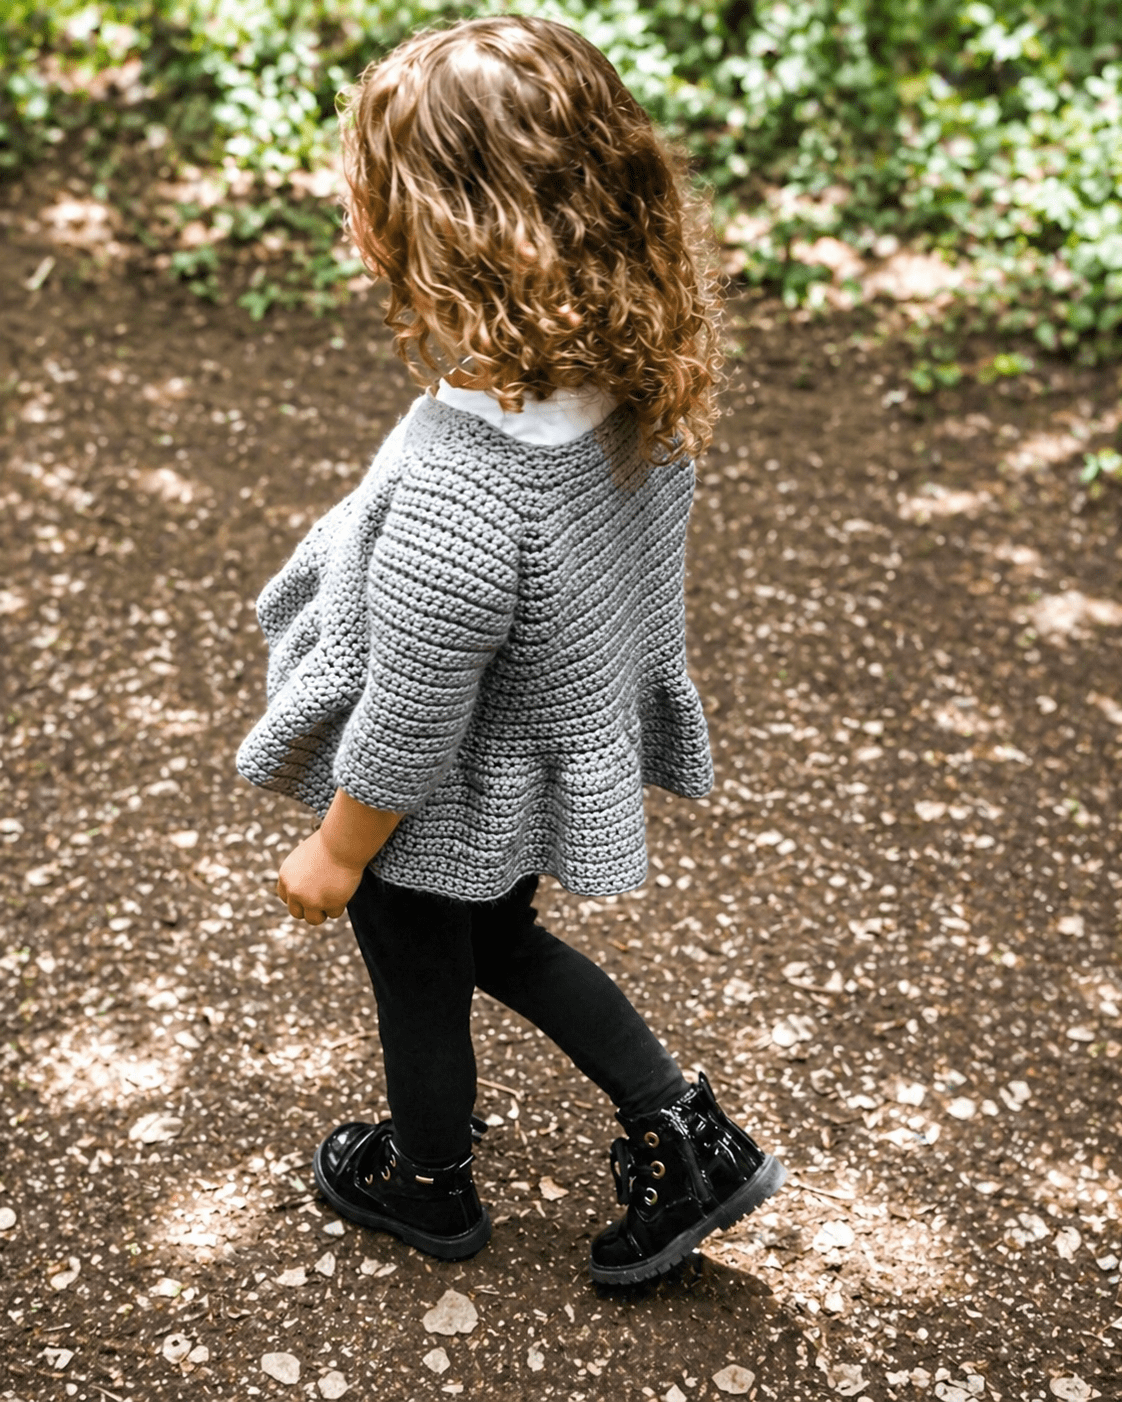
Longline Ribbed Cardigan Crochet Pattern
How to Crochet a Ribbed Cardigan
A cosy Longline Crochet Ribbed Cardigan Pattern written in sizes XS to XXXL, designed with a relaxed top-down raglan construction, soft tweed texture, ribbed edging, pockets, and a wearable autumn/winter finish.
This pattern is ideal if you want a practical handmade cardigan that feels comfortable, warm, and stylish without using overly complicated stitches. The body is kept simple and rhythmic, while the ribbed edging adds that polished finished look. It is the kind of cardigan you throw on once and then quietly decide it now lives on the back of your chair forever.
Quick Pattern Info
Skill level: Easy / Confident Beginner
Sizes: XS to XXXL
Yarn: James C Brett Aran with Tweed
Hooks: 6mm/J for body, 5mm/H for ribbing
Construction: Top-down raglan cardigan
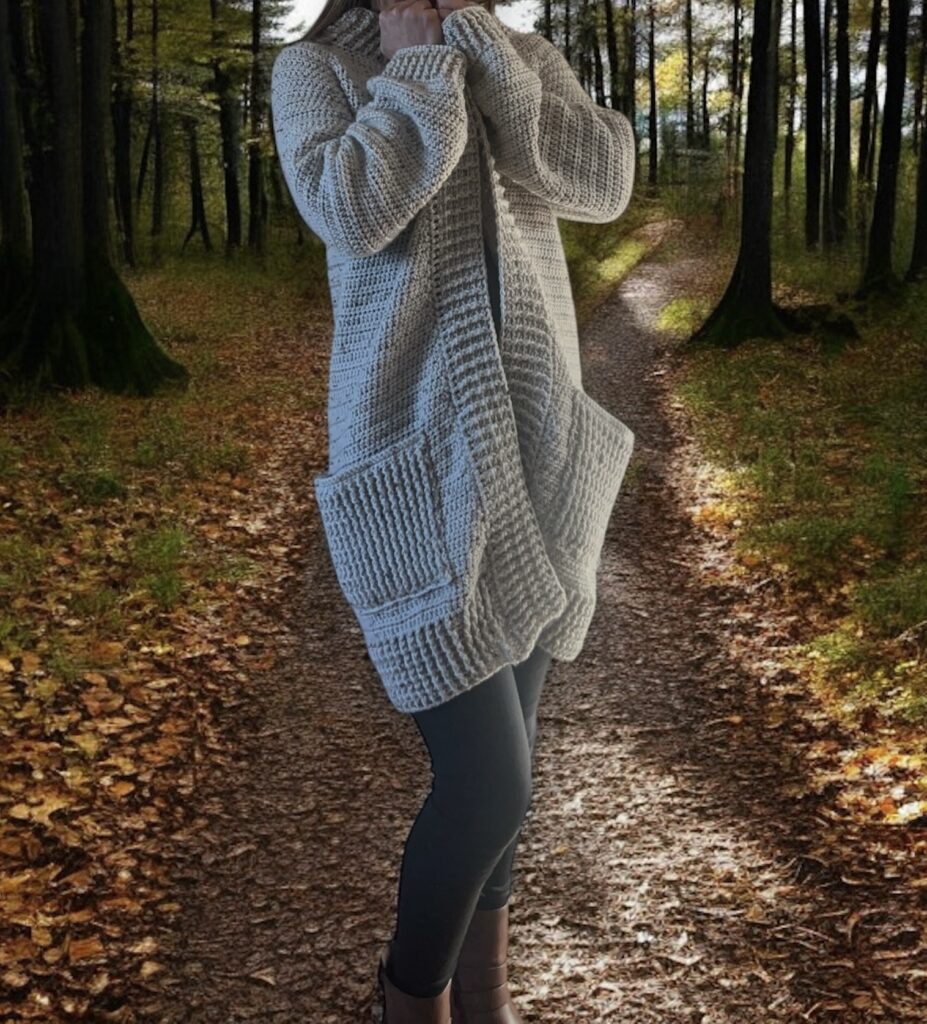
Details: Ribbed edging, sleeves, cuffs, pockets, and lapels
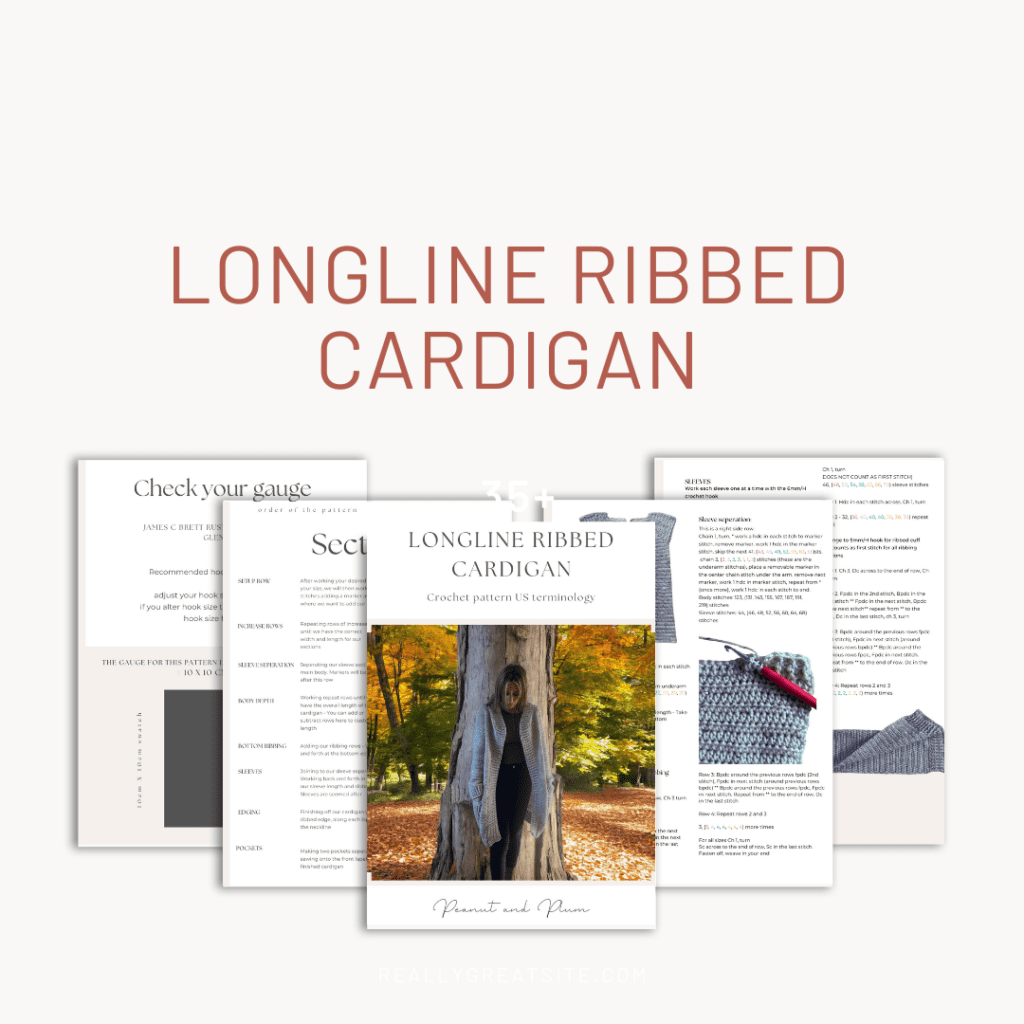
What’s Included
Ad-free PDF pattern, UK and US terminology, colour-coordinated sizing, gauge tool, materials checklist, section-by-section guidance, ribbing notes, custom fit tips, and clear instructions for creating a longline ribbed crochet cardigan.
Why You’ll Love This Cardigan
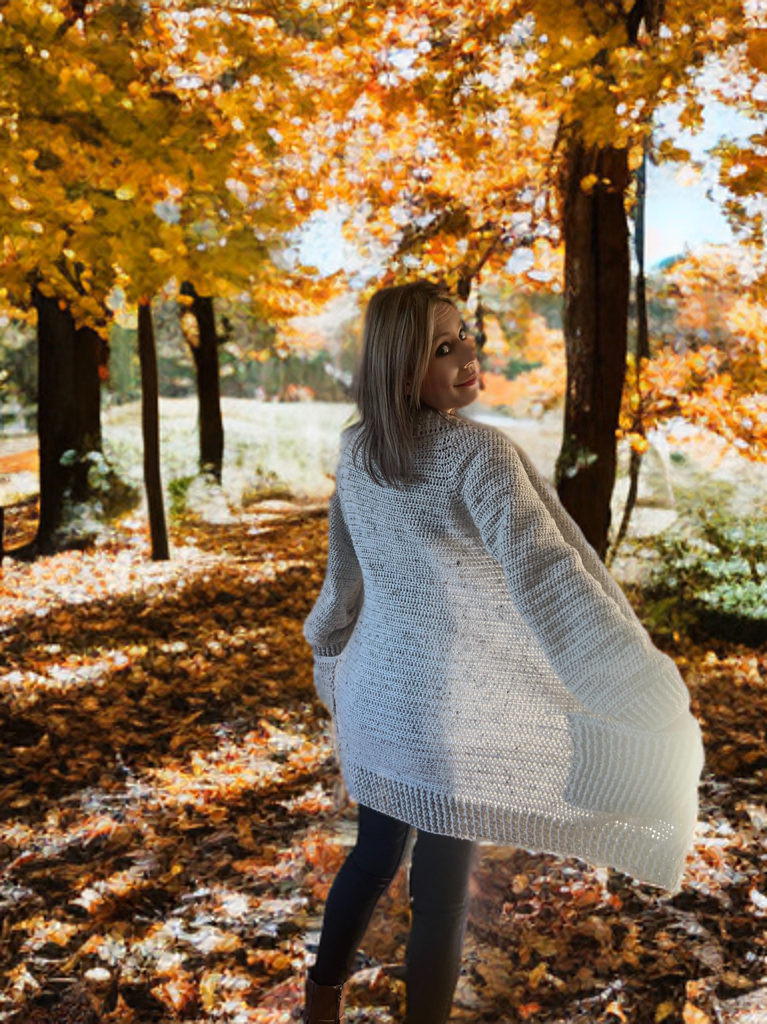
This crochet ribbed cardigan is designed with comfort, style, yarn value, and realistic making time in mind. It has the warmth of an autumn/winter layer, the softness of tweed-style yarn, and a relaxed longline fit that works beautifully over everyday outfits.
The cardigan is worked raglan style from the top down, using stitch markers to create the sleeve sections, lapels, and back. Increases are worked before and after the marker stitch, with only one stitch placed into the marked space. Tip: move each marker up as you work every row — it keeps your shaping clean and saves a lot of “where on earth did that increase go?” moments.
The main body uses simple stitches so the cardigan works up smoothly, while the ribbed edging adds a more polished finish. It is a great project when you want a wearable garment without feeling like you need a lie down after every row.
Key Features
- Top-down raglan crochet cardigan pattern
- Sizes XS to XXXL
- Longline shape with ribbed edging
- Includes pockets, cuffs, sleeves, lapels, and neckline edging
- Written in both UK and US crochet terminology
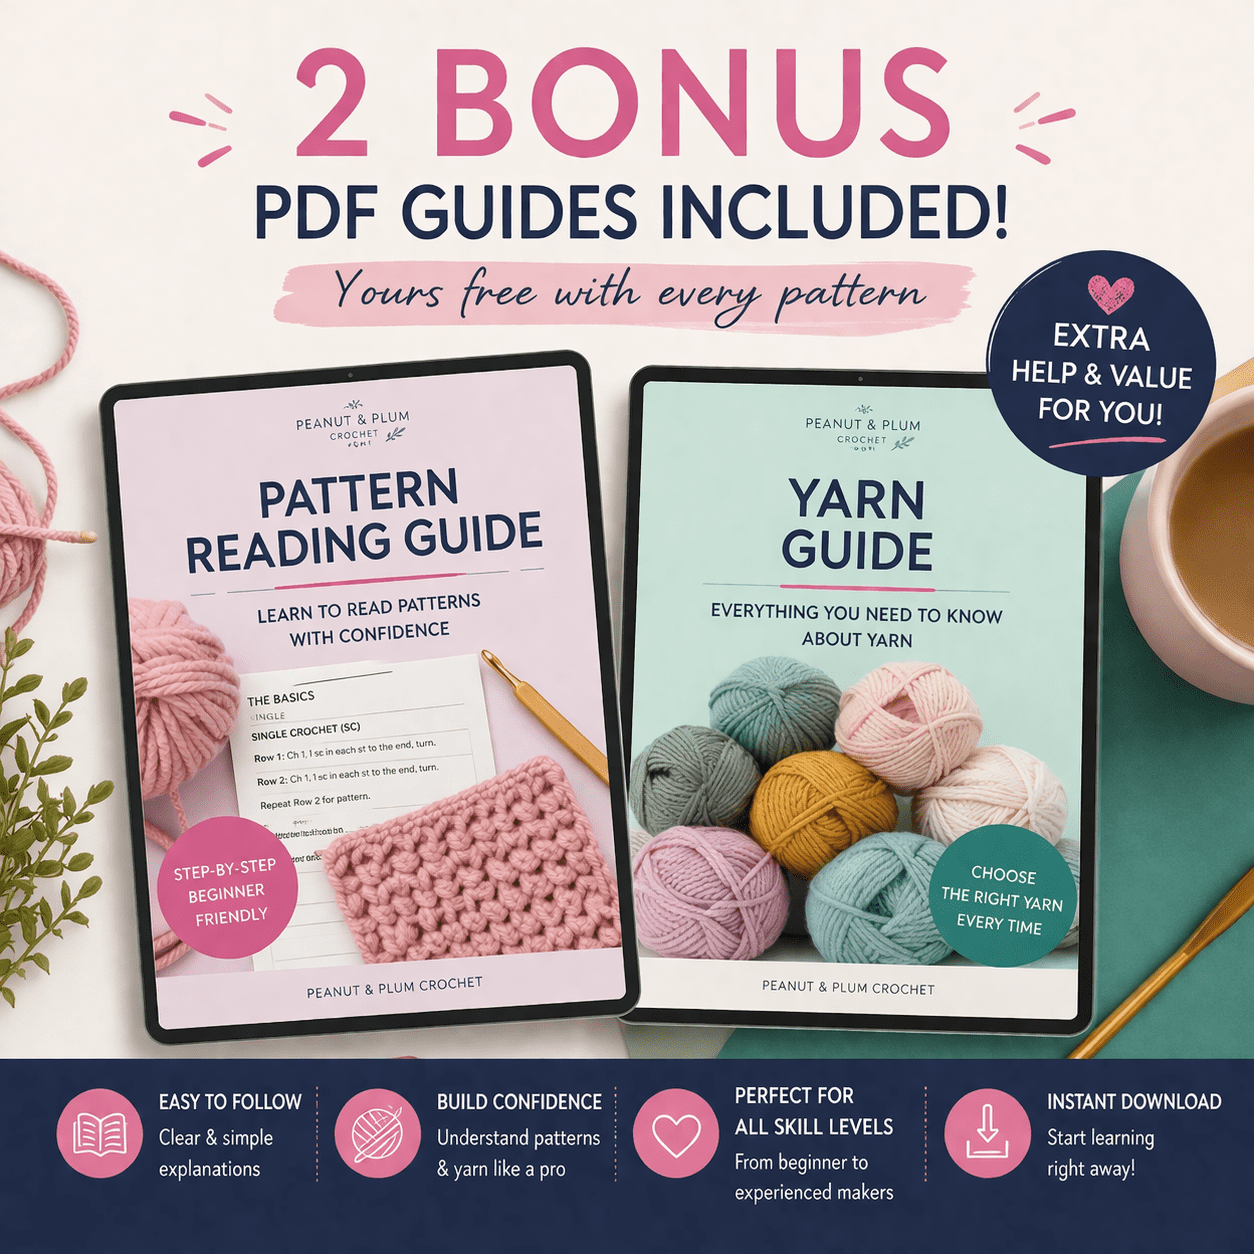
Bonus PDF Guides Included
When you purchase the pattern, you’ll also receive helpful bonus guides designed to make your crochet projects easier, clearer, and more successful.
- Pattern Reading Guide: understand repeats, sizing, abbreviations, and layout so patterns feel easier to follow.
- Yarn Guide: learn how yarn weight, fibre, texture, stretch, and drape affect your finished project.
These guides are designed to remove the guesswork and help you crochet with confidence. Tip: keep the pattern reading guide open while working through raglan shaping and size-specific instructions.
The Yarn and Feel
This cardigan uses James C Brett Aran with Tweed, a warm, durable yarn with a soft rustic texture. It comes in generous 400g skeins, which makes it a practical choice for a larger garment like a longline cardigan.
The yarn has enough stretch to feel comfortable while still giving the cardigan structure. The tweed effect adds depth to the fabric without needing complicated colourwork, and the finished cardigan feels warm, cosy, and substantial without looking heavy. Tip: using the 6mm hook for the body gives the fabric more ease and drape, while the 5mm hook keeps the ribbing neat and structured.
This yarn works especially well for autumn and winter because it balances warmth, softness, and shape. The ribbing sections use the smaller hook to create a cleaner edge around the hem, cuffs, lapels, and neckline.
Purchase the correct yarn here!

Pattern Sections
The cardigan is worked in clear sections so you can understand the construction before you begin. This makes the project feel much more manageable, especially if you are new to top-down garments.
- Setup row: chain for your size, then place markers to show where increases will be worked.
- Increase rows: repeat shaping rows until the sleeve, back, and lapel sections reach the correct size.
- Sleeve separation: separate the sleeve sections from the main body and remove markers after this row.
- Body depth: work repeat rows until the cardigan reaches your chosen length.
- Bottom ribbing: work ribbing back and forth along the lower edge.
- Sleeves: join to the sleeve separation section, work sleeve length, then add ribbed cuffs.
- Edging: add a thick ribbed edge along the lapels and neckline.
- Pockets: make two pockets separately and sew them to the front lapels.
Stitches Used
This pattern uses chain, slip stitch, single crochet, double crochet, half double crochet, front post double crochet, back post double crochet, increases, decreases, and marker placement.
Chain: yarn over and pull through the loop on your hook. Chains create the starting foundation and turning points.
Slip stitch: insert your hook, yarn over, and pull through both the stitch and the loop on your hook. This creates a neat, low-profile join or movement stitch.
Single crochet: insert your hook, yarn over and pull up a loop, yarn over and pull through both loops. This creates a firm, neat stitch often used for structure and edging.
Double crochet: yarn over, insert your hook, yarn over and pull up a loop, yarn over and pull through two loops, then yarn over and pull through the final two loops. This gives height, drape, and quick progress.
Half double crochet: yarn over, insert your hook, yarn over and pull up a loop, then yarn over and pull through all three loops. This creates a soft, slightly cushioned fabric with good flexibility.
Front post double crochet: work a double crochet around the post of the stitch from front to back to front. This pushes the stitch forward and creates raised ribbing.
Back post double crochet: work a double crochet around the post of the stitch from back to front to back. This pushes the stitch backward and creates depth behind the raised ribbing.
If pattern abbreviations feel confusing, my complete guide to reading crochet patterns breaks down repeats, sizing, terminology, and layout in a beginner-friendly way.
Common Mistakes to Avoid
- Working increases into the marker stitch instead of before and after it
- Forgetting to move markers up each row
- Skipping the gauge swatch before starting
- Using the same hook size for body and ribbing
- Seaming sleeves before checking sleeve length
Skill builder: this pattern helps you practise top-down raglan construction, garment shaping, stitch marker placement, ribbed edging, and customising cardigan length.

Materials Checklist
Hooks: 6mm/J crochet hook for the main body and 5mm/H crochet hook for ribbing.
- 4 stitch markers
- Yarn scissors
- Yarn needle
- Tape measure
- James C Brett Aran with Tweed yarn
Yardage: XS 1325 yards, S 1440 yards, M 1555 yards, M/L 1655 yards, L 1785 yards, XL 1890 yards, XXL 2015 yards, XXXL 2130 yards.
Finished Sizes
This cardigan is designed with approximately 3–6 inches of positive ease. Measurements are taken with the cardigan laid flat under the arms.
XS
32.75″ chest circumference
S
35″ chest circumference
M
38″ chest circumference
M/L
41″ chest circumference
L
44″ chest circumference
XL
48″ chest circumference
XXL
52″ chest circumference
XXXL
56″ chest circumference
Body length, sleeve length, ribbing thickness, and cuff length can be customised within the pattern instructions.
Need extra help?
Stuck on your cardigan?
If you get stuck on sizing, raglan increases, marker placement, ribbing, sleeves, or understanding the instructions, you can book a 30 minute 1:1 crochet help session and work through it properly.
New to Crochet Clothing?
If garment patterns feel confusing, my complete guide to reading crochet patterns breaks down terminology, repeats, sizing, and layout so everything feels much easier to follow.
Buy the Pattern
The downloadable PDF gives you a cleaner crochet experience with structured, step-by-step instructions, printable formatting, UK and US terminology, colour-coded sizing, a gauge tool, and no ads or distractions — so you can focus fully on making your cardigan with confidence.
Prices may be slightly higher on other platforms due to selling fees.
Bundle and Save
Love making wearable crochet? Browse the full Peanut & Plum pattern collection and build your handmade wardrobe one cosy project at a time.
Want More Crochet Women’s Patterns?
Take a look at more wearable Crochet Patterns.
Happy Crocheting!
I would love to see your makes — please share with me using #PeanutandPlum.


One Comment