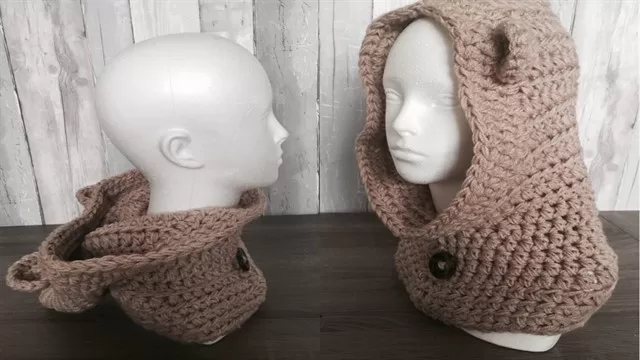


The Dahlia Retro Crochet Headband
Crochet Headband Pattern
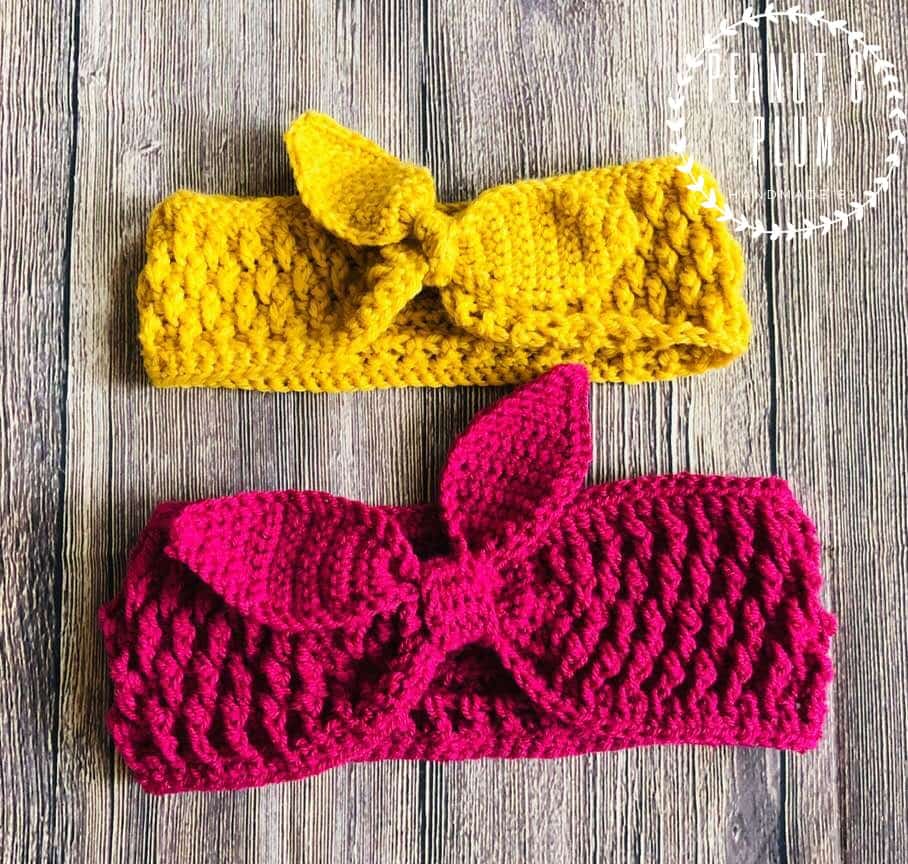
Quick and Easy Crochet Headband / Ear Warmer Pattern
Quick and Easy Crochet Headband Pattern
A quick Alpine stitch crochet headband and ear warmer pattern for babies, designed as a cosy stash-buster project that can be made in around two hours or less.
This quick and easy crochet headband is one of those lovely little projects that ticks far more boxes than expected. It is fast, practical, cosy, and perfect for using up smaller balls of yarn from your stash — which, if your yarn collection is anything like mine, is less of a stash and more of a soft, woolly takeover.
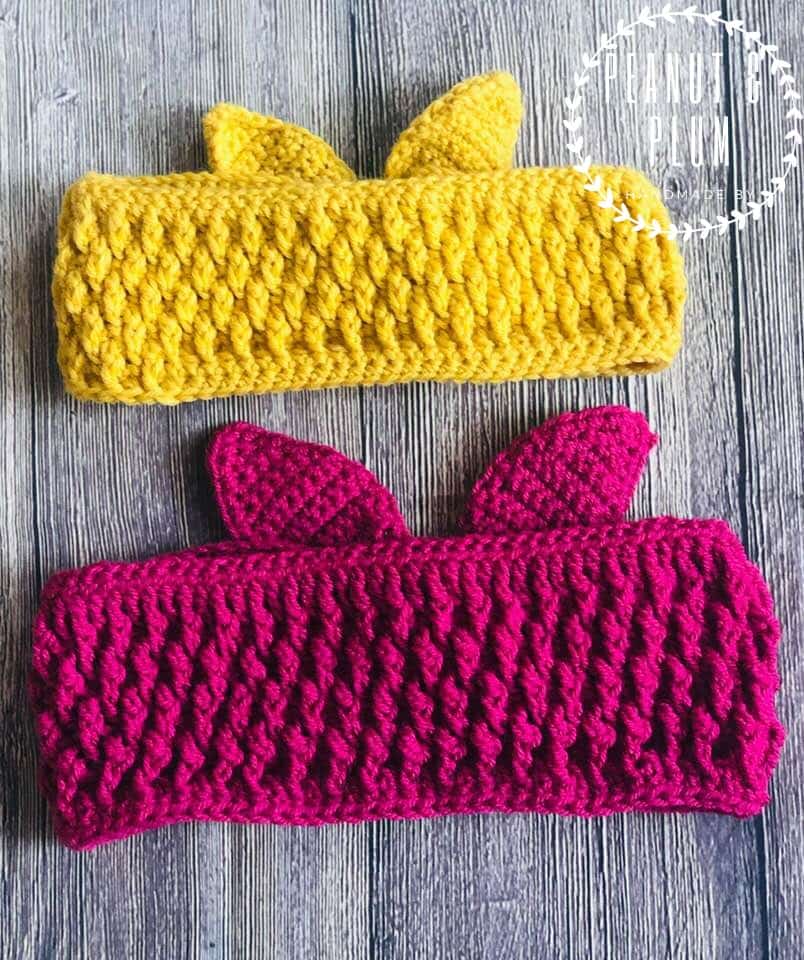
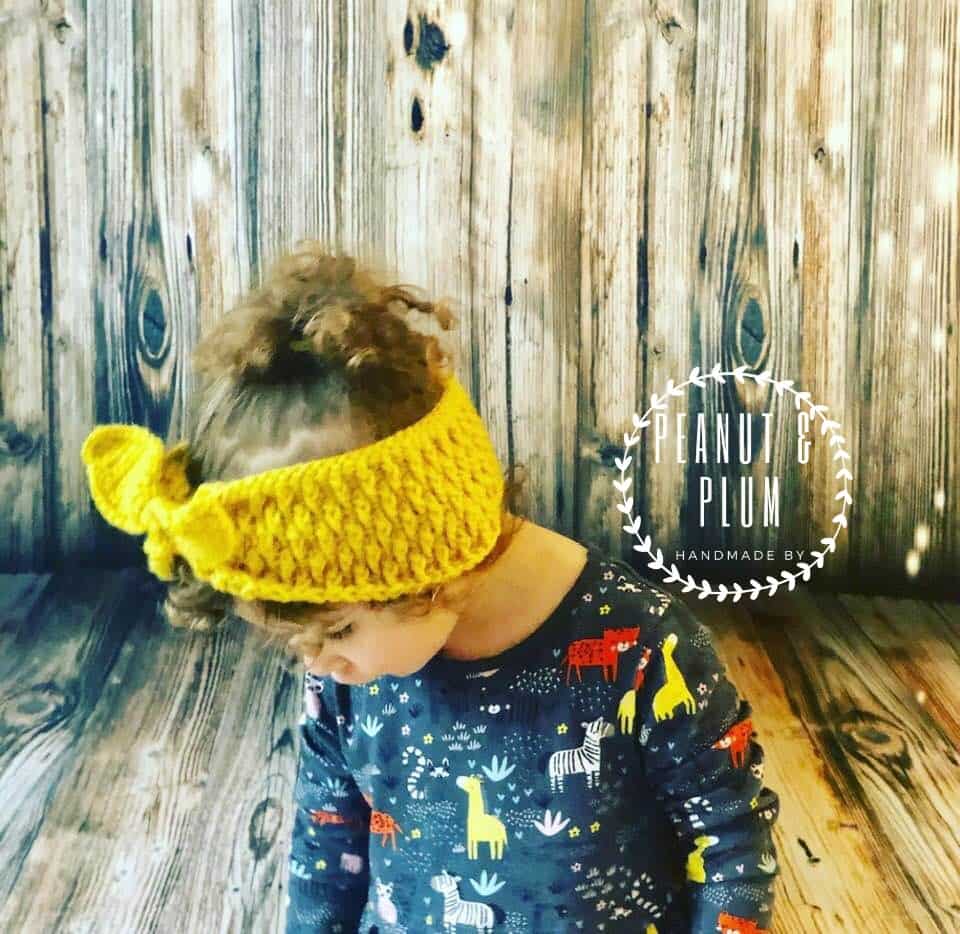
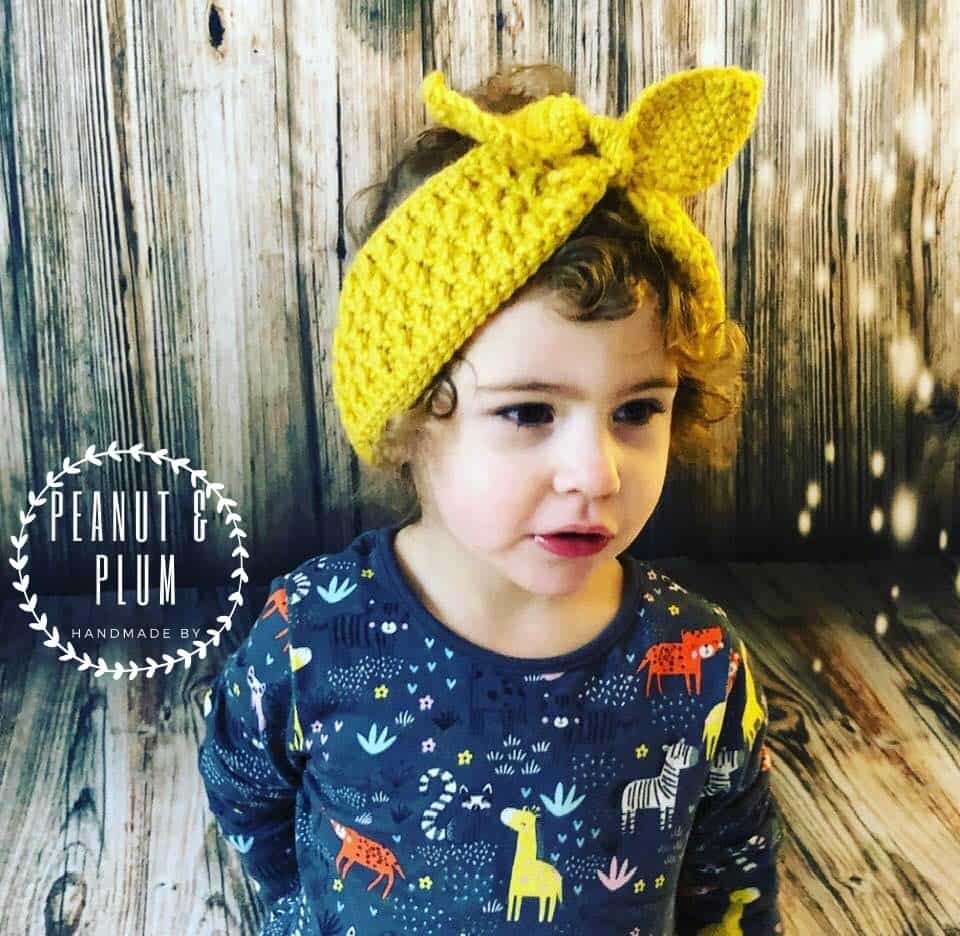
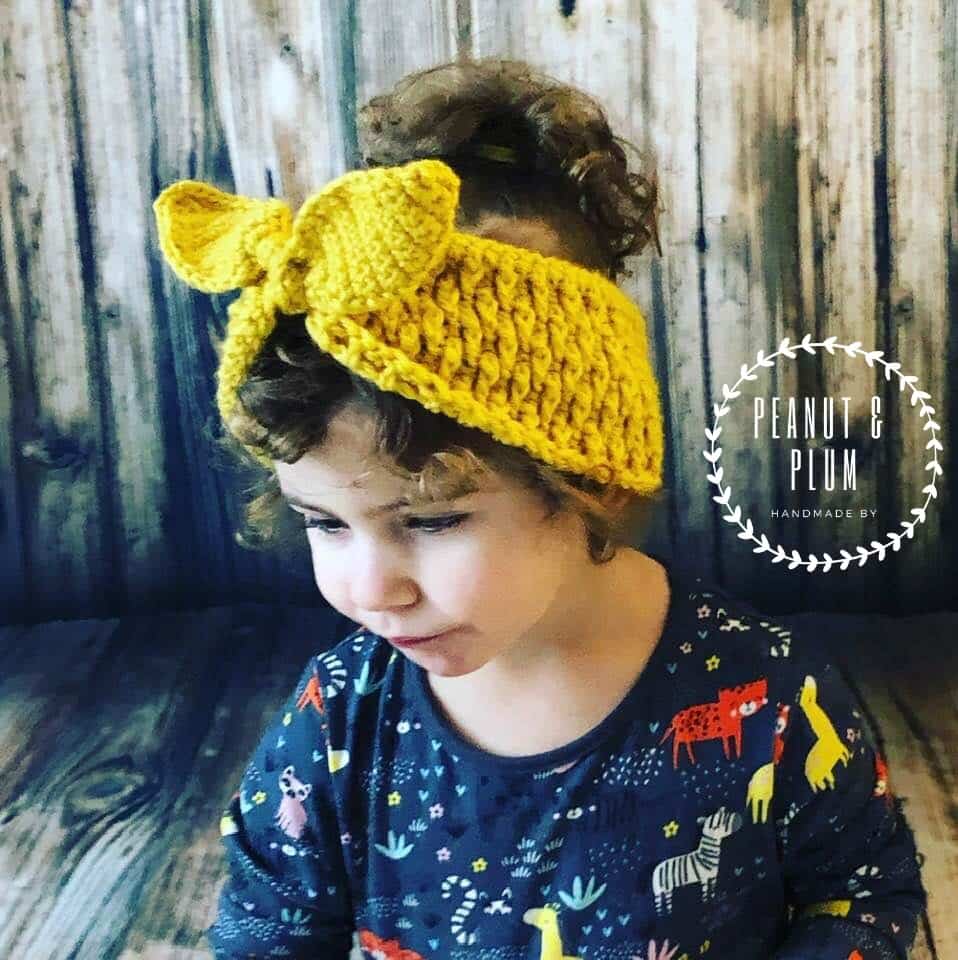
The retro-style design feels timeless, and the Alpine stitch gives the headband a beautifully raised texture with warmth, stretch, and structure. It works especially well as an ear warmer for little ones who are not always keen on keeping full beanie hats on.
This version is written in US crochet terms for size 3–6 months, with a finished circumference of approximately 15 inches. The pattern includes picture stitch support, and there is also an Alpine stitch video tutorial available to help if you are new to the stitch.
This post may contain affiliate links. These are products I personally use, love, or recommend to help make your project as simple and enjoyable as possible. If you choose to purchase through these links, I may earn a small commission at no extra cost to you.
Quick Pattern Info
Skill level: Advanced Beginner
Size: 3–6 months
Finished circumference: Approx. 15 inches
Yarn: DK or light worsted yarn, depending on season and desired warmth
Hooks: 4mm and 5mm crochet hooks
Main stitch: Alpine stitch
Terms: US crochet terms
Project time: Around 2 hours or less
What’s Included
The pattern includes written instructions, picture stitch support, Alpine stitch guidance, sizing information, and helpful notes so you can make a neat, comfortable baby headband with a raised textured finish.
Yarn and Materials
This headband was designed as a stash-buster project, so it is ideal for using up smaller amounts of yarn. The Alpine stitch gives a dense, textured fabric with stretch, which makes it lovely for an ear warmer because it feels cosy without needing a bulky full hat.
I always recommend choosing a soft, washable yarn for baby and toddler accessories. You want the headband to feel comfortable against the skin, hold its shape well, and be easy to clean — because baby accessories do not live a gentle life.
Recommended Yarn Alternatives
- Budget option: DK yarn from LoveCrafts — a practical choice if you want an easy-care yarn with plenty of colour options.
- Premium option: Soft merino yarn from LoveCrafts — a beautiful option for a warmer, softer baby accessory.
- Structure/fibre alternative: Cotton blend yarn from LoveCrafts — a lighter option if you want a headband that works for milder weather.
Materials Checklist
- DK or light worsted yarn
- 4mm crochet hook
- 5mm crochet hook
- Yarn needle
- Scissors
- Stitch markers, optional but helpful
Gauge: 4 stitches and 19 rows over 10cm x 10cm.

Shop Your Crochet Supplies
To make this headband easier to start, here are the basic tools and yarn supplies I recommend having ready.
I always recommend LoveCrafts for yarn because it makes it easy to browse by weight, fibre, colour and project type.

Why You’ll Love This Headband
This crochet headband is quick, useful and genuinely satisfying to make. It can be completed in around two hours or less, which makes it ideal for a last-minute gift, a weekend project, or a little stash-busting session when you want to feel productive without committing to a full garment.
The design has a sweet retro feel, but it is still practical enough for everyday wear. You can make it warmer with a wool or acrylic blend for winter, or choose a lighter cotton blend for those in-between months when a full hat feels too much.
A Brilliant Stash-Buster Project
I am sure I am not alone when I say I have a lot of yarn tucked into drawers, cupboards, baskets, bags, and anywhere else I can cram it in. The small leftover balls are always the hardest to part with because they are usually too pretty to throw away, but not quite enough for a larger project.
This headband was exactly the sort of project I needed. It uses a small amount of yarn, works up quickly, and still creates something practical and pretty at the end. I made three in one evening, which gave me a very satisfying feeling of productivity and slightly less guilt about the yarn mountain.
At the time, we were constantly in and out of the warmth — shopping, visiting family, doing the usual life juggle with two beautiful babies. Alice, also known as Plum, had a real talent for removing beanie hats, especially in the car when she got a bit warmer.
The hats ended up everywhere: under seats, in the boot, at my Mum’s, probably somewhere in a supermarket aisle. So I thought a headband would be more suitable. She could keep her ears warm without overheating, and I could make a few colours so she could choose one to match her outfit.
It Worked on So Many Levels
It worked up so quickly, and I loved the texture of the Alpine stitch. It has a lovely dense feel with plenty of stretch, which is exactly what you want for a headband or ear warmer.
My little two-year-old was quite the princess and loved putting accessories on when getting ready. Having a little choice of colours made her excited to wear one — and the best bit? She kept it on all afternoon. A genuine parenting and crochet win.
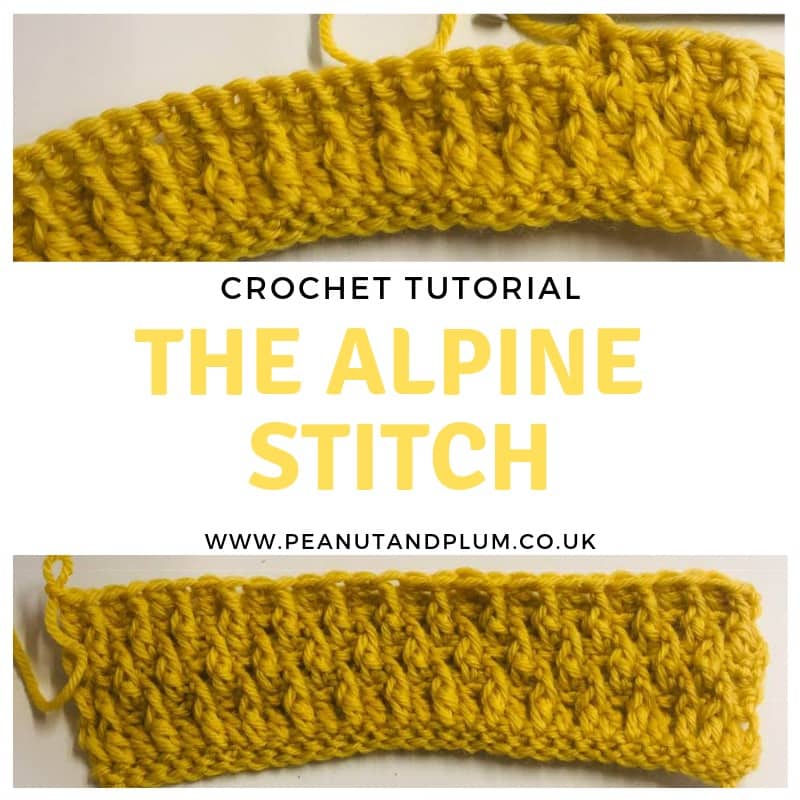
The Alpine Stitch
If you have not used the Alpine stitch before, it is much easier than it looks. It uses simple stitches, including double crochet and front post double crochet, to create a raised texture that looks beautifully defined.
The Alpine stitch is especially lovely for accessories because it creates a thicker, warmer fabric with a little stretch. On a headband, that means the finished piece feels cosy and comfortable while still holding its shape.
How the Alpine stitch works: you begin with a row of single crochet, then alternate rows of regular stitches with front post double crochet stitches. The front post stitches pull forward and create the raised textured effect.
You can find the full picture tutorial and video here:
Stitches Used
- SC: Single crochet
- DC: Double crochet
- FPDC: Front post double crochet
- SC2TOG: Single crochet two together
- ASTC: Alpine stitch
Single crochet: a short, firm stitch that helps create a neat foundation and stable fabric.
Double crochet: a taller stitch that gives the Alpine stitch its height and movement.
Front post double crochet: worked around the post of the stitch below rather than into the top loops. This is what creates the raised texture in the Alpine stitch.
Single crochet two together: a simple decrease used to reduce stitches neatly where needed.
Tip: always start the Alpine stitch with a row of single crochet. This gives the texture a clean foundation and helps the raised stitches sit more evenly.
Yarn Tips for This Headband
Yarn choice will affect how your finished headband feels. A soft acrylic or acrylic blend will make it easy-care and practical for everyday wear, while a wool or merino option will feel warmer and more premium.
If you want a lighter headband for warmer months, choose a smooth cotton blend and check your gauge before starting. If you want a winter ear warmer, choose a soft DK or light worsted yarn with enough bounce to help the Alpine stitch stand out.
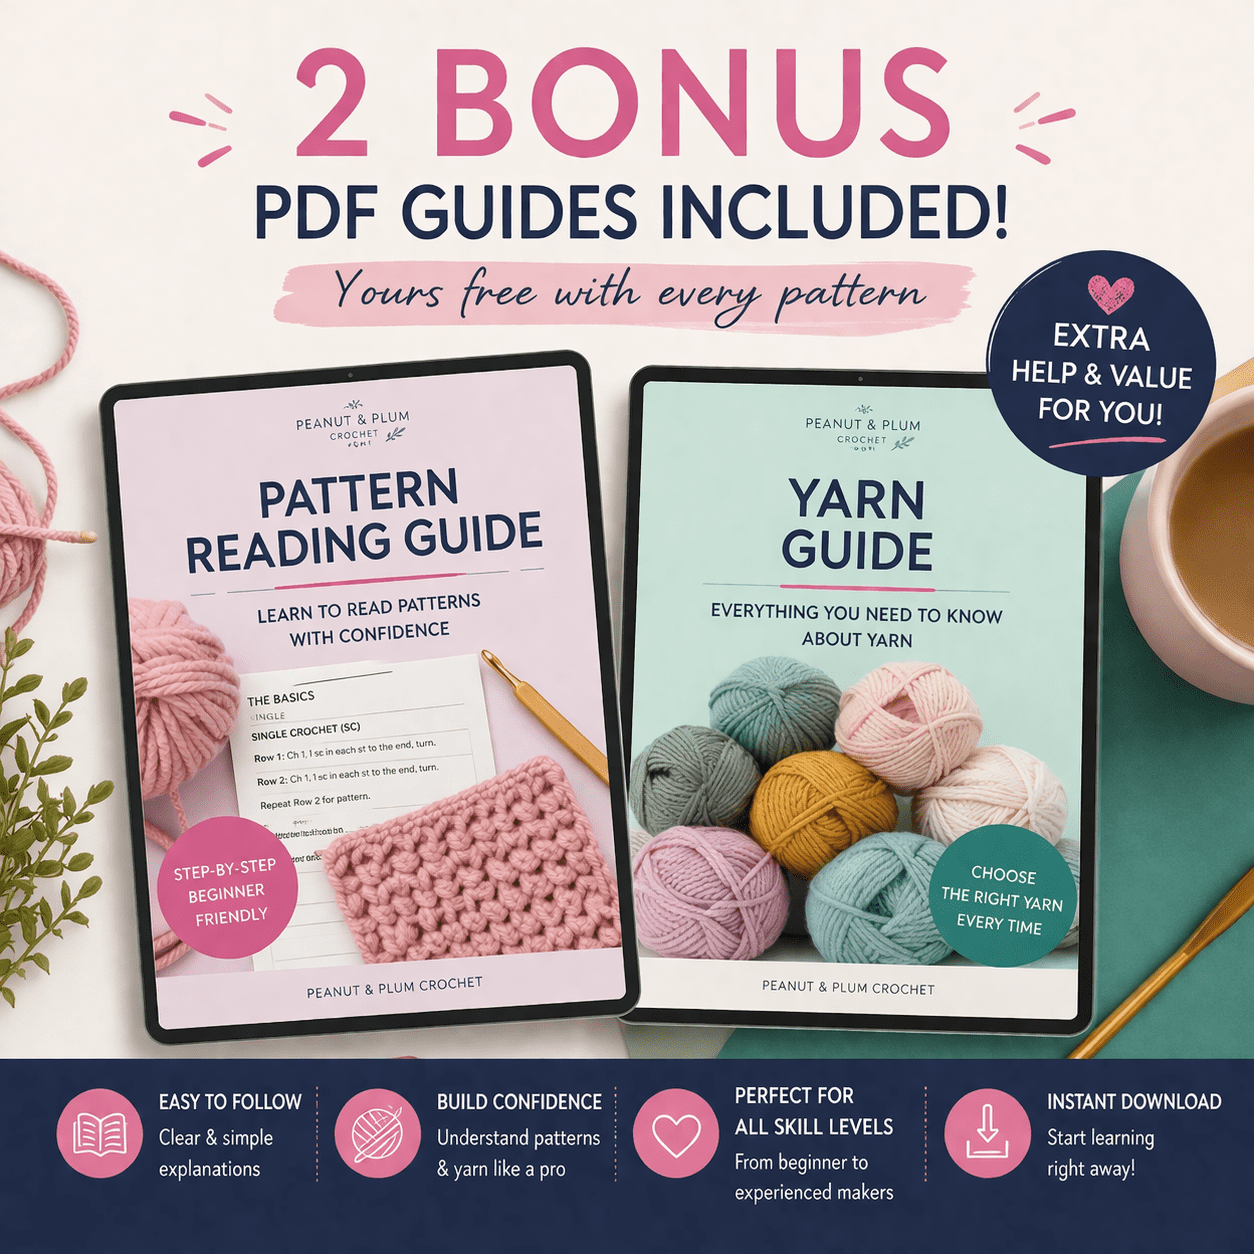
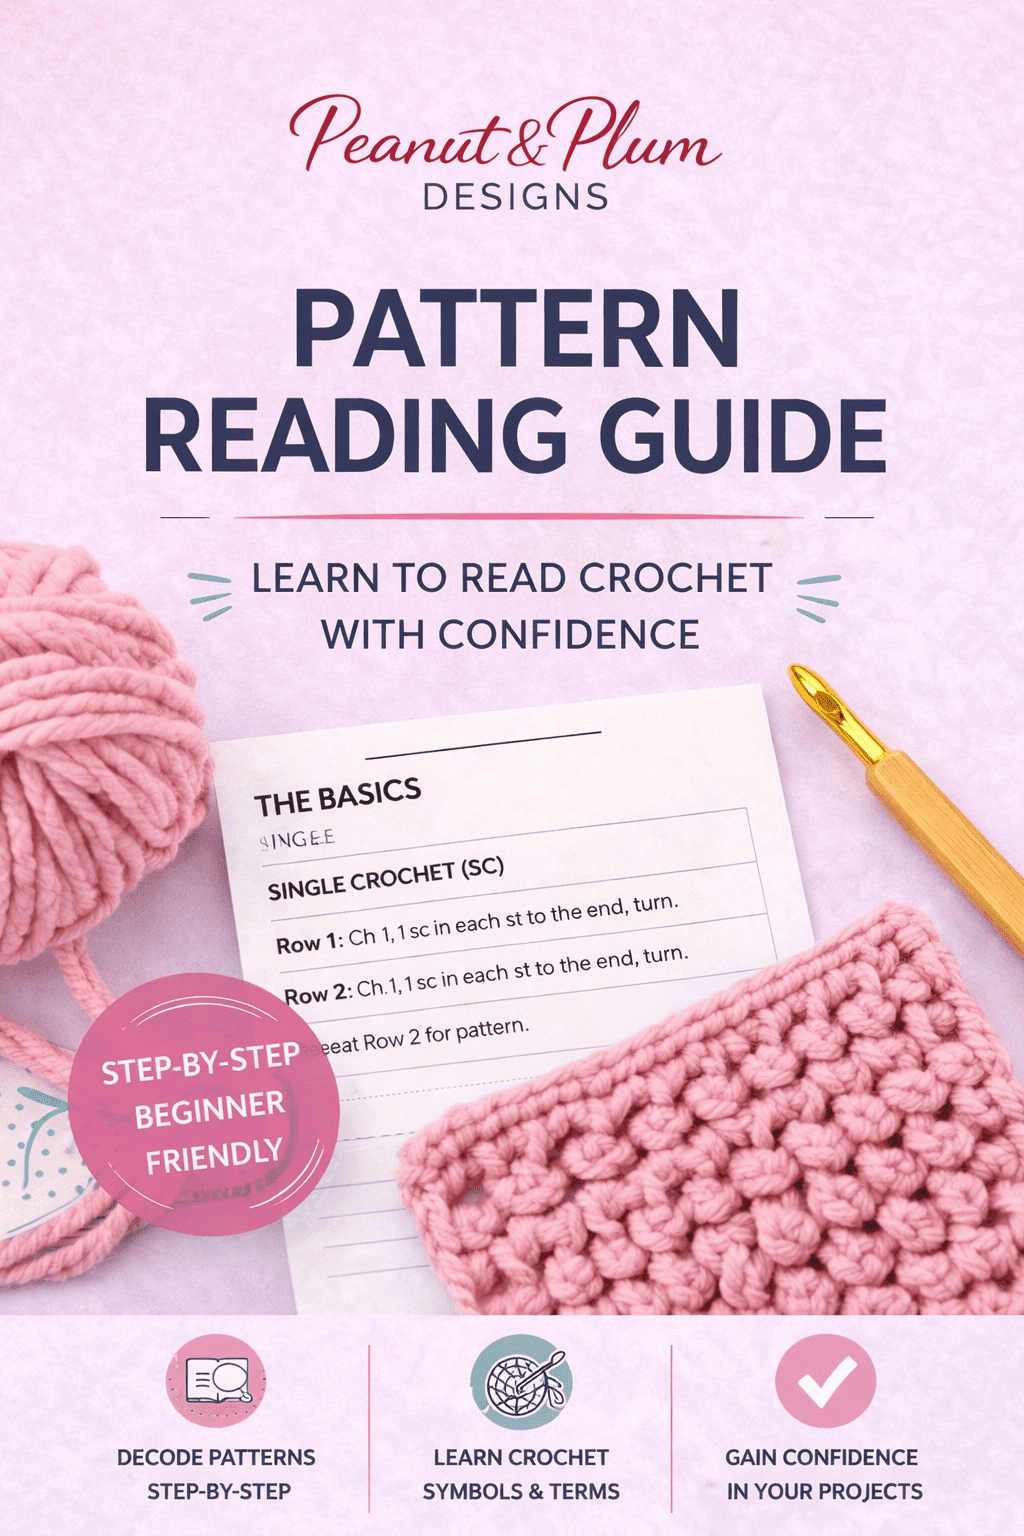
Bonus PDF Guides Included
When you purchase Peanut & Plum PDF patterns, you’ll also receive helpful bonus guides designed to make your crochet projects easier to follow and more enjoyable.
- Pattern Reading Guide: understand abbreviations, repeats, brackets, sizing and pattern layout.
- Yarn Guide: learn how yarn weight, fibre, stretch, texture and drape affect your finished project.
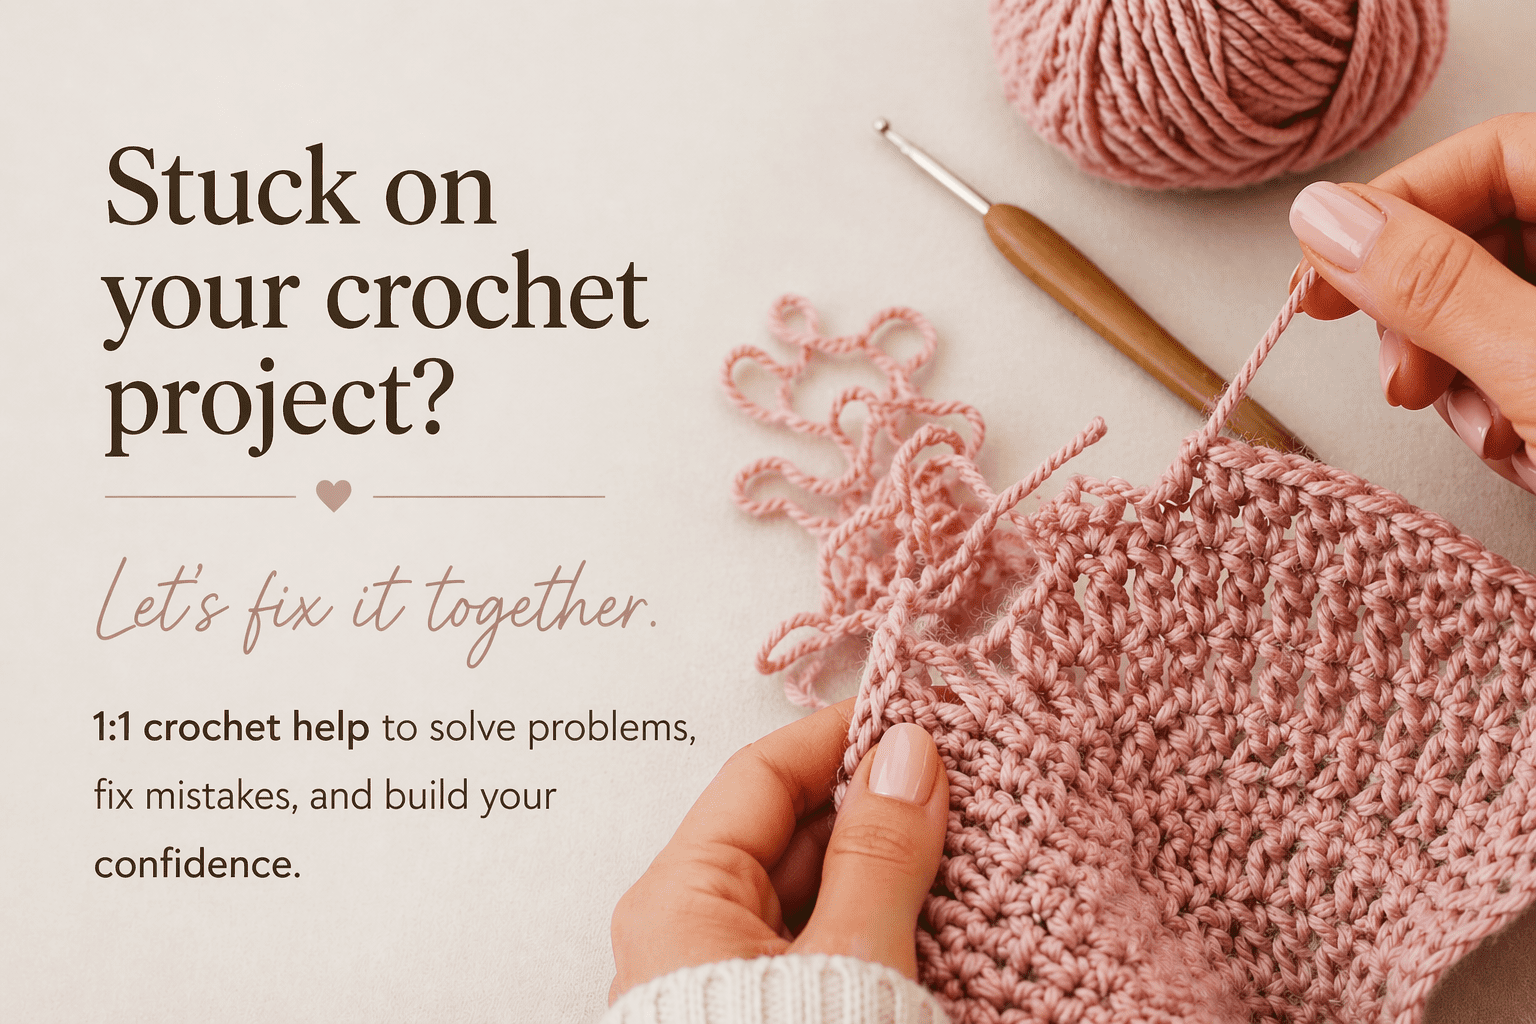
Need extra help?
Stuck on your headband?
If you get stuck with the Alpine stitch, sizing, stitch placement, gauge, or reading the instructions, you can book a 30 minute 1:1 crochet help session and work through it properly.
Buy the Pattern
The downloadable PDF gives you a cleaner crochet experience with photo stitch support, clear instructions, printable formatting, and no ads or distractions — so you can focus fully on making your headband with confidence.
Prices may be slightly higher on other platforms due to selling fees.
Bundle and Save
Building your crochet pattern library? Save when you buy more than one pattern.
Save 20% on 3 items with code MBUY20
Save 10% on 2 items with code MBUY10
Want More Quick Crochet Projects?
Try another quick make, browse the Alpine stitch tutorial, or build your confidence with the crochet pattern reading guide.
Ready to Get Started?
Everything you need to start your quick crochet headband is linked below so you can grab the pattern, choose your yarn, and get your tools ready.
I would love to see your makes — please share with me using #PeanutandPlum