Oversized chunky crochet sweater
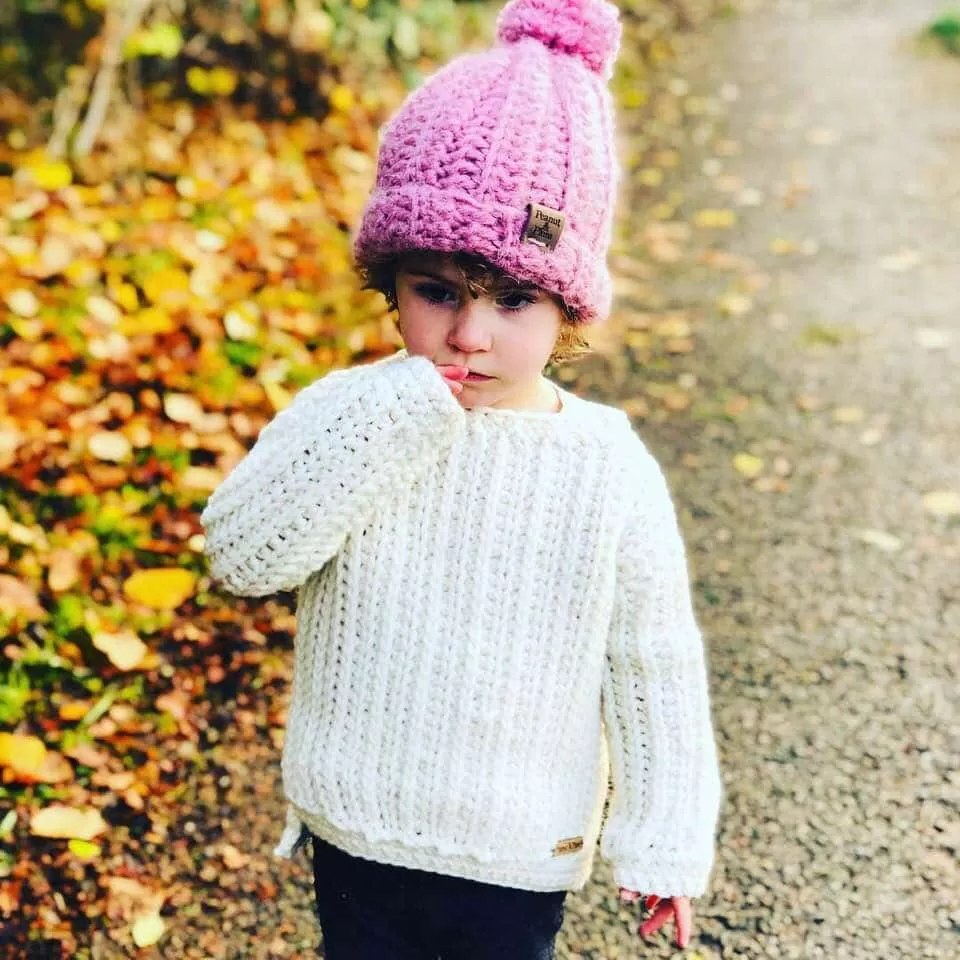
This chunky crochet sweater is over-sized, meaning its slouchy and baggy so its loose and can be worn over layers.
This is a really simple unisex sweater that can be adjusted to fit your size easily.
It has a large neck opening and baggy sleeves and will feel chunky and large over all in all sizes.
Made to be bouncy and chunky for ultimate comfort.
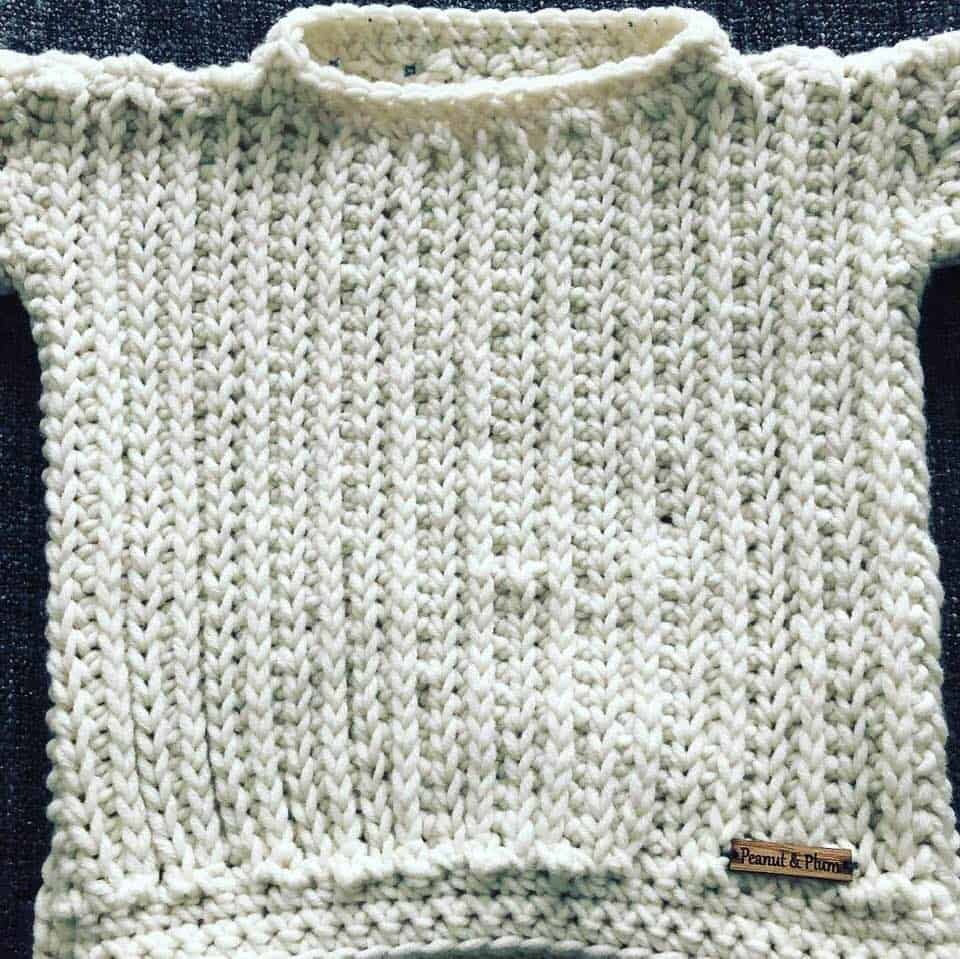
Crochet that looks and feels just like Knit!
You cant beat a chunky sweater, They are timeless and always look great!
Whether you just want to wrap up cosy around the house or pull on a chunky – go to knit for being out and about.
There is always one sweater that is your favourite, that you will always be rummaging in the washing for as you wear it time and time again.
This sweater will be your next LOVE!
The best thing is its simple to make, so get experimental with those colours as you will be making lots of these!
Its Knit- like design gives you the look and feel of knit….in crochet!
Chunky, bouncy, yarn!
Of course, the right yarn is essential!
I was browsing my local craft store when I came across a yarn on offer, 3 for 2. It was a gorgeous cream colour and felt so soft, naturally, I had to grab a few balls.
The yarn is soft and chunky by the Womens institute. It’s a merino/acrylic mix and the texture and stitch definition is perfect!
I would suggest going that little extra and getting a yarn mixed with merino, alpaca, cashmere, etc It will make the overall feel luxurious and the drape and fall exactly as in the pattern
If you have a fave acrylic yarn that is soft and bouncy go ahead and use this.
Easy Chunky Crochet Sweater
This easy chunky crochet sweater pattern is written in US terms and has photo tutorial for stitches and construction. Sizes are 12months to Adult large
In stock

Create crochet ribbing!
If you know your HDC (Half double crochet) stitch you’re half way there to creating your ribbing.
The stitches used in this pattern to create that knit-like appearance and texture are just two variations of the HDC stitch.
HDCBLO
HDC-BLO is short for half double crochet in the back loop only.
By doing a HDC in the back loop only, you will create a knit-like braid across the front of your work.
HDCBLO is worked by yarning over, inserting your hook under the back loop of the next stitch, yarning over again, and pulling through all three loops on your hook.
HDCFBL
Hdc front bottom loop, is another stitch that creates a braid across the front of your work.
When alternating with the Hdcblo you can get a rib appearance on one side of your fabric with the braids close together – just like knit.
To work the Hdcfblo turn your work slightly away from you, you will some horizontal stitches running across the bottom of your top row of stitches- we will be working in these, pushing the stitches along the top forward.
Hdcfbl is worked by yarning over, inserting your hook under the bottom front horizontal stitch of your chain, yarning over again, and pulling through all three loops on your hook.
Master these stitches!
Have a practice with rows of these stitches.
If you have not used them before, you will want to learn how to keep that braid nice and tight and even along the rows
Once you have mastered these, you will find lots of projects you will love to use your new stitch with, hats, blankets, pillow cases….so many!
HDC the wonder stitch
The HDC stitch is one of the basic stitches to learn but can be used to make many, many items from beginner to intermediate.
Its my wonder stitch and if I want to write a simple beginner pattern that looks like you have been crocheting for years, this is stitch or variations of it that I use.
Why not try this Boho festival hoodie, using the HDC again 🙂
Notes:
This knit like sweater is over-sized, meaning its slouchy and baggy so its loose and can be worn over layers.
It is made of a front and back piece. The back piece being slightly longer so it hangs without bulk.
Two sleeves, made separately and sewn in later.
The neck is worked in the round after pieces have been assembled.
To make your sweater longer, wider, shorter or thinner just add or subtract chains at the beginning and do more or less rows. Remember to take into account your customisations when sewing the shoulders and stitching together the sides up to the arm holes.
This free pattern is in size toddler.
You can download an inexpensive printable pdf in sizes 12m – Adult large, with photo construction tutorial here
Easy Chunky Crochet Sweater
This easy chunky crochet sweater pattern is written in US terms and has photo tutorial for stitches and construction. Sizes are 12months to Adult large
In stock

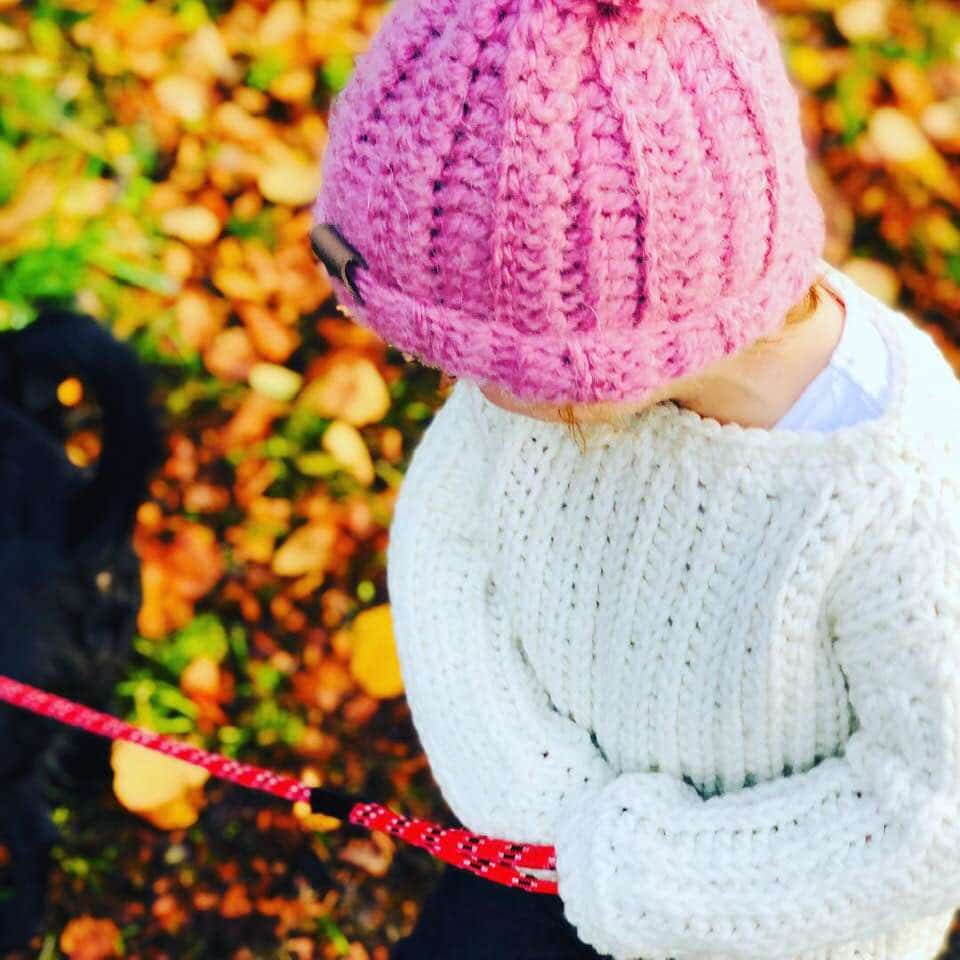
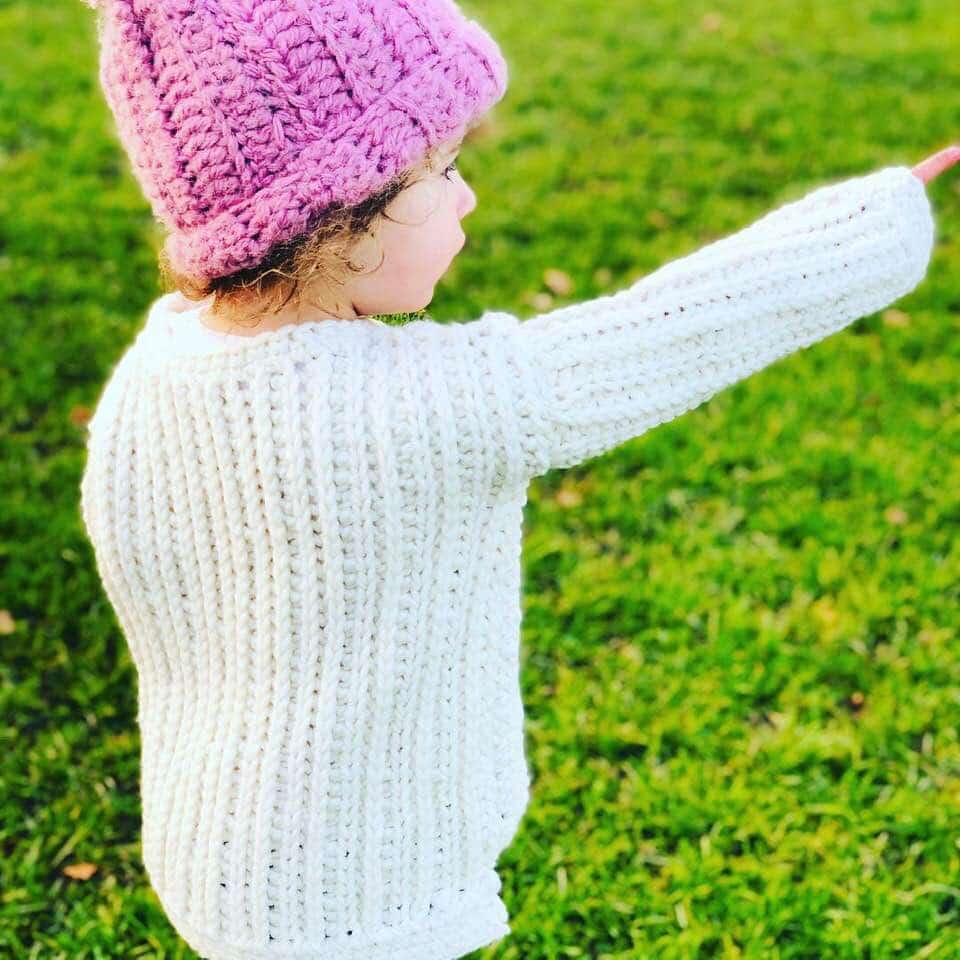
Toddler pattern
Materials:
9mm Crochet hook Chunky weight yarn (I have used chunky Merino/acrylic mix by the womens institute)
Stitch markers
Toddler (421 yards)
Gauge: 10 stitches, 14 rows to 10cm/4in
Stitches:
Ch – chain
Sc – single crochet
Hdc – Half double crochet
Hdcblo – Half double crochet back loop only
Hdcbflo- Half double crochet bottom front loop only
Toddler = Length 17” Width 15”
Front piece –
Ch 33,
Row 1: Hdc in 2nd chain from hook and in each stitch across, ch 1, turn
Row 2: **Hdcfbl across, ch1, turn
Row 3: Hdcblo across, ch1, turn**
Row: 4 – 24, **Repeat rows 2 and 3**
On your last row, Chain 1, turn so you are working along the bottom of your piece and do 4, rows of Sc,
Finish off and weave in your ends.
Back piece –
Ch 39,
Row 1: Hdc in 2nd chain from hook and in each stitch across, ch 1, turn
Row 2: **Hdcfbl across, ch1, turn
Row 3: Hdcblo across, ch1, turn**
Row: 4 – 24, **Repeat rows 2 and 3**
On your last row, Chain 1, turn so you are working along the bottom of your piece and do 4, rows of Sc,
Finish off and weave in your ends.

Sleeves – Ch 27,
Row 1: Hdc in 2nd loop from hook, Hdc across, ch1, turn,
Row 2: **Hdcfbl across, ch1, turn
Row 3: Hdcblo across, ch1, turn**
Row: 4 – 14, **Repeat rows 2 and 3**
On your last row, Chain 1, turn so you are working along the bottom of your piece and do 4, rows of Sc,
Finish off and weave in your ends.
Make x 2
Turn sleeves with right sides facing together and sew up the seam with your preferred method. I use a whip stitch.
Body
Lay your front and back pieces right sides together and secure with stitch markers. This will stop your fabric from slipping and mis-aligning while you seam the sides.
Be sure to align them at the top (un worked edge) as the back piece is slightly lower than the front piece.
Shoulders- Sew the shoulders from the outside in 3.5″
Now sew from the bottom up 23 stitches.
This will leave your arm hole so we can add your sleeves.
Sleeves
With your sleeves right side out, push them through the arm hole so their unworked edge is aligned with the arm hole and the whole sleeve is inside the sweater.
Now sew your sleeve around the arm hole, make sure your stitches are tight and you secure end before weaving in ends.
Neckline
Once you have sewn both your sleeves to sweater, join your yarn at the right shoulder of your sweaters neckline Sc evenly around 4 rounds.
Finish off and weave in your ends.

Turn the sweater right side out.
Youre done!


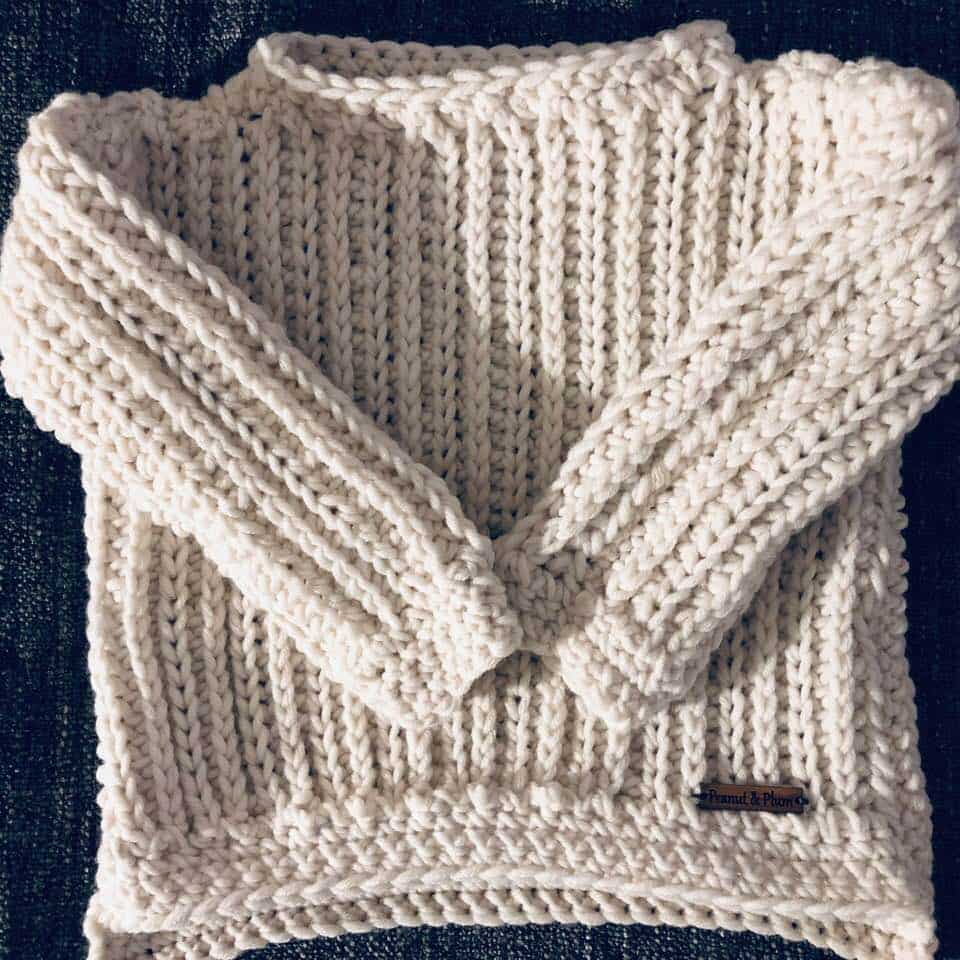
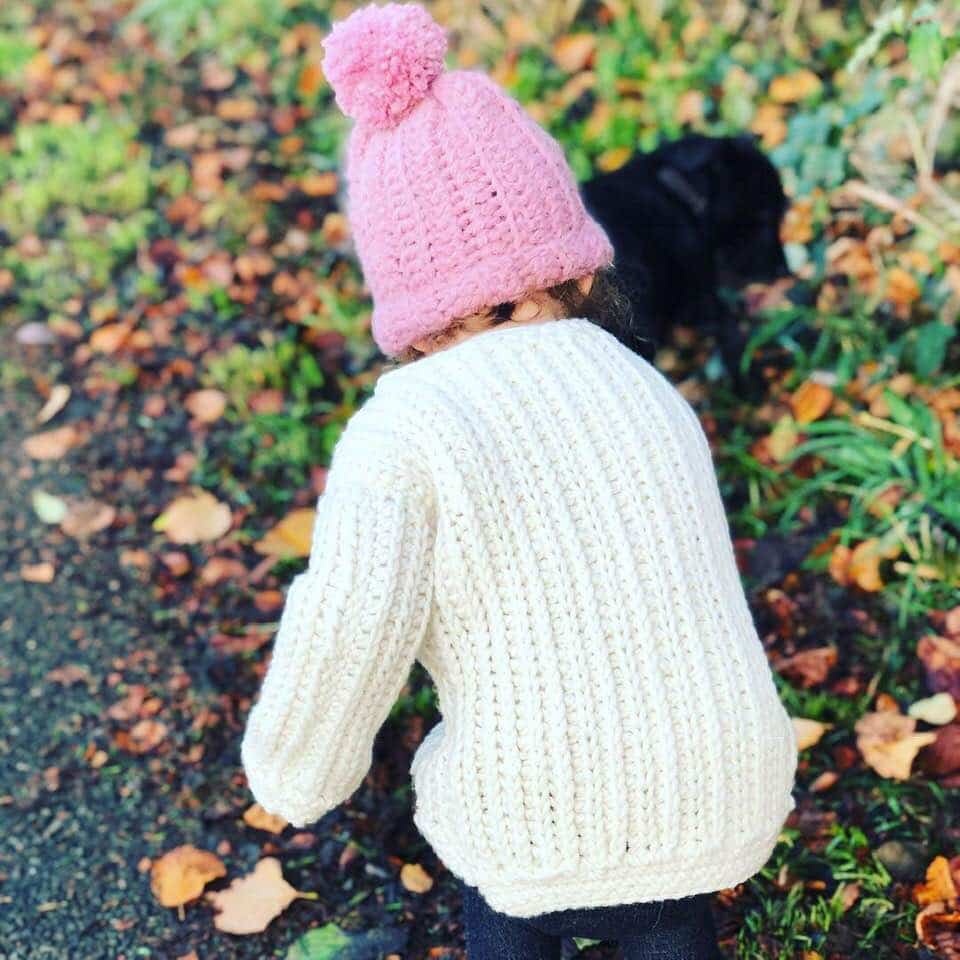
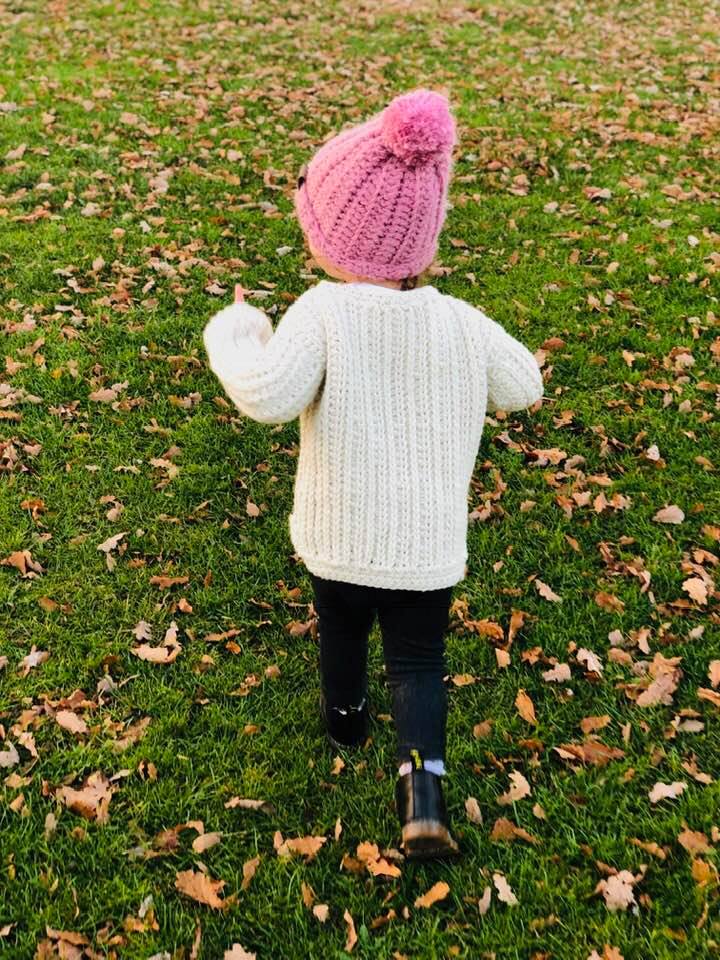
This is a really simple sweater that can be adjusted to fit your size easily.
It has a large neck opening and baggy sleeves and will feel chunky and large over all in all sizes.
You can block your sweater if you would like to, I have not done this as its very drapey in design.
I would love to see your finished sweaters, Please share your makes with me.
Facebook – Peanutandplum
Instagram #peanutandplum
Pinterest peanutandplum #peanutandplum
If you spot any errors or need any help please contact me through contact page @ www.peanutandplum.co.uk
Happy crocheting!
