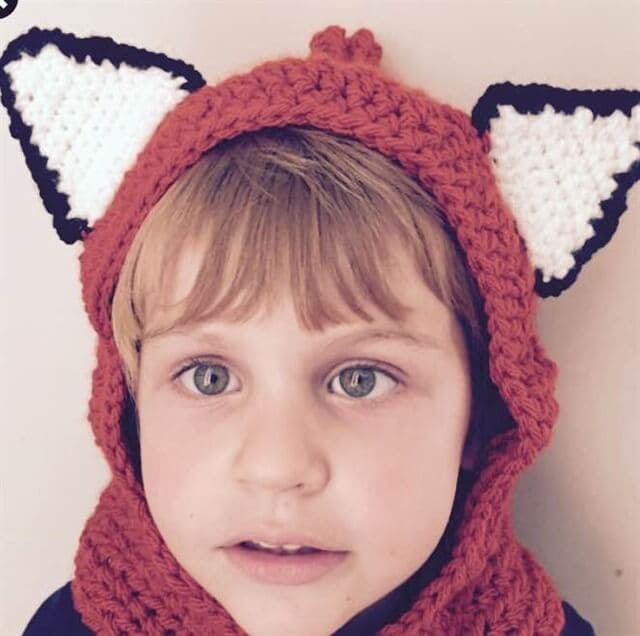
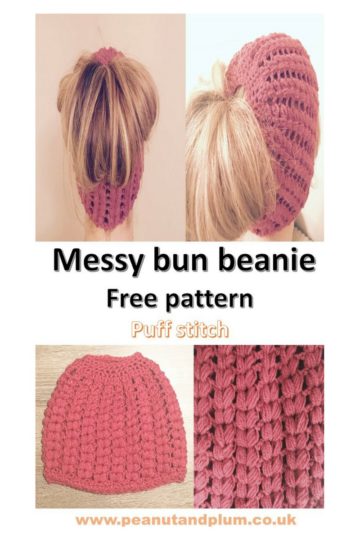
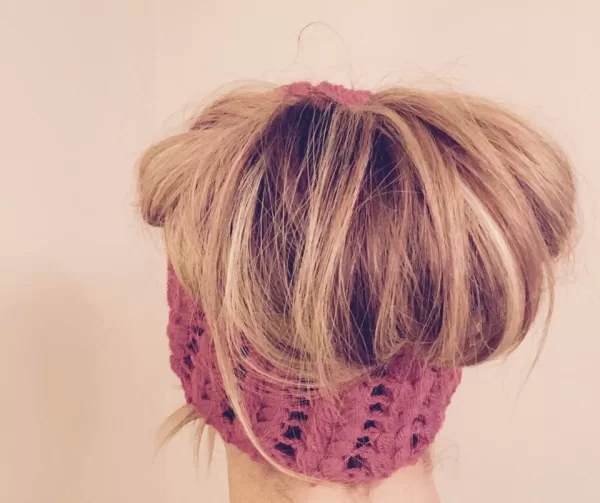
Crochet Messy Bun Beanie – Puff Stitch- Free Pattern
Crochet messy bun beanie pattern. Quick and simple!
You can make this beanie in around 2.5 hours.
Made with a lovely puff stitch design.
Pattern and photo tutorial.
I’m not done with the Messy bun beanies yet. The weather is constantly in the minus and I was not made for the cold!
I do love dressing up cosy, My Big boots, Lined jackets and soft jumpers have been on rotation for the last few months and I now need a collection of hats, ear warmers and scarfs to match.
I don’t get much time to myself in the mornings – a 5 year old and 9 month old see to that. I have to just grab something and go. The messy bun beanie is perfect for that! Out with the old beanie (for now) and in with the new, versatile and totes cute Messy bun beanie.
Messy Bun Beanie – Puff Stitch
Messy Bun Beanie Quick and easy pattern takes 2.5 hours to make an adult size.
4mm hook needed and any yarn that is to be used with 4mm hook
Made with simple stitches and puff stitch.
Photo Tutorial for puff stitch.
In stock
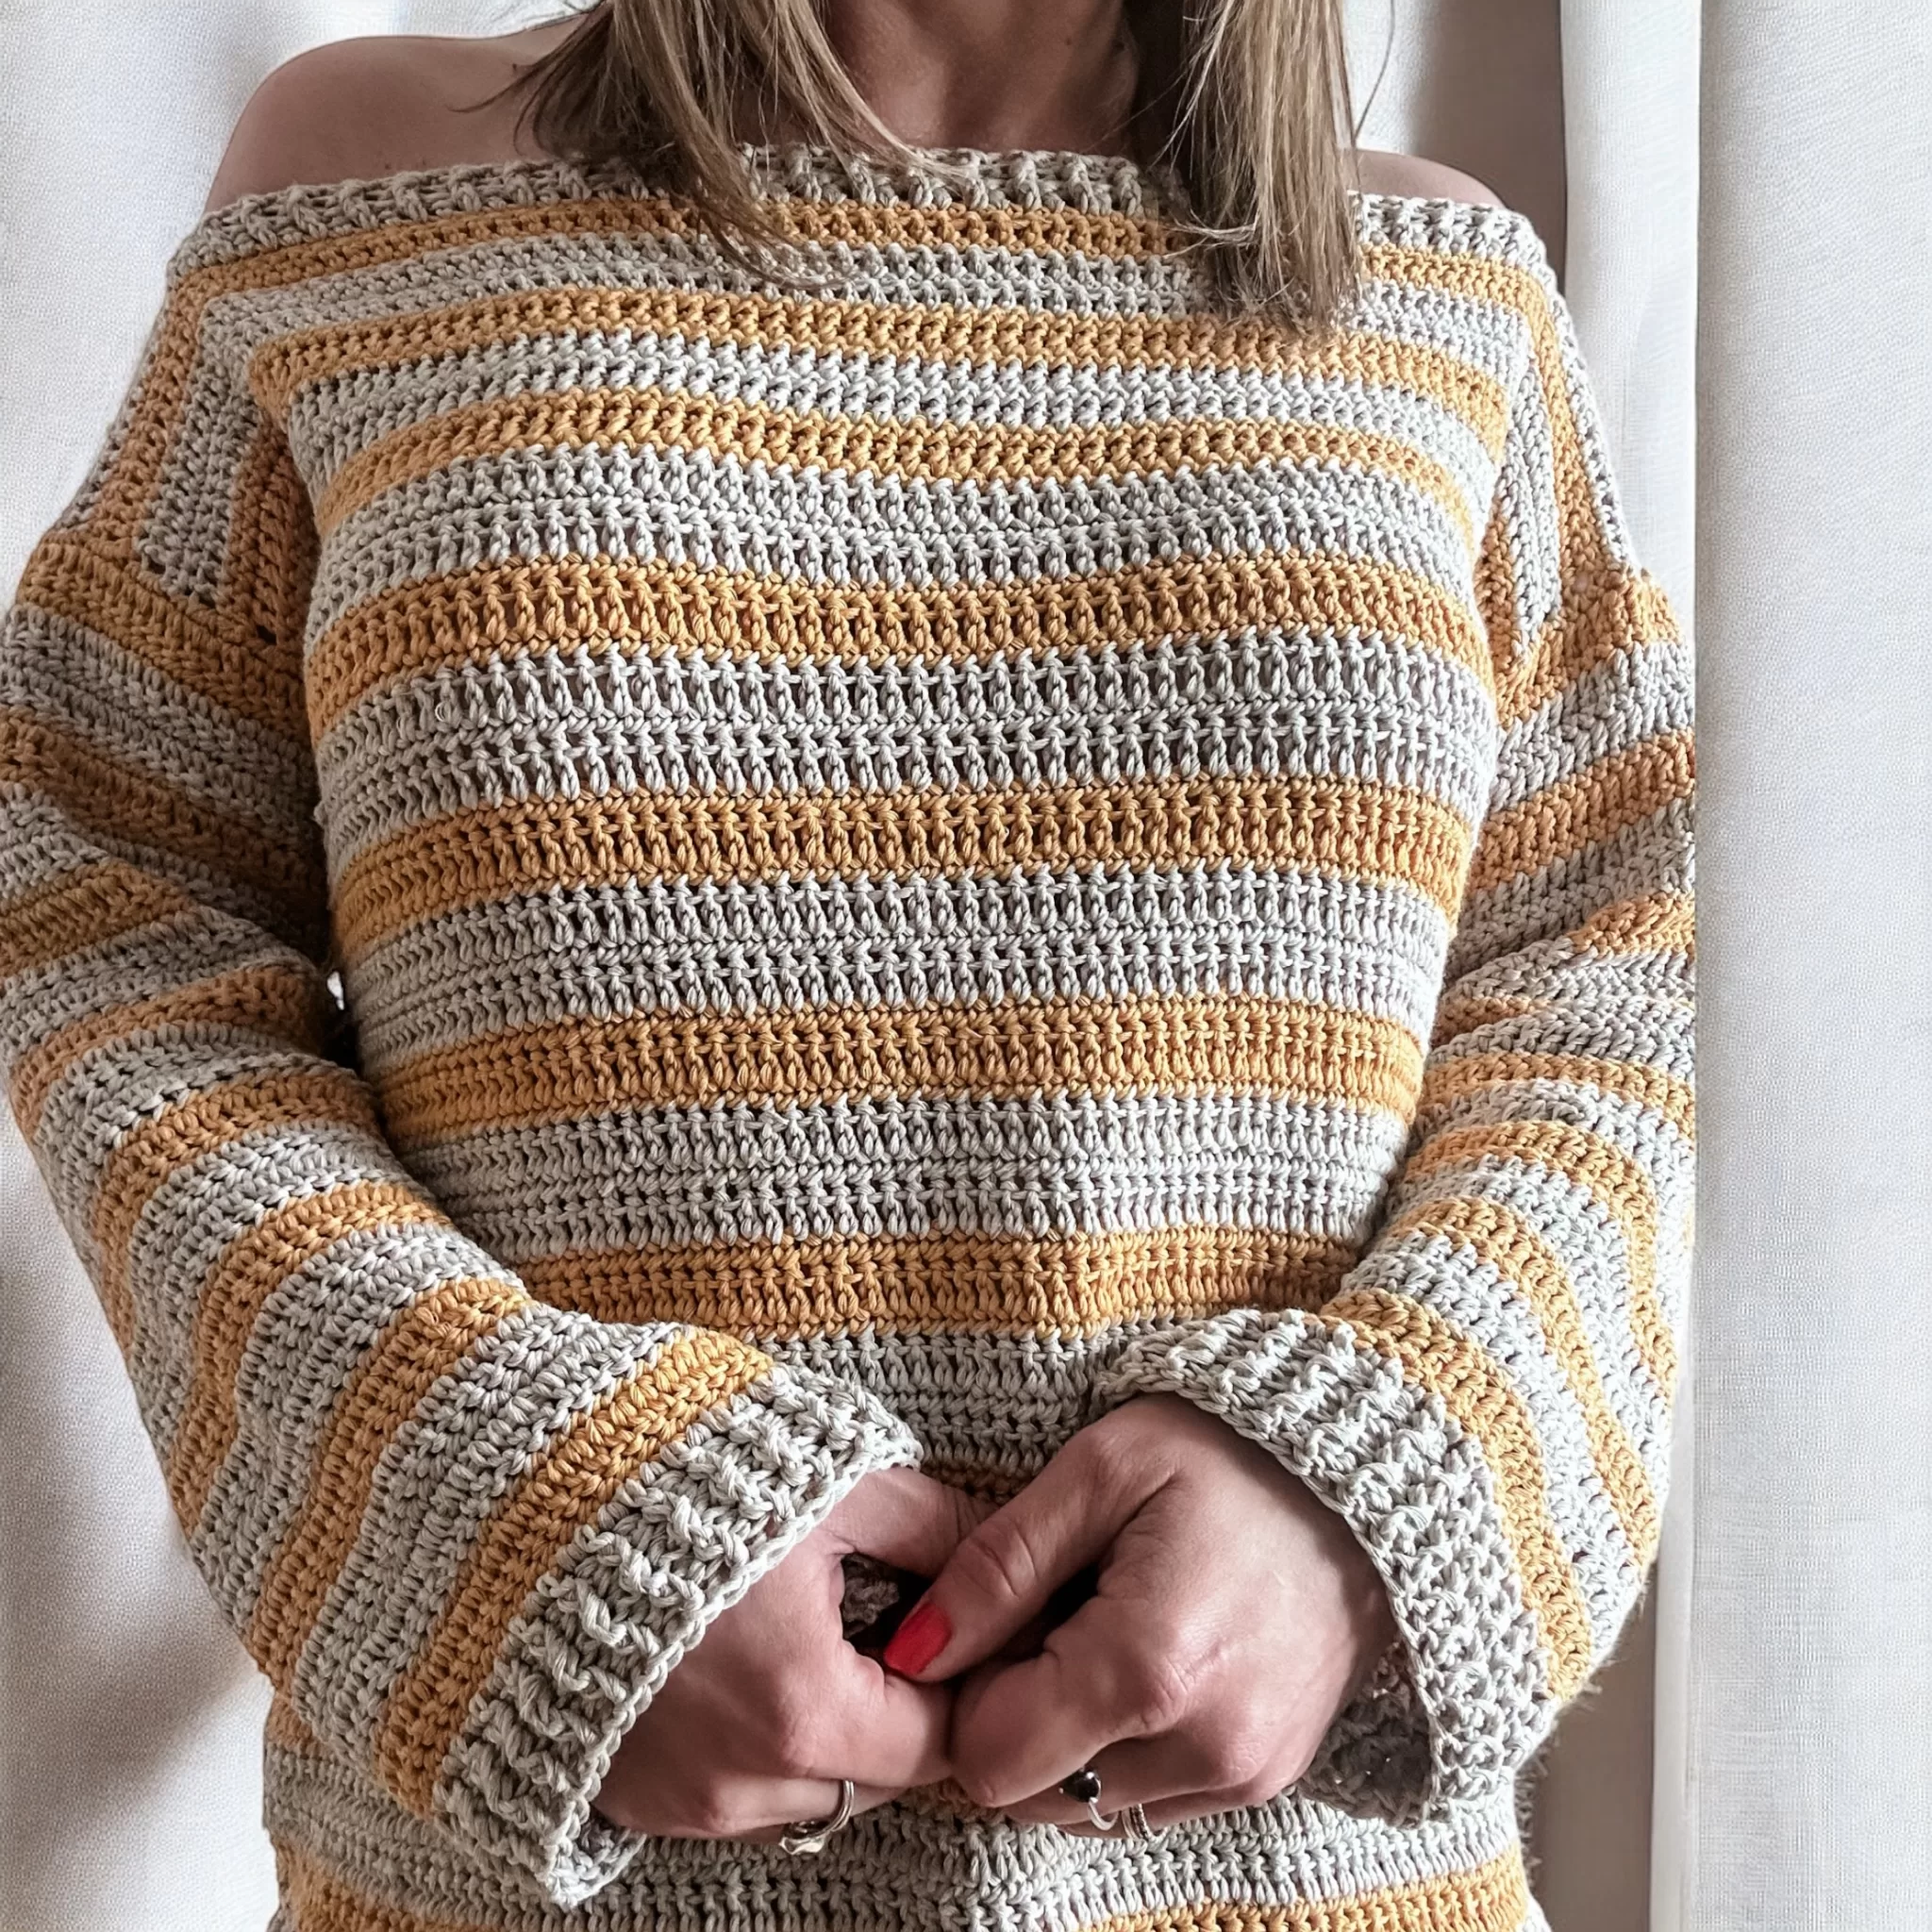
This design is my absolute favourite! Doesn’t it look like rows of little hearts?!
I love the soft, spongy texture it has and my head can still breath if I’m wearing it for long periods of time – there’s nothing good about a hot and itchy head.
You could have yours for the School run by tomorrow – RESULT!
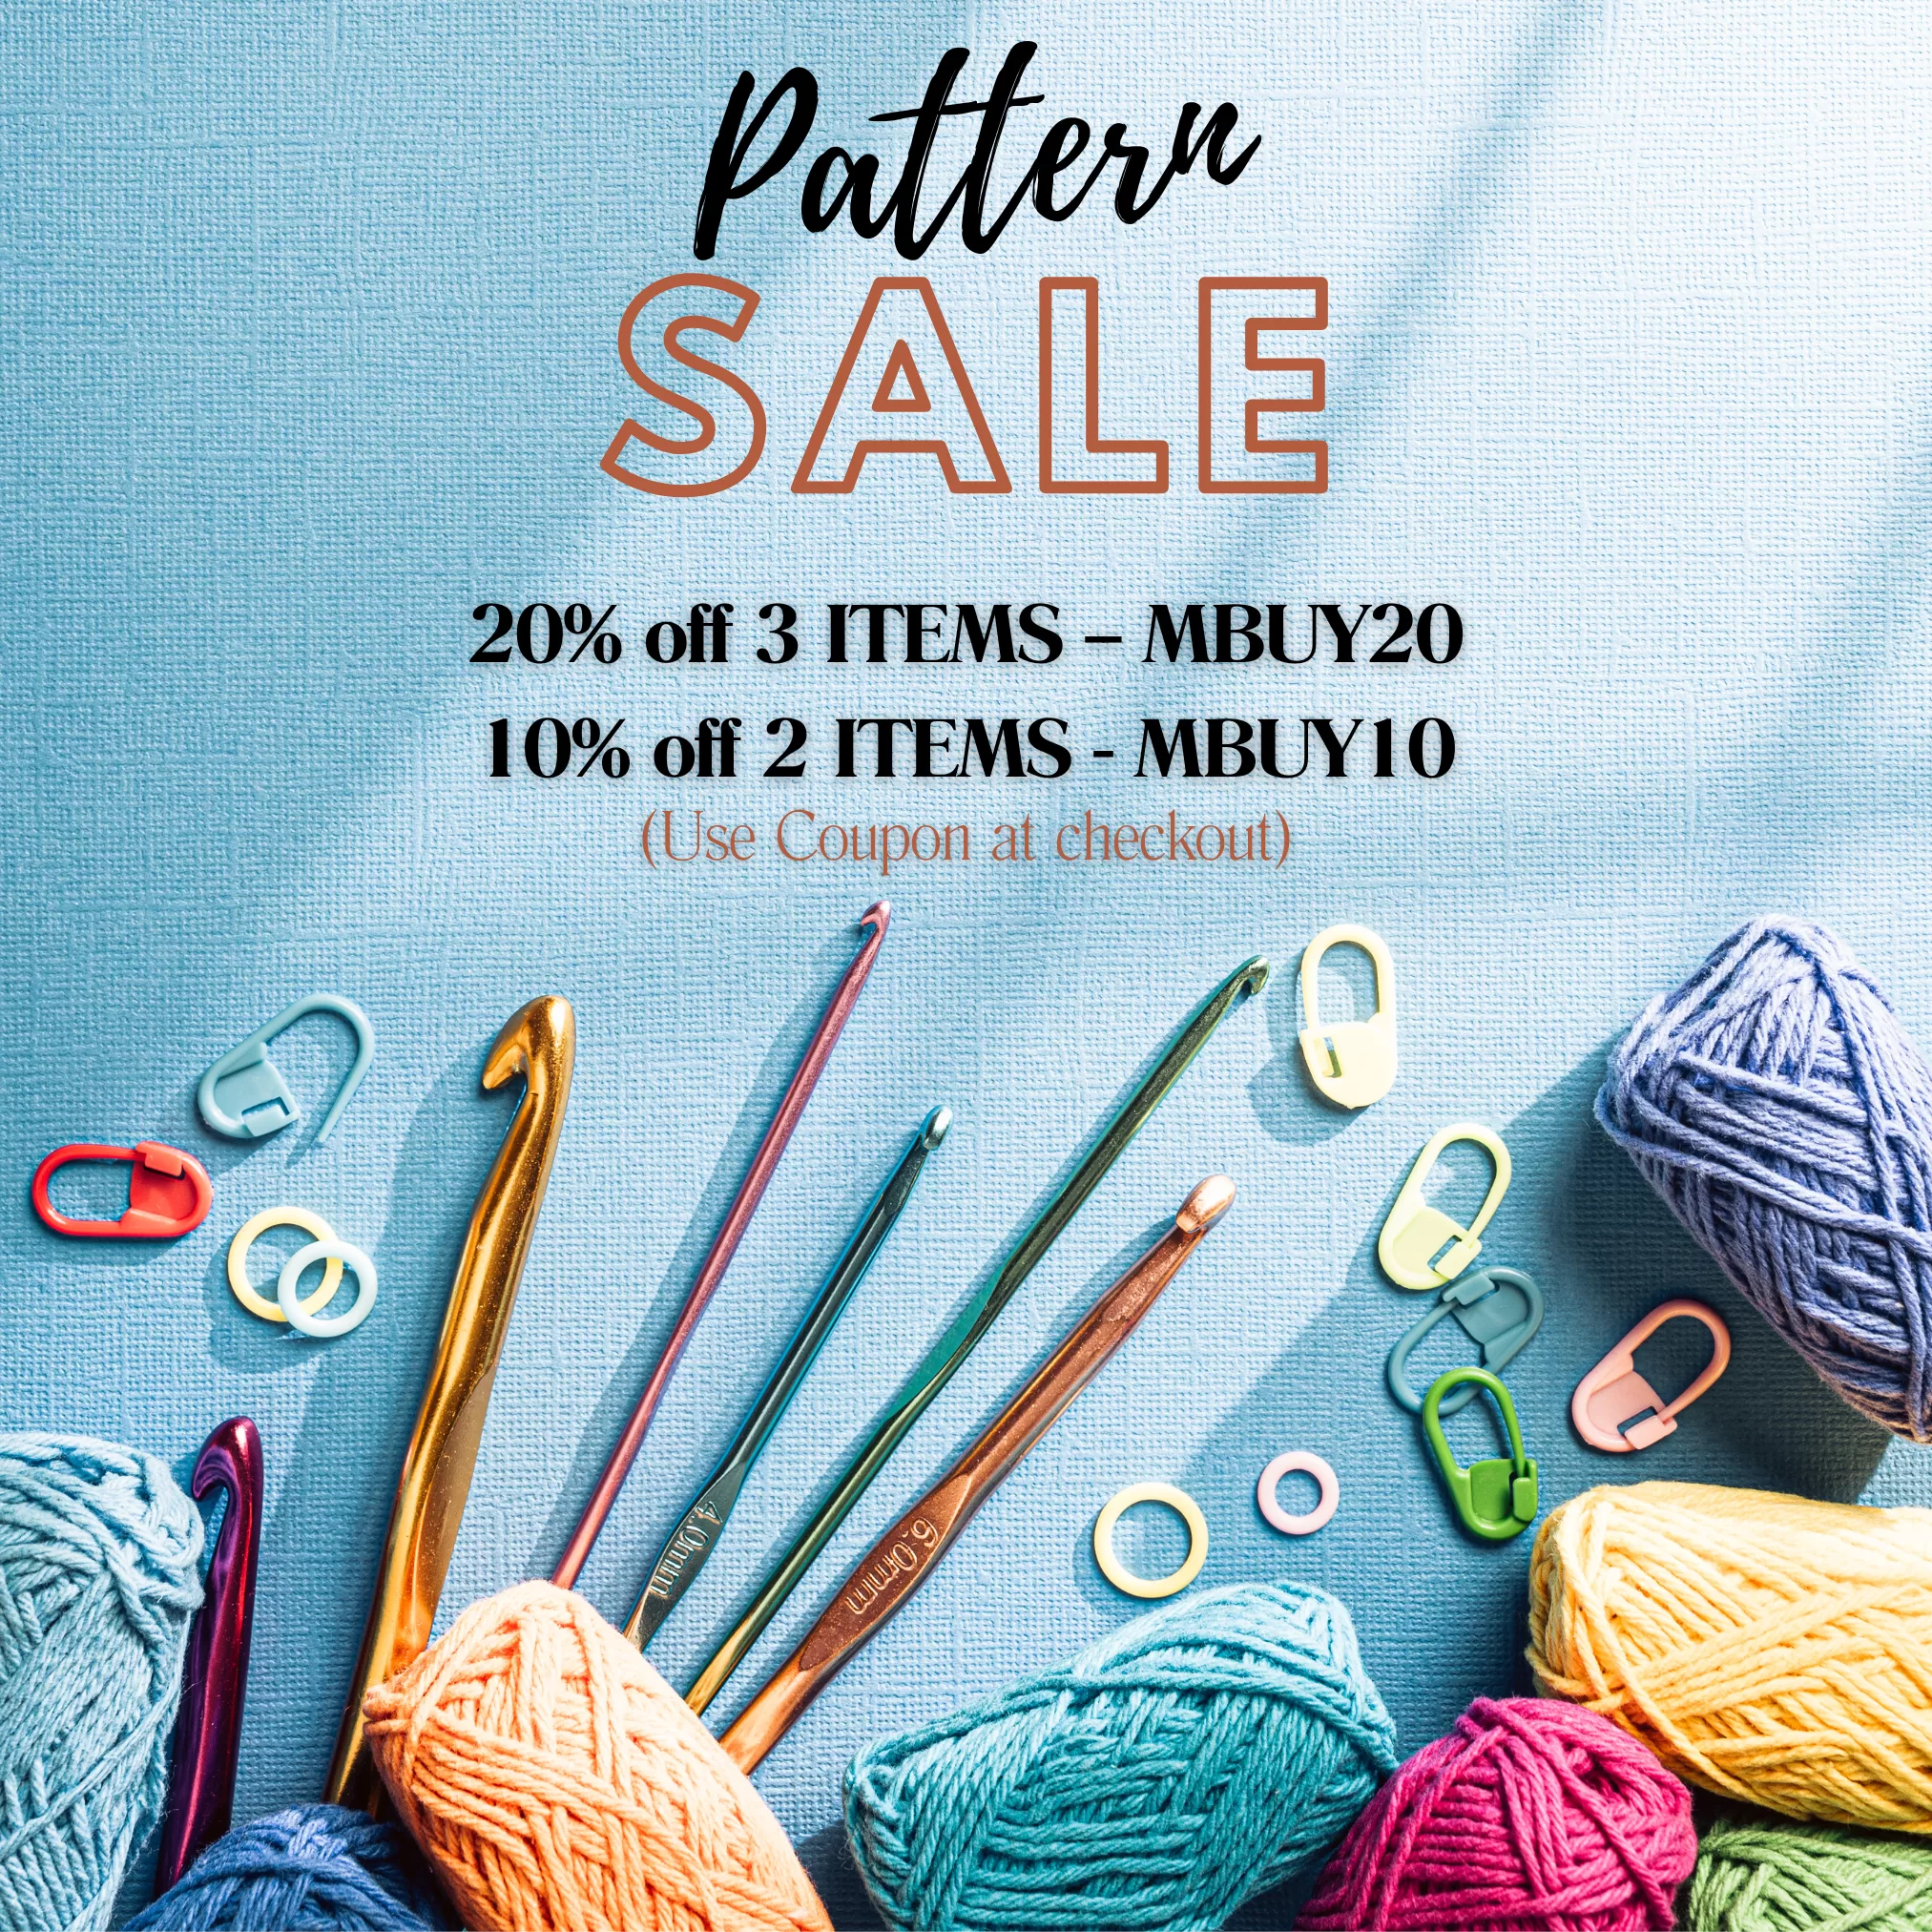
If you would like to share my pattern – pleased do! You can link back to my page. If you would like an inexpensive full pdf download with rights to sell products made with my designs, you can purchase them here:
Materials
- DK/Light/ Worsted yarn (any yarn that can be used with a 4mm hook) I have used 40% Wool 60% Acrylic in Berry Berry Wool mix yarn
- 4mmHook
- Child (80g), Teen (90g) Adult (110g)
- yarn needle
- scissors
PUFF STITCH – (Photo tutorial included in PDF pattern)
| Step 1: Yarn over hook and insert into indicated stitch, give little pull until you have a 1cm thread of yarn between hook and your stitches.
Step 2: You should have 3 loops on your hook. |
| Step 3: Yarn over |
| Step 4: Insert the hook into the same stitch, yarn over and pull through a loop. You should have 5 loops on your hook. |
| Step 5: Yarn over |
| Step 6: Insert the hook into the same stitch, yarn over and pull through a loop. You should have 7 loops on your hook. |
| Step 7: Yarn over and insert again. We will do this a total of 5 times. |
| For this pattern we will secure first puff stitch, and repeat again – 2 puff stitches in the same stitch, chain 1 to secure. Chain 1 again to move on. |
For this beanie we will be doing 2 puff stitches in the same stitch. Complete your puff with a chain 1 and then do another puff in the same stitch, complete with a chain 1, then chain 1 again to move onto the next part. (You will chain 1 twice after the second puff)
Stitch index
Ch – Chain
Sc – Single Crochet
DC – Double Crochet
FLDC – Front loop double crochet
Sc2tog – Single crochet 2 together
Child: Chain 48
Teen: Chain 56
Adult Chain 64
Join with a slip stitch, Chain 3 (Counts as first Dc throughout)
Row 1: Dc around, join with slip stitch,
Row 2: Chain 3, *FLDC, Dc, FLDC, Dc, Repeat from * around, Join with slip
stitch,
Row 3: Chain 3, *FLDC, Dc, FLDC, Dc, Repeat from * around, Join with slip
stitch. Do not chain 3
NOTE: Front loop double crochet should match from the round
before,
Row 4: 2 puff stitches in the same stitch as join, Ch 1, Skip 3 stitches, 2 puff
stitches in 5th stitch from join, **Ch 1, skip 3 stitches, 2 puffs in next stitch,
**Repeat around, Join with slip stitch to first stitch.
Row 5 – 11: Child
Row 5 – 12: Teen
Row 5 -13: Adult
(In the middle of first double puff stitch space)
2 x puff stitch in same stitch, ch 1, skip 3 stitches, 2 x puff stitch, Repeat around
and join to first stitch.
6
When you have the completed the amount of rows for your size, we are now
going to decrease the size of our puff stitch. Instead of yarning over and pulling
up 5 times, we will now do it just 4 times!
Row 12: Child
Row 13: Teen
Row 14: Adult
(In middle space of first double puff stitch)
2 x puff stitch, (yarning over and pulling up only 4 times), Ch 1, skip 3 stitches,
2 x puff stitches in same stitch, Repeat around, join
Row 13: Child
Row 14: Teen
Row 15: Adult
We are going to decrease our puff stitch again, this time yarn over and pull up
only 3 times!
(In middle space of first double puff stitch)
2 x puff stitch, (yarning over and pulling up only 3 times), Ch 1, skip 3 stitches,
2 x puff stitches in same stitch, Repeat around, join
Row 14: Child
Row 15: Teen
Row 16: Adult
We are going to decrease our puff stitch again, this time yarn over and pull up
only 2 times!
(In middle space of first double puff stitch)
2 x puff stitch, (yarning over and pulling up only 2 times), Ch 1, skip 3 stitches,
2 x puff stitches in same stitch, Repeat around, join
7
Row 15: Child
Row 16: Teen
Row 17: Adult
We are going to decrease our puff stitch again, this time yarn over and pull up
only once!
(In middle space of first double puff stitch)
2 x puff stitch, (yarning over and pulling up only once), Ch 1, skip 3 stitches, 2 x
puff stitches in same stitch, Repeat around, join
Row 16: Child
Row 17: Teen
Row 18: Adult
Ch 1, **sc2tog, sc, sc2tog, sc, **repeat around, join, ch1,
Repeat previous row for next 2 rows.
Sc around, Join with slip stitch, Fasten off and weave in ends!
That’s it!
Hope you love your new accessory!
Please share your makes with me!
Instagram #Peanutandplum
Facebook @Peanutandplum
Pinterest @Peanutandplum
Messy Bun Beanie – Puff Stitch
Messy Bun Beanie Quick and easy pattern takes 2.5 hours to make an adult size.
4mm hook needed and any yarn that is to be used with 4mm hook
Made with simple stitches and puff stitch.
Photo Tutorial for puff stitch.
In stock