Reading Crochet Patterns
Do you have trouble reading crochet patterns? Confused by all the brackets, numbers and abbreviations?!
I have put a comprehensive guide together to help you make it even the most complex patterns with ease!
Understanding Crochet Pattern Structure
Crochet patterns follow a specific structure that, once understood, becomes easy to follow. Most patterns include:
- Materials list – yarn type/weight, hook size, and other supplies
- Gauge information – how many stitches and rows per inch
- Abbreviations used – a list of all stitch abbreviations in the pattern
- Finished measurements – the size of the completed project
- Step-by-step instructions – the actual pattern
- Finishing instructions – assembly, weaving in ends, etc.
Common Pattern Abbreviations
Most crochet patterns use abbreviations to save space. Here are some of the most common:
UK vs US Terminology
Be aware that UK and US crochet terms differ. For example, a "double crochet" in UK terminology is a "single crochet" in US terminology. Always check which terminology the pattern uses!
US Terminology
ch – chain
sc – single crochet
hdc – half double crochet
dc – double crochet
tr – treble crochet
sl st – slip stitch
st(s) – stitch(es)
sp – space
yo – yarn over
inc – increase
dec – decrease
rep – repeat
sk – skip
tog – together
UK Terminology
ch – chain
dc – double crochet
htr – half treble crochet
tr- treble crochet
dtr – double treble crochet
sl st – slip stitch
st(s) – stitch(es)
sp – space
yo – yarn over
inc – increase
dec – decrease
rep – repeat
sk – skip
tog – together
Understanding Parentheses in Patterns
Parentheses in crochet patterns can serve multiple purposes, which can sometimes be confusing. Here’s how to interpret them:
Pro Tip
When you encounter parentheses in a pattern, look at the context to determine their purpose. If they appear at the end of a row, they likely indicate stitch count. If they appear mid-instruction, they usually group stitches to be worked in the same place or repeated. If they appear throughout the pattern with multiple numbers, they’re probably indicating size variations.
Pattern Examples
Let’s look at some example patterns and break down how to read them, with special attention to parentheses:
Common Pattern Reading Challenges
Troubleshooting Your Pattern Reading
Incorrect Stitch Count
If your stitch count doesn’t match what’s in parentheses at the end of a row, double-check:
- That you’ve correctly interpreted any pattern repeats
- That you haven’t missed any stitches, especially the first or last
- That you’ve correctly worked any increases or decreases
Confusing Terminology
If you’re unsure about a term or abbreviation:
- Check the abbreviations section at the beginning of the pattern
- Look up the term in our Terminology Guide
- Confirm whether the pattern uses US or UK terminology
Multiple Uses of Parentheses
If a pattern uses parentheses for different purposes:
- Read the entire instruction before starting to work
- Look for context clues – parentheses at the end of a row usually indicate stitch count
- If the pattern has a “special stitches” section, check if any parentheses refer to those
Size Variations Confusion
If you’re having trouble following size variations:
- Use a highlighter to mark all instructions for your size throughout the pattern
- Write down the order of sizes (e.g., S, M, L, XL) to remember which number in each set applies to you
- Count the instructions carefully – make sure each size has instructions for every step
Pattern Doesn’t Look Right
If your project doesn’t look like it should:
- Check your gauge – using the wrong hook size can significantly change the outcome
- Look for errata (corrections) for the pattern online
- Try working just a small section to practice before starting over
Final Tips for Success
📌 Read through the entire pattern before starting
📌 Mark your place in the pattern as you work
📌 Use stitch markers to keep track of pattern repeats
📌 Count your stitches at the end of each row
📌 Don’t be afraid to frog (unravel) and start again if needed
Why not try out your new Crochet Pattern Reading Skills


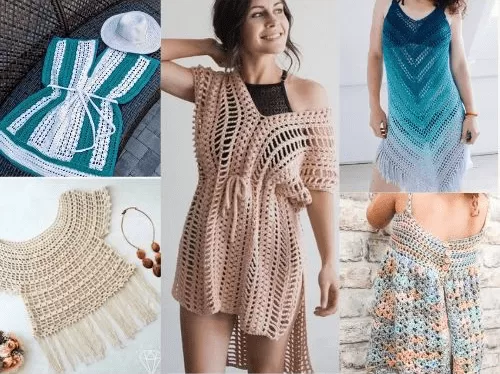
Interested in some more handy Crochet Tips? Check out my Blog…

3 Comments