

Easy Rustic Crochet Beanie Pattern
Crochet Beanie Pattern
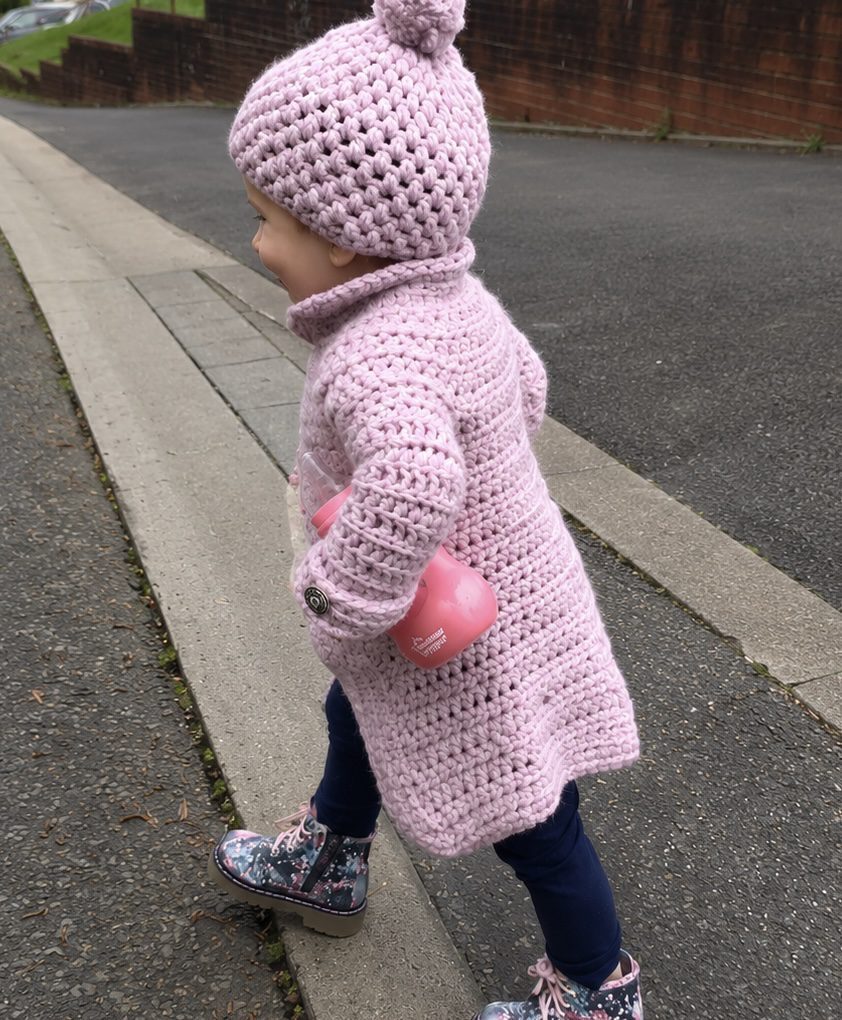
Mini Me Rustic Crochet Beanie Pattern
Rustic Crochet Beanie Pattern for Matching Hats
A chunky, warm, Rustic Crochet Beanie Pattern designed for matching mini-me hats from 12 months to adult. This cosy design can be made with or without a pompom and works beautifully in Autumn and Winter tones for Handmade gifts, Family sets, and everyday cold-weather wear.
This pattern is perfect if you want a practical handmade gift that actually gets used. It was originally designed as a matching beanie set for the little and big men in the family, but it works just as well for grandads, brothers, stepdads, uncles, and anyone who appreciates a warm hat over yet another festive shower gel set.

Quick Pattern Info
Skill level: Easy / Confident Beginner
Free size included: 12–24 months
Full PDF sizes: 12 months to Adult
Yarn: Chunky yarn
Hook: 6mm
Main stitches: DC, FPdc, BPdc, Puff Stitch
Style: With or without pompom
What’s Included
This post includes the free 12–24 month rustic beanie pattern, stitch explanations, gauge notes, materials, and finishing instructions. The full PDF version includes sizes from 12 months to adult for making matching beanies.
Why You’ll Love This Rustic Beanie
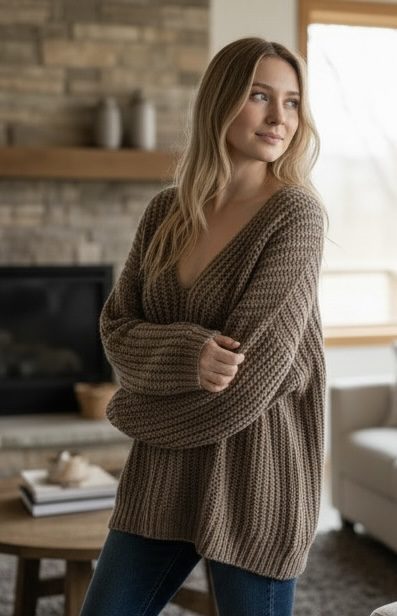
This Chunky Crochet Beanie has a warm, textured finish with a rustic handmade look. It is practical enough for everyday wear, quick enough for gifting, and simple enough to make more than once without needing a lie down afterwards.
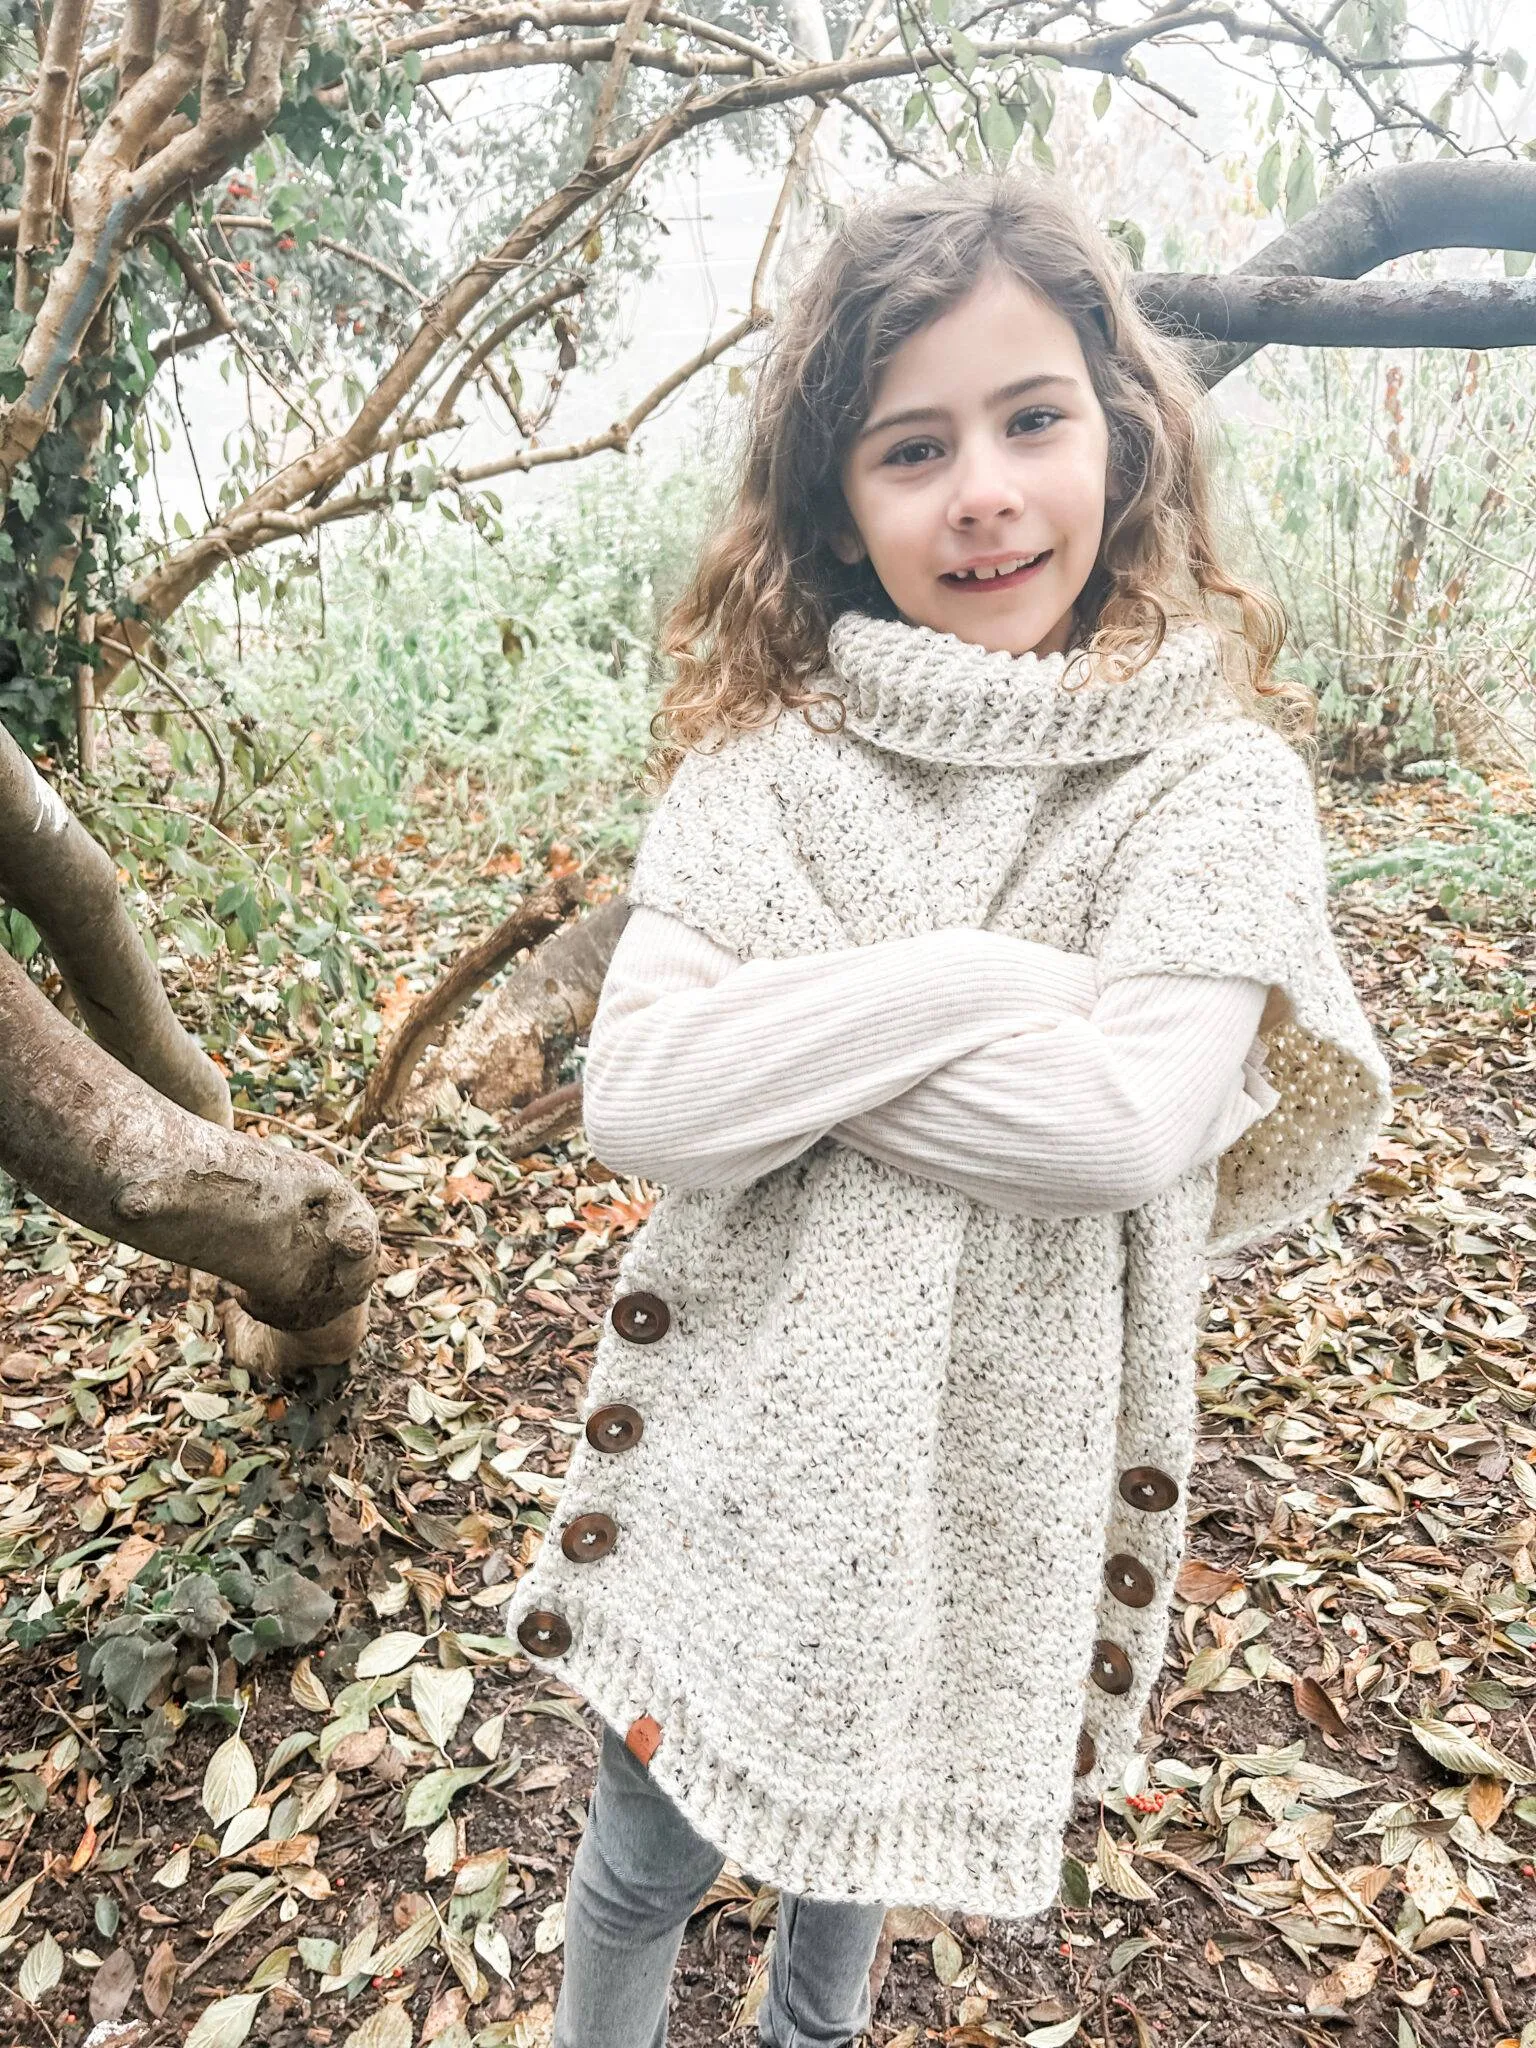
The design works especially well as a matching set because the style suits both children and adults. Add a pompom for a playful finish, or leave it plain for a cleaner, more classic beanie look. Tip: rustic browns, greys, oatmeal shades, and deep winter colours all work beautifully with this texture.
The beanie uses ribbed post stitches for stretch and puff stitches for texture, creating a hat that feels warm, chunky, and cosy without being overly complicated.
Key Features
- Chunky rustic crochet beanie pattern
- Free 12–24 month size included in the post
- Full PDF available in sizes 12 months to adult
- Can be made with or without a pompom
- Lovely for handmade Christmas gifts and matching family hats
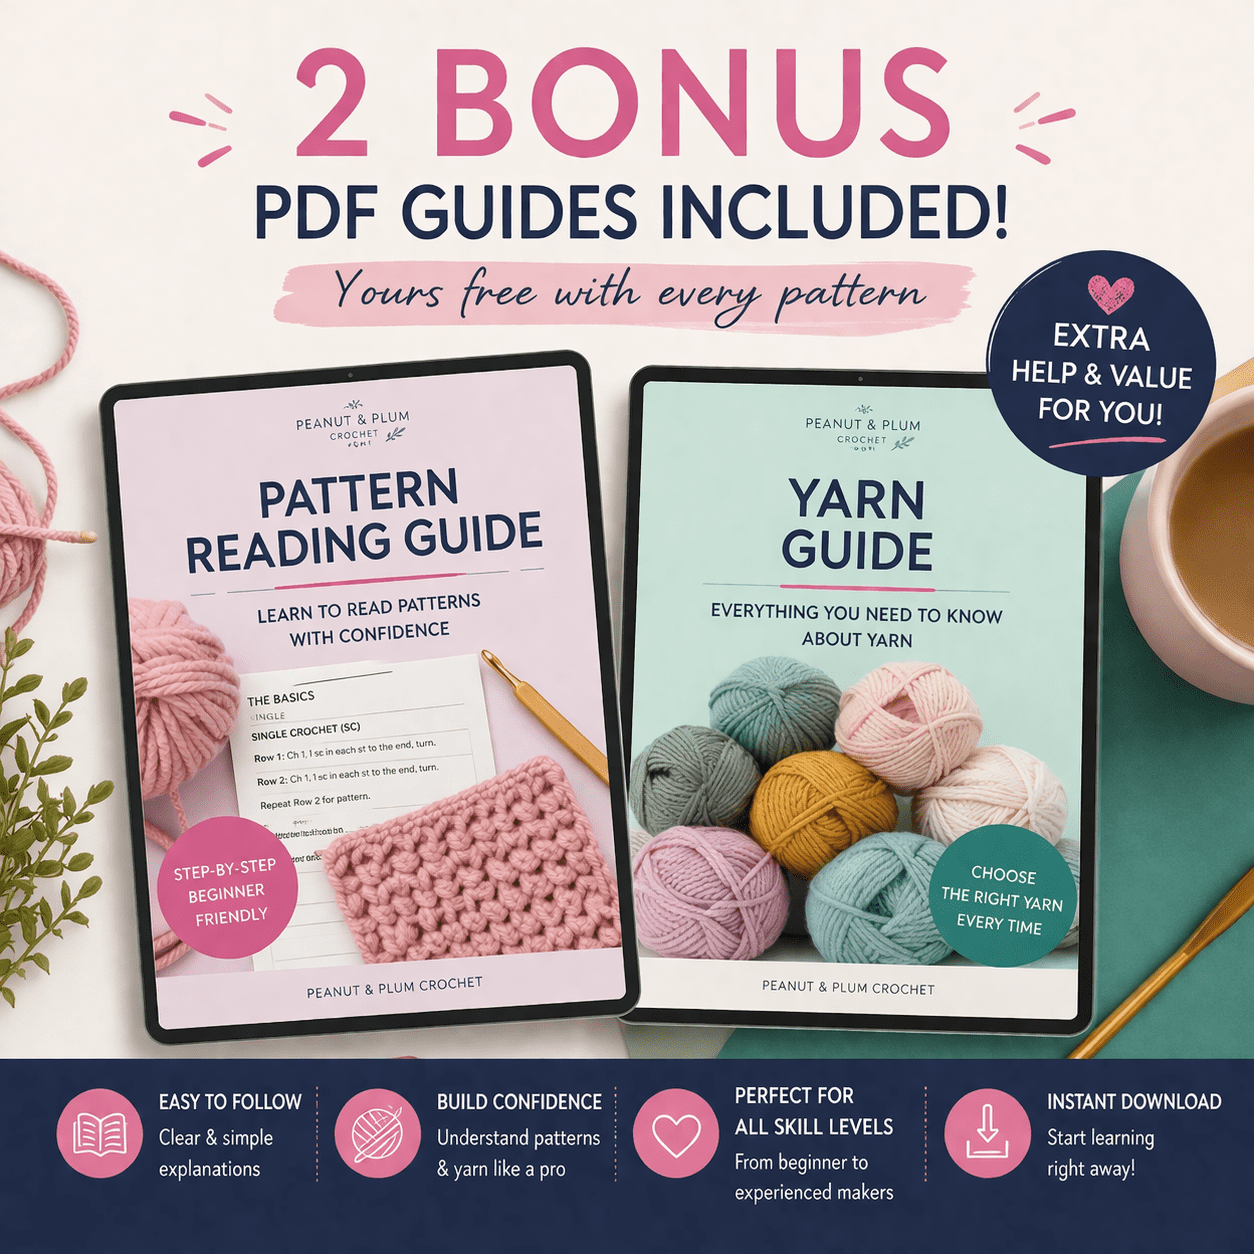
Bonus PDF Guides Included
When you purchase the full PDF pattern, you’ll also receive helpful bonus guides designed to make your crochet projects easier and clearer.
- Pattern Reading Guide: understand repeats, abbreviations, sizing, and pattern layout.
- Yarn Guide: learn how yarn weight, fibre, texture, stretch, and drape affect your finished project.
Tip: if you are newer to patterns, read through the stitch abbreviations first so the beanie instructions feel much easier to follow.
The Yarn and Feel
This beanie is made using chunky yarn, which gives the hat warmth, structure, and a quick finish. Chunky yarn is ideal for winter accessories because it creates a thicker fabric that feels cosy and substantial without needing endless rounds.
The original sample used Mystique chunky yarn in rustic brown tones. The colour gives the beanie a natural, outdoorsy look, while the stitch texture adds depth and interest. Tip: choose a yarn with enough softness for forehead comfort, especially when making hats for children.
The finished fabric feels warm and slightly cushioned, with ribbing for stretch and puff stitch sections for extra texture.

Stitches Used
This pattern uses a mix of basic stitches and textured stitches to create the ribbed and chunky finish.
- CH: Chain
- SL ST: Slip stitch
- SC: Single crochet
- DC: Double crochet
- FPdc: Front post double crochet
- BPdc: Back post double crochet
- Puff stitch
How to work a puff stitch: yarn over, insert hook and pull up a loop three times, then yarn over and pull through all loops on the hook. Chain 1 to secure. Puff stitches create a soft raised texture that gives the beanie extra warmth and a chunky handmade look.
How to work front post double crochet: yarn over, insert your hook from front to back to front around the post of the stitch below, then complete a double crochet as normal. This pushes the stitch forward and creates raised ribbing.
How to work back post double crochet: yarn over, insert your hook from back to front to back around the post of the stitch below, then complete a double crochet as normal. This pushes the stitch backwards and creates the recessed part of the ribbing.
Tip: keep your post stitches relaxed so the brim has stretch and does not feel too tight.
Gauge, Hook and Materials
Gauge: 16 stitches and 22 rows to 10cm / 4in.
Yarn: Chunky yarn. The original sample used Mystique chunky yarn in rustic brown tones.
Hook: 6mm crochet hook.
- Chunky yarn
- 6mm crochet hook
- Yarn needle
- Scissors
- Pompom maker if adding a pompom
Common Mistakes to Avoid
- Twisting the starting chain before joining
- Joining into the chain 2 instead of the first stitch
- Working post stitches too tightly and losing stretch
- Pulling puff stitches unevenly, which changes the texture
- Not leaving a long enough tail for closing the top
Skill builder: this pattern helps you practise ribbed post stitches, puff stitch texture, joining in the round, and finishing a closed beanie top neatly.
Need extra help?
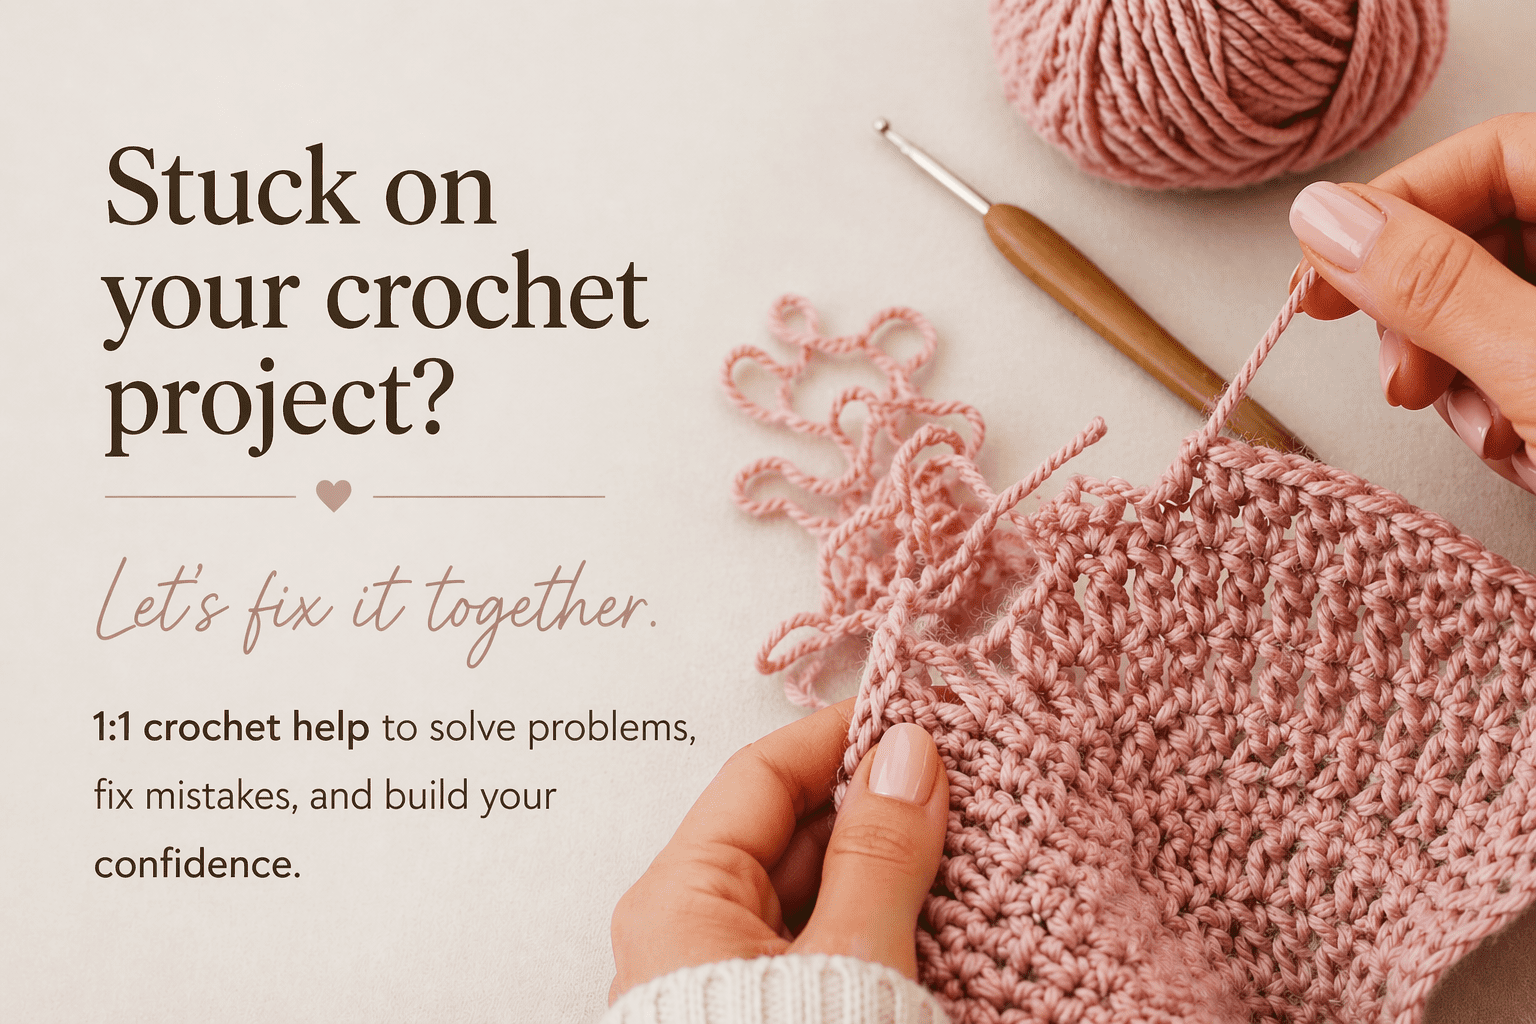
Stuck on your beanie?
If you get stuck with the ribbing, puff stitch, joining in the round, sizing, or finishing the top of your beanie, you can book a 30 minute 1:1 crochet help session and work through it properly.
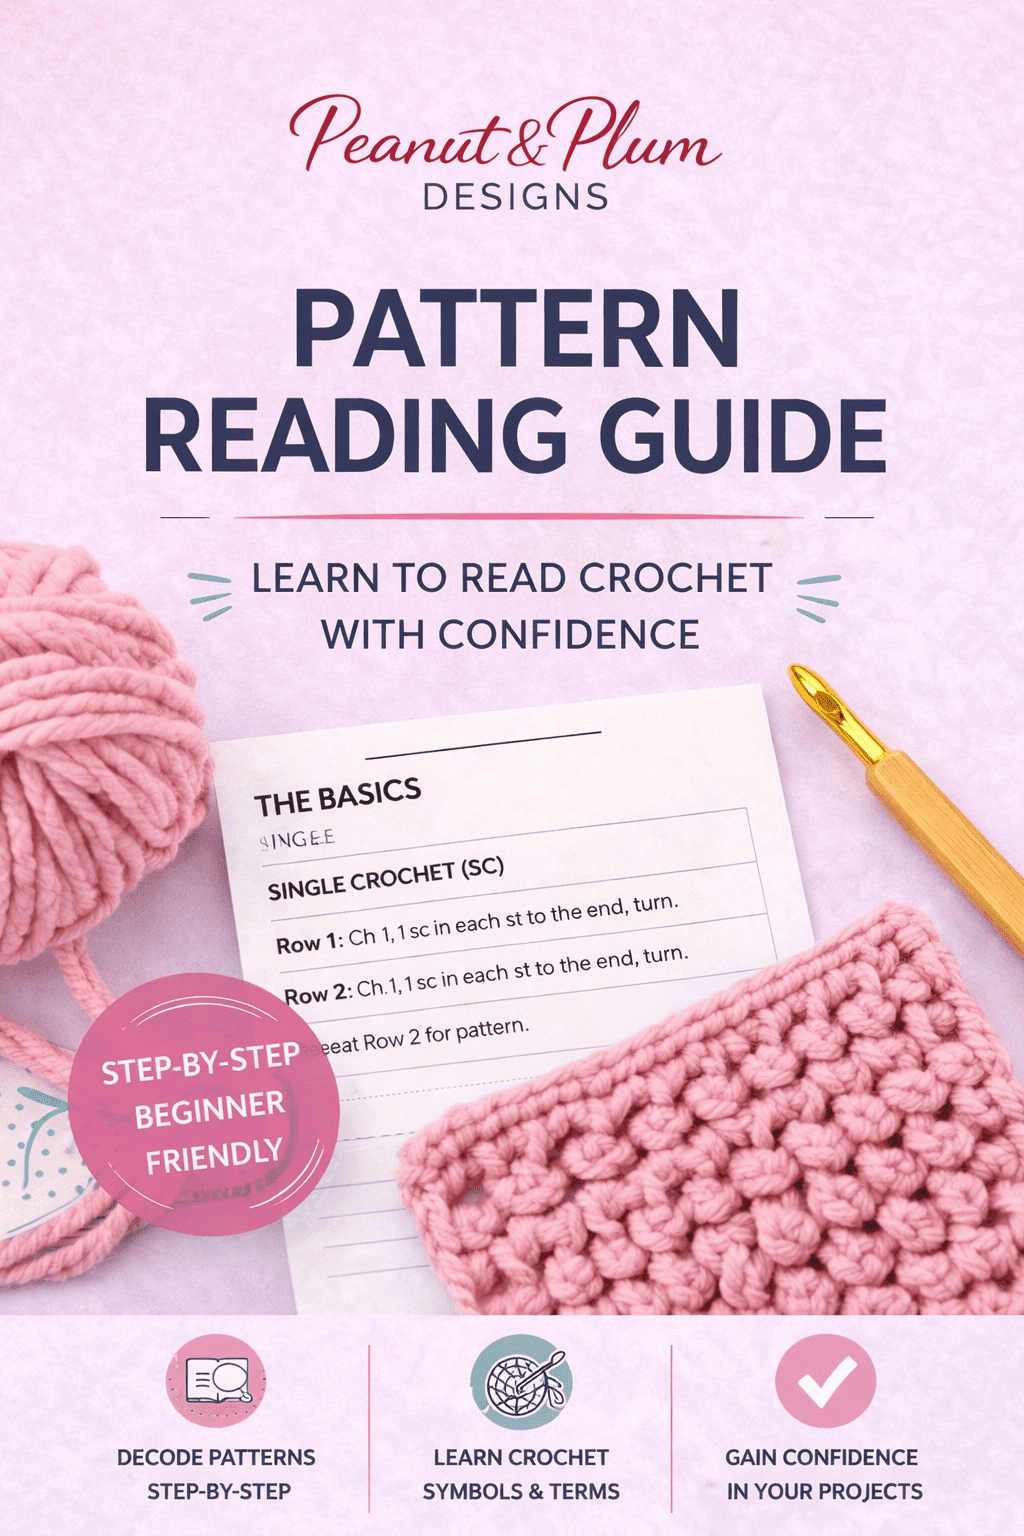
New to Reading Crochet Patterns?
If stitch abbreviations and repeats feel confusing, my complete guide to reading crochet patterns breaks everything down clearly.
Buy the Full Pattern
The full downloadable PDF includes the complete rustic beanie pattern in sizes 12 months to adult, so you can make matching hats for children and grown-ups. It gives you a cleaner crochet experience with printable formatting, step-by-step sizing, and no ads or distractions.
Bundle and Save
Building your crochet pattern library? Save when you buy more than one pattern.
Save 20% on 3 items with code MBUY20
Save 10% on 2 items with code MBUY10
Want More Easy Crochet Patterns?
Take a look at more Simple Cochet Patterns.

Happy Crocheting!
I would love to see your makes — please share with me using #PeanutandPlum.