Crochet Pattern -Longline Merino Cardigan
Crochet Cardigan Pattern
Oversized Merino Raglan Cardigan Crochet Pattern
Merino Raglan Cardigan Crochet Pattern
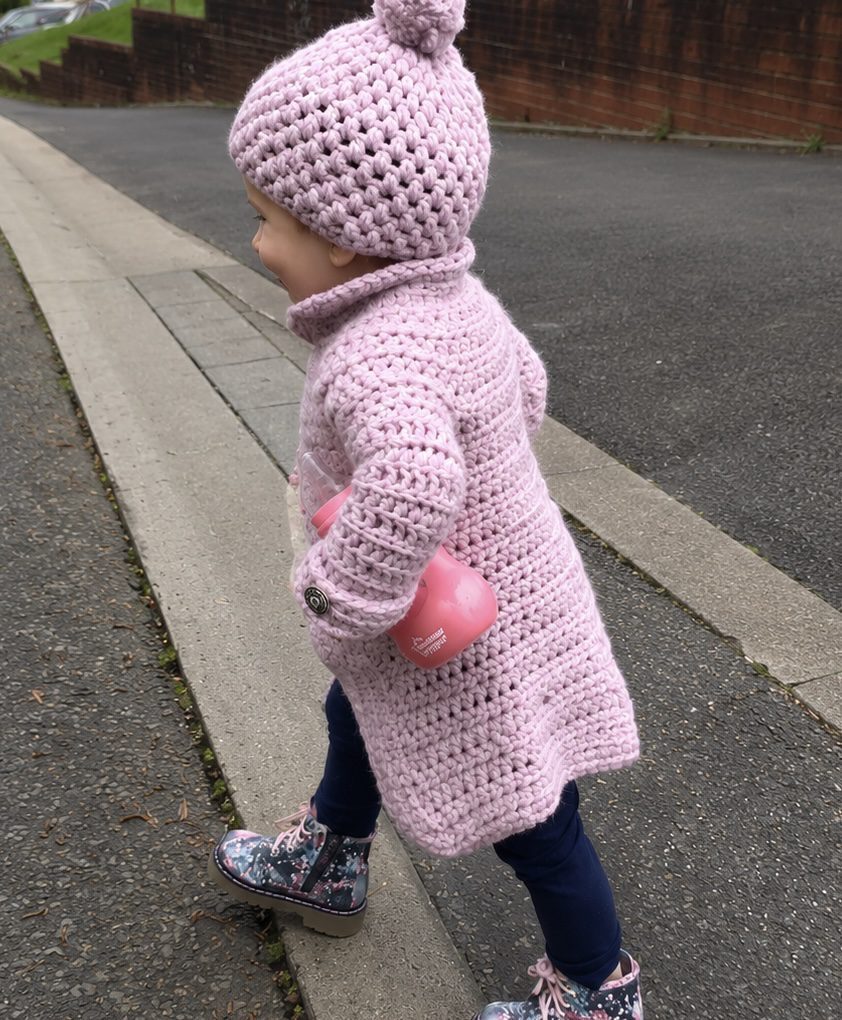
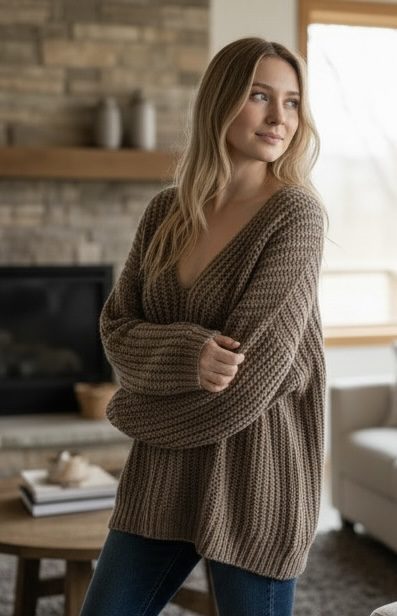
A cosy oversized Crochet cardigan pattern with raglan shaping, soft merino texture, elegant curved edging, and a relaxed wearable fit. Designed for comfort and warmth, this timeless layer works beautifully from toddler sizes right through to adults.
This pattern is ideal if you want a warm handmade cardigan that feels practical, comfortable, and beautifully wearable. The top-down raglan construction makes it easier to adjust as you go, while the chunky hook gives the finished cardigan a soft relaxed drape without the project feeling endless. It’s the kind of cardigan you can throw over everything and still feel properly put together.
This post includes affiliate links. These links are carefully chosen by me to help make your Crochet project as simple and enjoyable as possible. If you purchase through one of these links, I may earn a small commission at no extra cost to you.
Quick Pattern Info
Skill level: Easy / Medium
Yarn: Debbie Bliss Cashmerino Chunky
Hook: 10mm
Gauge: 6 sts x 6 rows HDC = 4” square
Construction: Top-down raglan cardigan with curved edging
Sizes: 18 months to Adult Large
Terms: US terminology
What’s Included
The printable PDF includes clear step-by-step instructions, raglan shaping guidance, stitch explanations, sizing from toddler to adult, and support for adjusting fit, length, and sleeve style so you can make a cardigan that feels comfortable and wearable.
Why You’ll Love This Cardigan
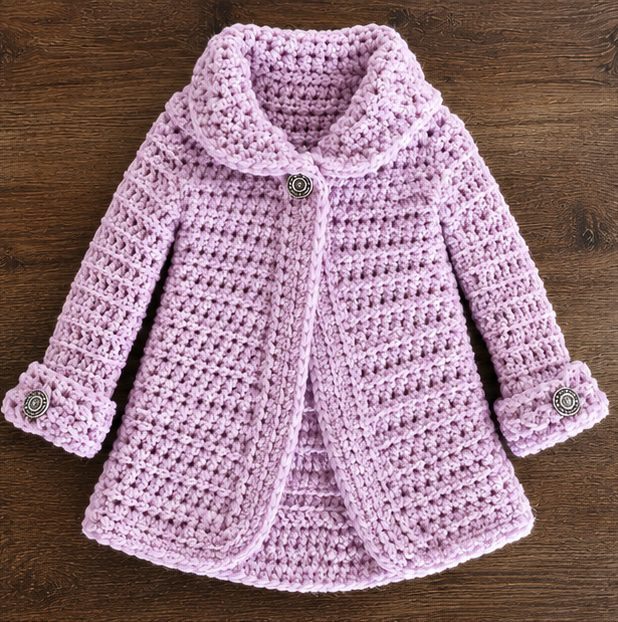
This cardigan combines everything people love about handmade Crochet clothing — softness, warmth, comfort, and effortless style. The oversized raglan fit makes it easy to layer, while the curved edging and folded collar give it a polished boutique-style finish.
Because it is worked from the top down, you can try it on as you go and adjust the fit more easily than a seamed garment. The 10mm hook also makes it a satisfying project that works up surprisingly quickly despite its cosy oversized shape.
How the construction works: the raglan shaping is built with simple increases around the yoke, creating comfortable shoulder shaping without bulky seams. The body and sleeves then grow from that foundation, giving the cardigan a soft relaxed shape that can be customised as you crochet.
The folded collar, curved edging, and button cuff sleeve details give this cardigan a finished look without making the pattern feel too complicated. It is a lovely next step if you have made scarves, blankets, or simple wearables and want to move into Crochet clothing with more confidence.
Key Features
- Top-down raglan construction
- Folded oversized collar
- Soft curved edging
- Button cuff sleeve details
- Relaxed oversized fit
- Toddler to adult sizing
- Beginner-friendly stitches
- Quick chunky-hook construction
Construction and Stitch Detail
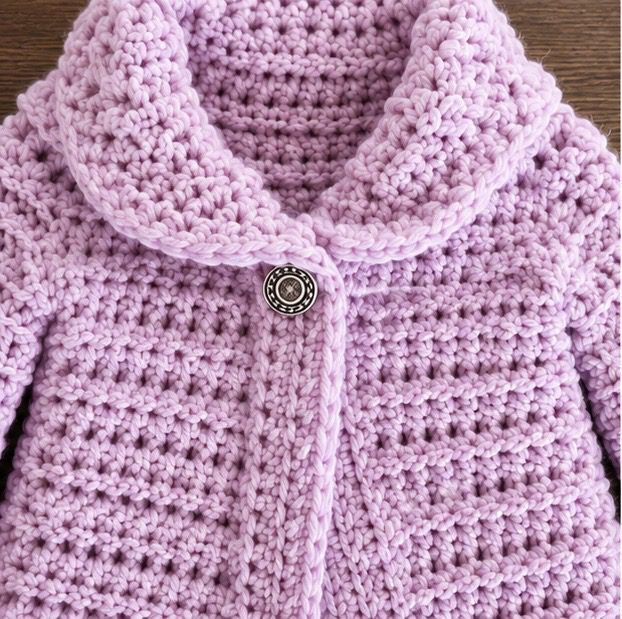
The cardigan uses simple Half Double Crochet and Single Crochet stitches throughout, making it approachable even if you are newer to Crochet garments. Half Double Crochet creates a soft dense fabric with gentle stretch, while Single Crochet helps add structure around the edging, cuffs, and shaping areas.
The raglan shaping is created through easy increases, giving the cardigan a comfortable fit around the shoulders without bulky seams. Because the construction is repetitive and relaxing, this pattern is ideal if you want your first wearable Crochet project without lots of complex shaping.
Technique detail: top-down raglan cardigans are helpful because you can check length, sleeve fit, and overall drape as the project grows. This makes it much easier to personalise the cardigan, especially when making it for children or adjusting between sizes.
The Yarn and Feel
Debbie Bliss Cashmerino Chunky gives this cardigan a soft luxurious feel while still keeping enough structure for the oversized shape. The merino and cashmere blend creates warmth without heaviness, making this the kind of cardigan you will keep reaching for throughout colder months.
The chunky yarn and larger hook create a fabric that feels cosy, soft, and flexible. It has enough drape for an oversized cardigan, but still enough body to hold the collar, edging, and raglan shape neatly.
If you substitute yarn, aim for something soft rather than stiff. A rigid chunky yarn can make the cardigan feel boxy, while a softer wool blend, premium acrylic, or gentle chunky blend will usually give a more wearable finish.
Yarn Alternatives
If you cannot source the original yarn, these chunky yarn alternatives can create a similar cosy finish while keeping the cardigan soft and wearable. Always check gauge before starting, especially because cardigan fit can change quickly with chunky yarn and a large hook.
- Debbie Bliss Cashmerino Chunky
- Paintbox Yarns Simply Chunky
- Stylecraft Special Chunky
- Browse chunky yarn on LoveCrafts

For the best result, look for a chunky yarn that feels soft in the hand and has enough movement for clothing. Merino and wool blends give warmth and bounce, premium acrylics can be more budget-friendly and easy-care, while cotton blends may feel heavier and less stretchy.
Shop the Full Supply List
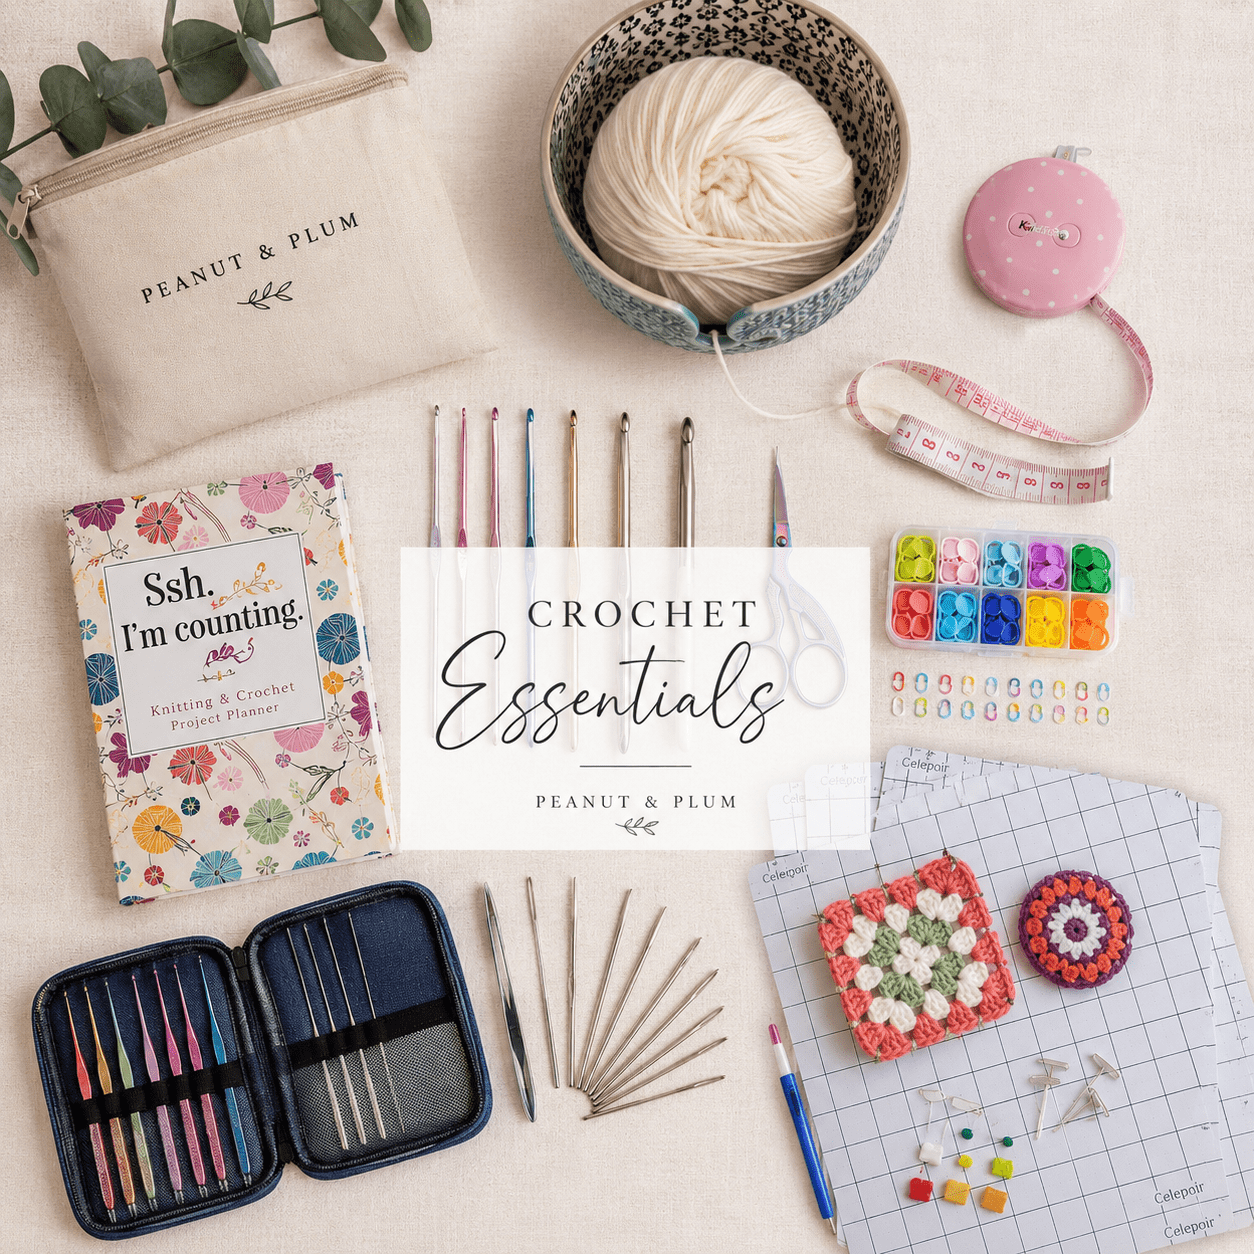
I’ve linked useful Crochet tools and supplies for this project, including larger hooks, stitch markers, yarn needles, scissors, and finishing tools to make getting started nice and simple.
Everything is gathered in one easy place on Amazon so you can get started without hunting around.
Stitches Used in This Merino Raglan Cardigan
This Crochet cardigan uses simple stitches and top-down raglan shaping to create a warm, flexible, wearable fabric. The pattern is written in US Crochet terms, with UK equivalents included below to help you understand the stitch names.
UK Crochet Terms
Chain: Used to begin sections, shape rows, and create the foundation of your work.
Double Crochet: Insert hook into the stitch, yarn over, pull up a loop, yarn over and pull through both loops on the hook. This is the UK equivalent of US Single Crochet.
Half Treble Crochet: Yarn over, insert hook into the stitch, yarn over, pull up a loop, yarn over and pull through all three loops on the hook. This is the UK equivalent of US Half Double Crochet.
Slip Stitch: Insert hook into the stitch, yarn over and pull through the stitch and the loop on your hook. This is often used for joining or creating neat edges.
US Crochet Terms
Chain: Used to begin sections, shape rows, and create the foundation of your work.
Single Crochet: Insert hook into the stitch, yarn over, pull up a loop, yarn over and pull through both loops on the hook. This creates firm structure around edges and shaping.
Half Double Crochet: Yarn over, insert hook into the stitch, yarn over, pull up a loop, yarn over and pull through all three loops on the hook. This is the main stitch for the soft cardigan fabric.
Slip Stitch: Insert hook into the stitch, yarn over and pull through the stitch and the loop on your hook. This is often used for joining or creating neat edges.
The cardigan’s soft finish comes from using simple stitches with consistent tension. Keep your stitches relaxed and even, especially when working the yoke and sleeves, so the cardigan keeps its drape without becoming stiff.
Using Different Yarn Fibres and Weights
This cardigan was designed with a soft merino-style chunky yarn and a 10mm hook, which gives the finished garment its warm, drapey and slightly luxurious feel. You can use other yarns, but the fibre and weight you choose will affect the finished size, stretch, warmth and overall look of the cardigan.
Merino and Wool Blends
Merino, wool and wool-blend yarns are ideal for this pattern because they give warmth, bounce and a beautiful natural stretch. They help the raglan shaping sit nicely on the shoulders and make the cardigan feel cosy without looking bulky. Wool blends may relax slightly after blocking, so always check gauge before starting.
Acrylic and Easy-Care Yarns
Acrylic chunky yarn can work well if you want a more budget-friendly or machine-washable cardigan. It may create a slightly lighter fabric with less natural stretch than wool, so check your measurements as you go. A soft premium acrylic or acrylic blend will usually give the best result for clothing.
Cotton and Cotton Blends
Cotton can make the cardigan feel heavier and less stretchy. It may create lovely stitch definition, but it will not have the same bounce as merino or wool. If you use cotton, choose a soft cotton blend rather than a firm dishcloth-style cotton, and be careful with length because cotton garments can grow with wear.
Changing Yarn Weight
If you use a thinner yarn, your cardigan may come out smaller unless you adjust your hook size, stitch count or rows. If you use a thicker yarn, the cardigan may become larger, heavier and bulkier, especially around the collar and sleeves. Always make a gauge swatch and compare it to the pattern gauge before committing to your size.
Tip: if your stitches are too tight, go up a hook size. If your fabric feels too loose or the cardigan is growing too large, go down a hook size. The goal is a fabric that feels soft and flexible but still has enough structure to hold the cardigan shape.
Common Mistakes to Avoid
- Using stiff chunky yarns that remove the cardigan drape
- Skipping gauge checks when substituting yarn
- Over-tightening the neckline or collar area
- Adding too much sleeve length before checking fit
- Hanging the finished cardigan instead of folding it
Skill builder: this pattern helps you practise garment sizing, raglan shaping, sleeve adjustment, and yarn substitution while still using simple stitches.
Finished Sizes
Sizes included: 18 Months, 2T, 3–4 Years, 5–6 Years, Child Small, Child Large, Adult Small, Adult Medium, and Adult Large.
Gauge: 6 sts x 6 rows of HDC = 4 x 4” square.
Because this cardigan is designed with a relaxed oversized fit, always compare your gauge and preferred finished measurements before choosing a size. If you are between sizes, consider how much layering room you want and how much your chosen yarn relaxes with wear.
Need Extra Help?
Stuck On Your
Cardigan?
If you get stuck on raglan increases, sizing, sleeve shaping, stitch pattern, construction, or adjusting the fit, you can book a 30-minute 1:1 Crochet help session and work through it properly together.
Perfect if you prefer personalised help instead of spending hours trying to figure things out alone.
Book 1:1 Crochet HelpNew to Crochet Clothing?
If garment patterns feel confusing, my complete guide to reading crochet patterns breaks down terminology, repeats, sizing, and layout so everything feels much easier to follow.
If you’re newer to cardigan making, you may also find it helpful to read through my Crochet Pattern Reading guide to understand sizing, repeats, and layout before starting.
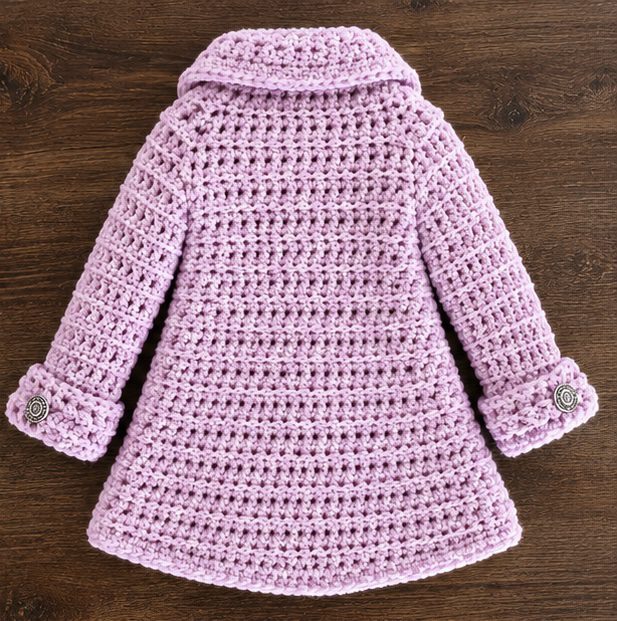
Ready to Get Started?
Grab the pattern, check your yarn and tools, and keep everything simple before you start.
The downloadable PDF gives you a cleaner crochet experience with structured, step-by-step instructions, printable formatting, and no ads or distractions — so you can focus fully on making your cardigan with confidence.
Prices may be slightly higher on other platforms due to selling fees.
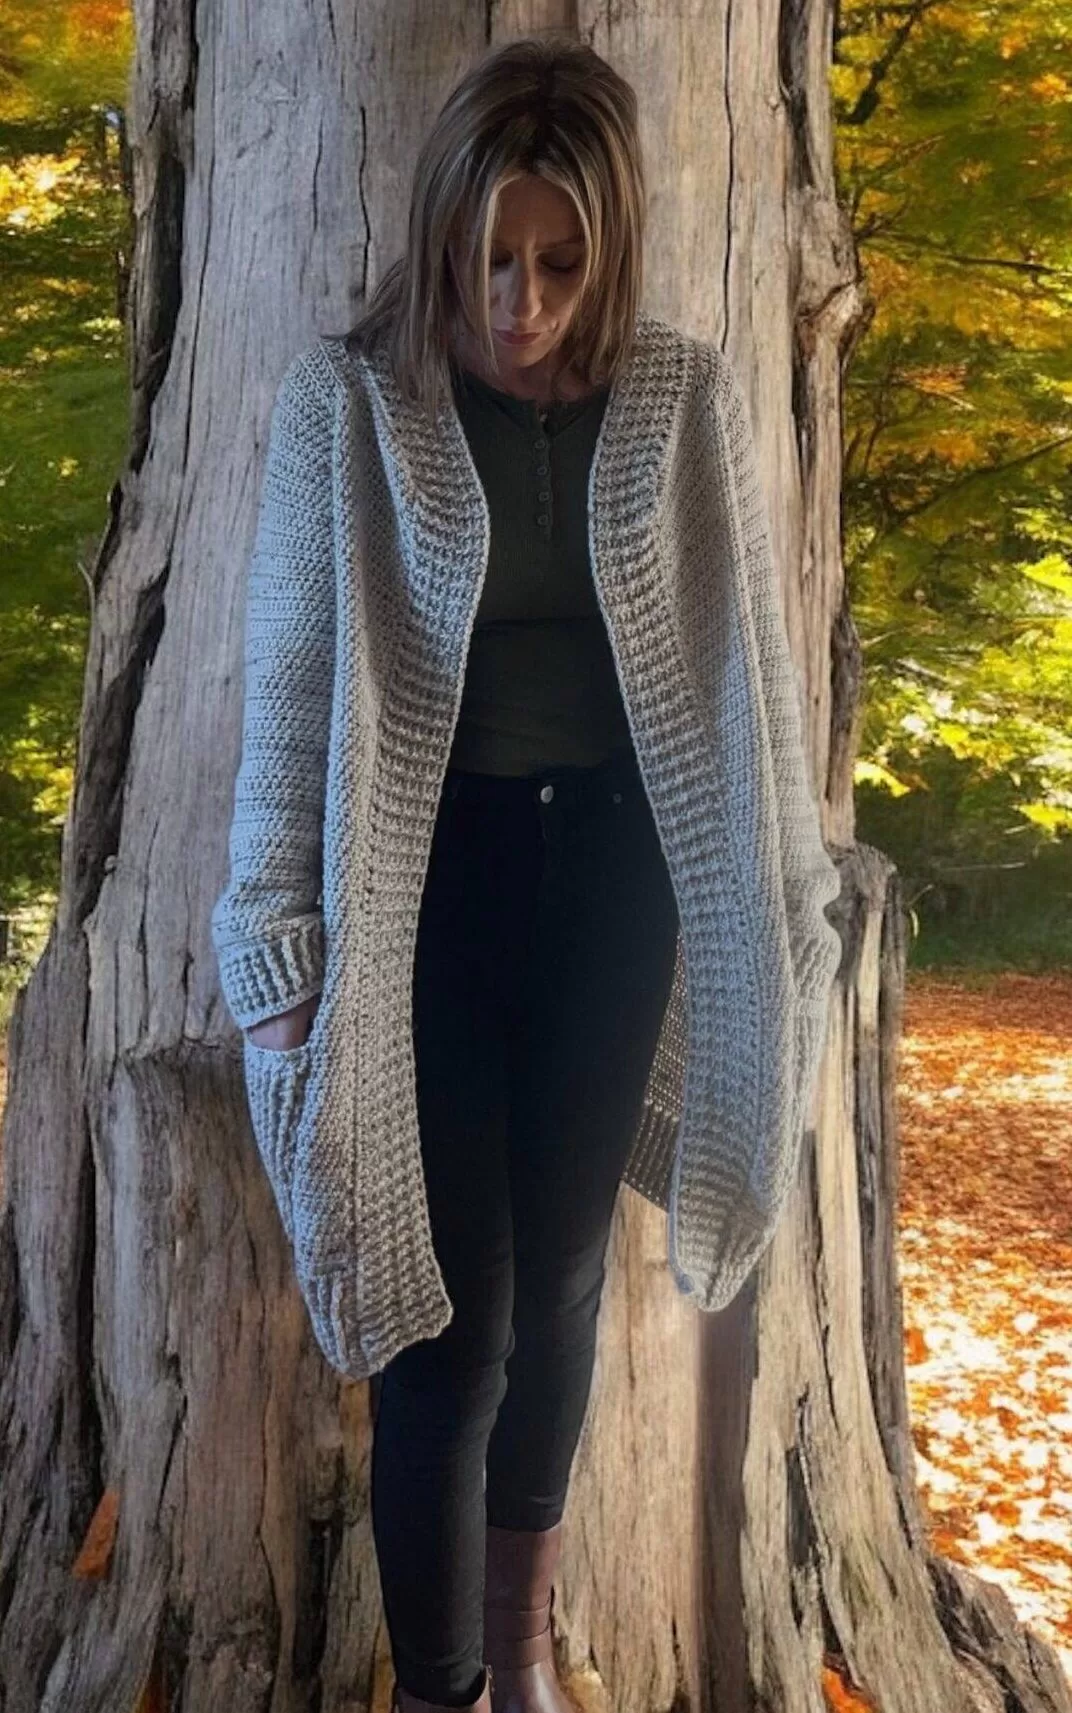
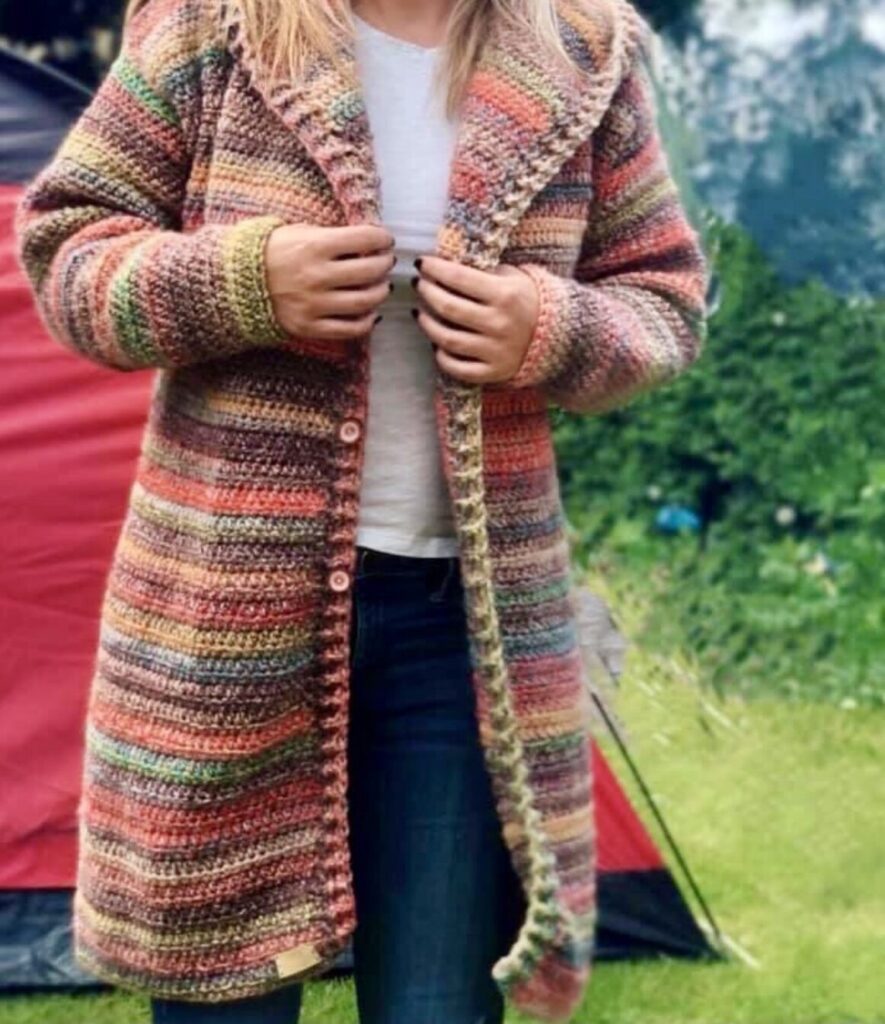
Want More Crochet Cardigan Patterns?
Take a look at these Crochet cardigan and cosy layer patterns for more inspiration.
Happy Crocheting!
I’d love to see your finished cardigan. Share your makes with #PeanutandPlum.
Peanut & Plum
Follow

Hi!
In the coat body section, repeat row 2-3…there seems to be no row 3? Is it the second row 2?
Thanks so much for your help!
Hi, yes it is. I need to amend this. Thanks
Hi. Is the pattern us US of UK format. A size 10mm crochet hooks seems very big ??
Many thanks
Hi, it is written US terms.
You will use a 10mm hook as pattern is made with super chunky yarn.
Thanks
Emma
Hi there, it’s a long time since I crocheted! With the WS and RS is that just to remind me what side I am on or do I have to not turn the work to remain on the WS, I’m referring to the body section second and third row? Many thanks.
Hi, yes it’s a guide really to show you are on track. If there are markers in place etc to check you are working correct row.
Thanks
Emma
Hi there. I’m fairly new to crochet so forgive me if this is a simple answer haha. How do you work the (7, 8, 10, 11, 13, 14, 16, 17 hdc) in the body section?
Hi, this was a typing error. Thanks for pointing out to me. I have edited for you! Thanks Emma
Hi, so I already messed up and I am just finished row 5 so a frogging we will go. lol… but when moving the stitch marker do I place it in the start of the 2nd increase? I put it in the last of the increases and now I am super off center.
Hi, you will place the marker in the first stitch of the increase (directly above the marked stitch of previous row).
Hope this helps.
Thanks
Emma
The link to buy the pattern doesn’t work. Where can I buy it?
Hi, thanks for letting me know. It should be working ok now.
The pattern seems to be missing the instruction for Row 1 of the Sleeve Space.
Hi, thank you for letting me know 😊 I have amended this now x
I noticed it’s missing gauge and was wondering if you could possibly add the gauge I love this it’s adorable ❤️