
Majestic Crochet Mermaid Tail
Crochet Blanket Pattern
Mermaid Tail Crochet Blanket Pattern
How to Crochet a Mermaid Tail Blanket
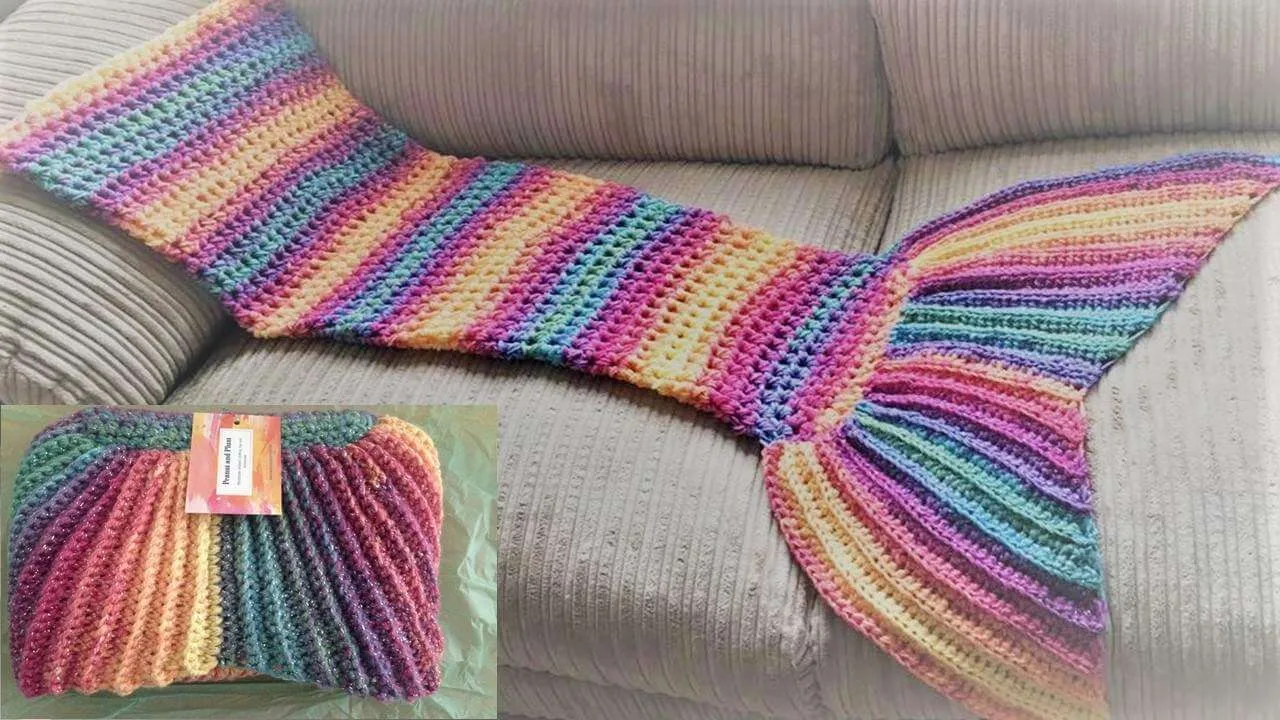
A cosy Crochet Mermaid Tail Blanket pattern with photo tutorial, written for sizes toddler through to adult. This beginner-friendly blanket is made mainly with half double crochet, creating a warm, soft, lightly textured finish that works beautifully for cosy evenings, handmade gifts, winter sofa snuggling, and relaxed weekend makes that still feel special.
This pattern is ideal for beginners who want to build confidence while creating something genuinely useful. The structure is simple and repetitive, making it perfect for winding down in the evenings or working on in short bursts. The shape builds gradually with clear increases, then finishes with a separate fin that gives the blanket its signature mermaid look. It’s one of those projects you start for fun and end up using constantly.
Quick Pattern Info
Skill level: Beginner
Sizes: Toddler / Small Child, Junior / Teen, Small Adult / Adult
Main stitch: US Half Double Crochet
Yarn: 2 strands of DK yarn or 1 strand of super bulky
Yardage: Approx. 800 / 1100 / 1800 yards
Construction: Worked from the bottom upwards with a separate fin
What’s Included
Step-by-step written pattern, photo tutorial, sizing from toddler to adult, stitch abbreviations, clear half double crochet guidance, gauge notes, and structured instructions for both the body and fin.
Why You’ll Love This Mermaid Tail Blanket
Mermaid tail blankets are warm, playful, and just a little bit dramatic in the best possible way. This version uses half double crochet, which creates a soft, cushioned fabric with enough density for warmth while still working up at a comfortable pace.
How to work half double crochet: yarn over, insert your hook, yarn over and pull up a loop, then yarn over again and pull through all three loops on the hook. The stitch creates a smooth, slightly raised texture that feels soft and flexible without becoming stiff. Tip: keeping your yarn tension consistent helps maintain that clean, even finish.
The body gradually increases to form the classic tail shape before the fin is added separately. This keeps the main blanket straightforward while still giving the finished piece that fun mermaid silhouette. Tip: always move your stitch marker as you go — it keeps your rounds accurate and saves unpicking later.
Key Features
- Beginner-friendly construction
- Sizes from toddler to adult
- Warm, soft, practical blanket design
- Simple shaping for a clean silhouette
- Photo tutorial support
The Yarn and Feel
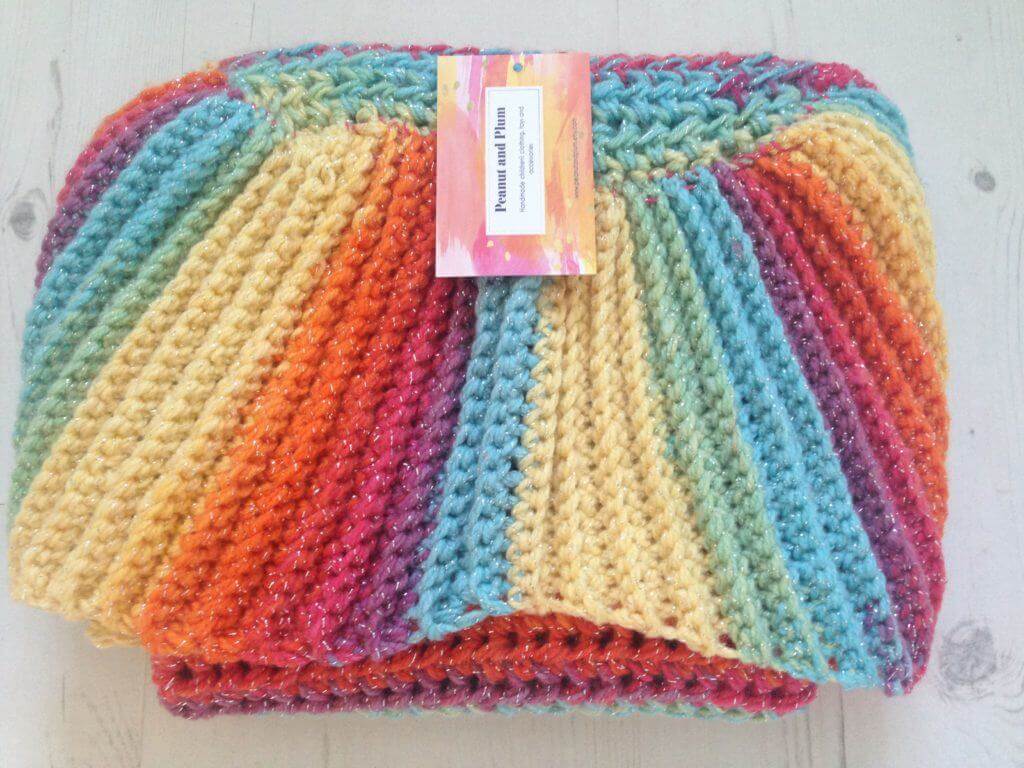
This blanket was originally made using Magic Light yarn, a colour-changing DK yarn that creates a natural blended effect without needing to switch colours manually. The gradual colour shifts give the finished blanket a fluid, almost underwater feel, which works beautifully with the mermaid shape.
Using two strands held together creates a thicker, warmer fabric while maintaining softness. The stitches sit closely together, improving insulation while still allowing the blanket to drape comfortably around the body. Tip: aligning both strands at the same colour point helps keep the colour flow smooth.
The finished fabric feels plush, slightly weighty, and cosy without becoming overly bulky — ideal for wrapping up properly on colder evenings, film nights, or handmade gifts that actually get used.
Common Mistakes to Avoid
- Forgetting to move the stitch marker
- Starting yarn strands at different colour points
- Working stitches too tightly in the fin
- Skipping gauge checks
Skill builder: this pattern helps develop tension control, working in the round, and simple shaping through increases.

Mermaid Tail Pattern Sizes
Toddler – Small Child
Junior – Teen
Small Adult – Adult
Materials
Yarn: 2 strands of DK yarn held together or 1 strand of super bulky yarn.
Yardage: Approx. 800 / 1100 / 1800 yards depending on size.
The yarn choice gives this blanket its warmth, softness, and gentle structure. Holding two DK strands together creates a fuller fabric that keeps the tail shape clear while still giving enough drape for comfort.
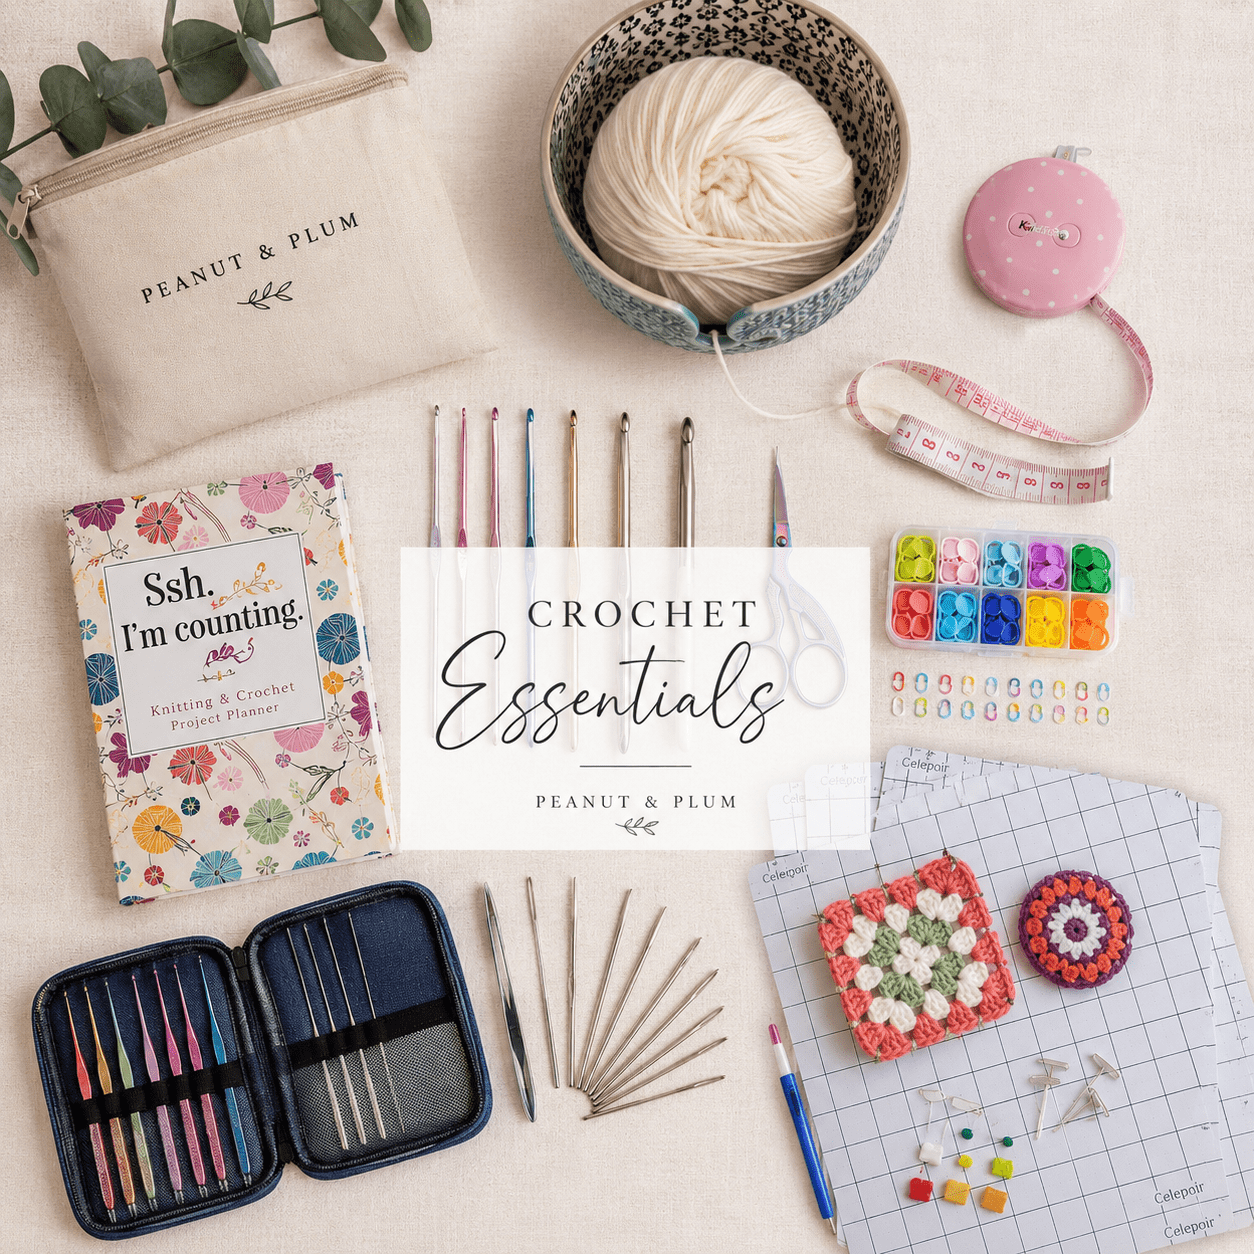
Shop the Full Supply List
I’ve linked the exact Crochet tools and supplies used for this project, including hooks, stitch markers, yarn needles, scissors, and blocking tools to make getting started nice and simple.
Everything is gathered in one easy place on Amazon so you can get started without hunting around.
Stitch Abbreviations
CH – Chain, SL – Slip Stitch, SC – Single Crochet, HDC- Half Double Crochet, HDCBLO – Half Double Crochet Back Loop Only
Back loops only: working into the back loop means placing your hook under the back loop of the stitch instead of under both loops. This creates a subtle ribbed texture that adds flexibility and shaping, especially in the fin. It gives the fabric a slightly ridged look without making it bulky.
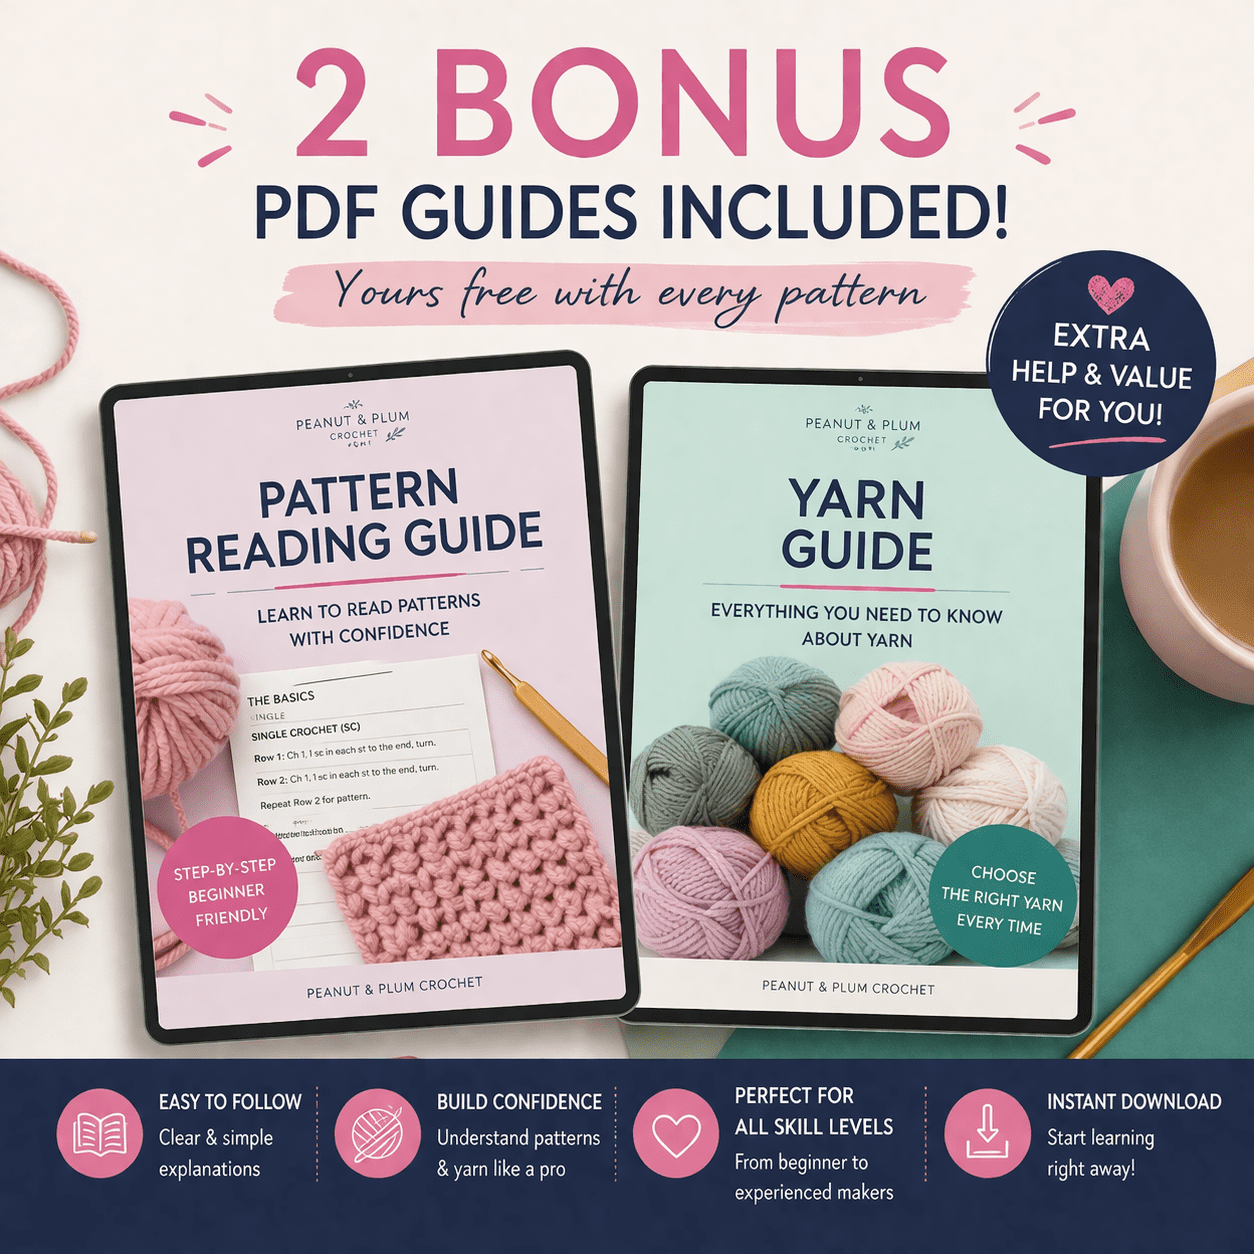
Bonus PDF Guides Included
When you download the pattern, you’ll also get access to my bonus crochet guides designed to make your projects easier and more successful.
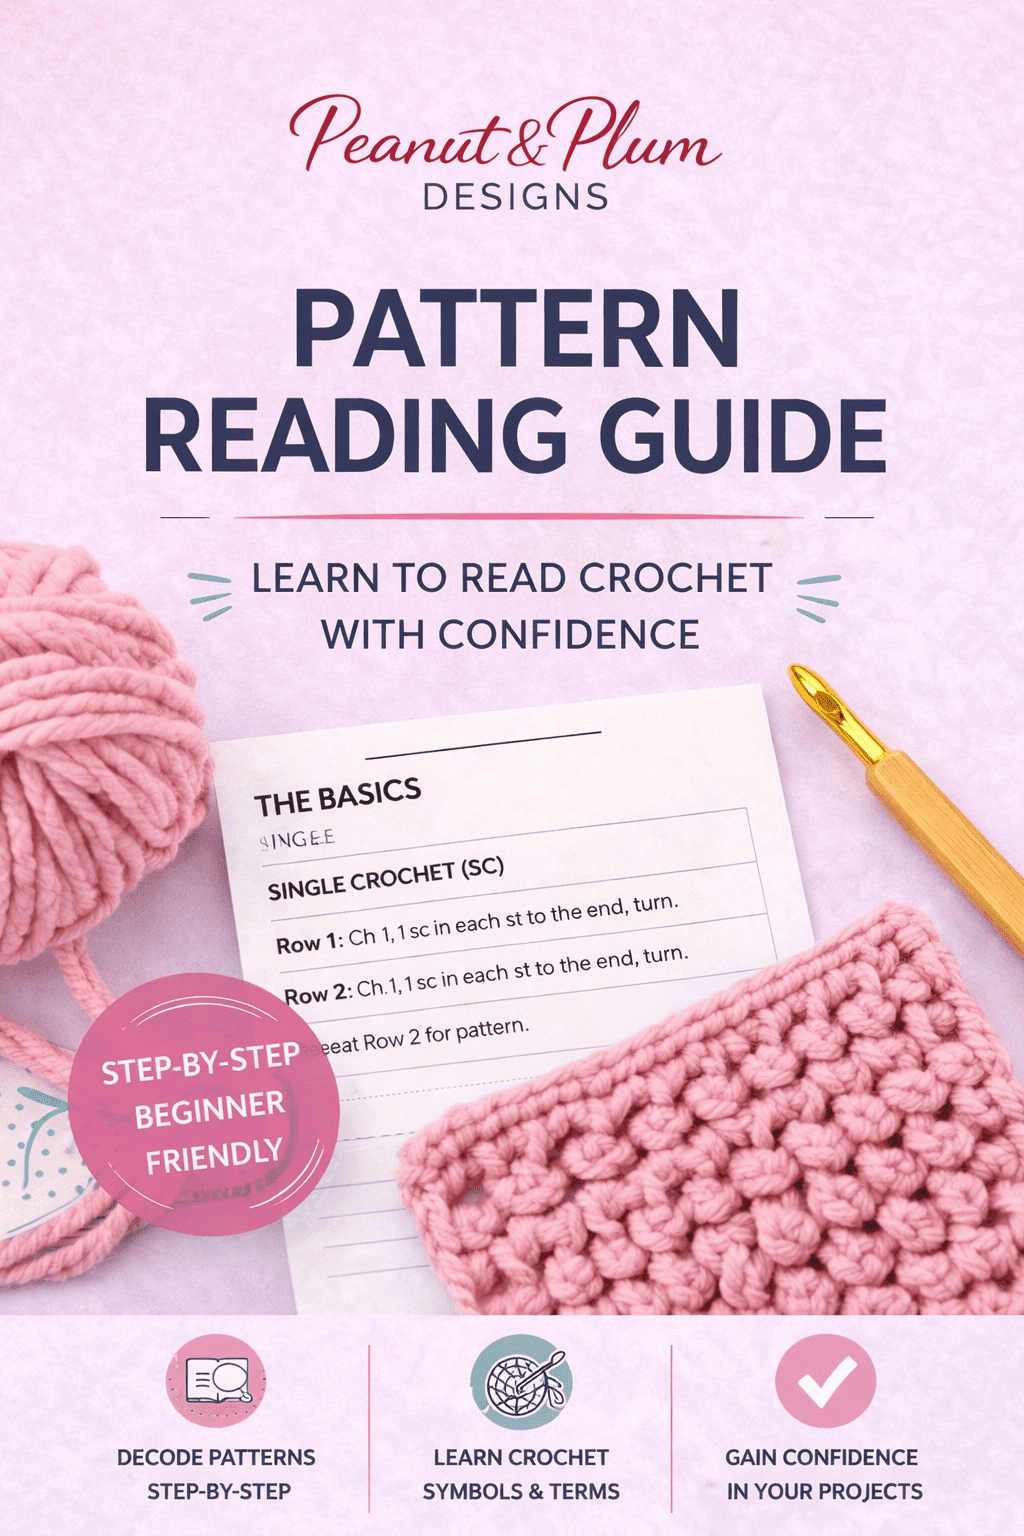
- Pattern Reading Guide: Learn how to understand repeats, sizing, abbreviations, and structure so patterns feel clear and easy to follow.
- Yarn Guide: Understand yarn weights, fibres, drape, and how they affect your finished project so you get the result you actually want.
These are designed to remove the guesswork and help you crochet with confidence, whether you’re just starting out or refining your skills. Tip: having these open alongside your pattern makes following instructions much smoother.
If you’re new to reading crochet patterns, you may find my complete Crochet Pattern Reading Guide helpful before you start.
Gauge
10 HDC x 10 rows = approx. 7″.
Gauge matters most for fit and finished length. A slightly tighter tension will create a firmer blanket, while looser tension may make the blanket larger and more drapey. Tip: check your gauge before starting the main body so the finished tail matches the size you want.
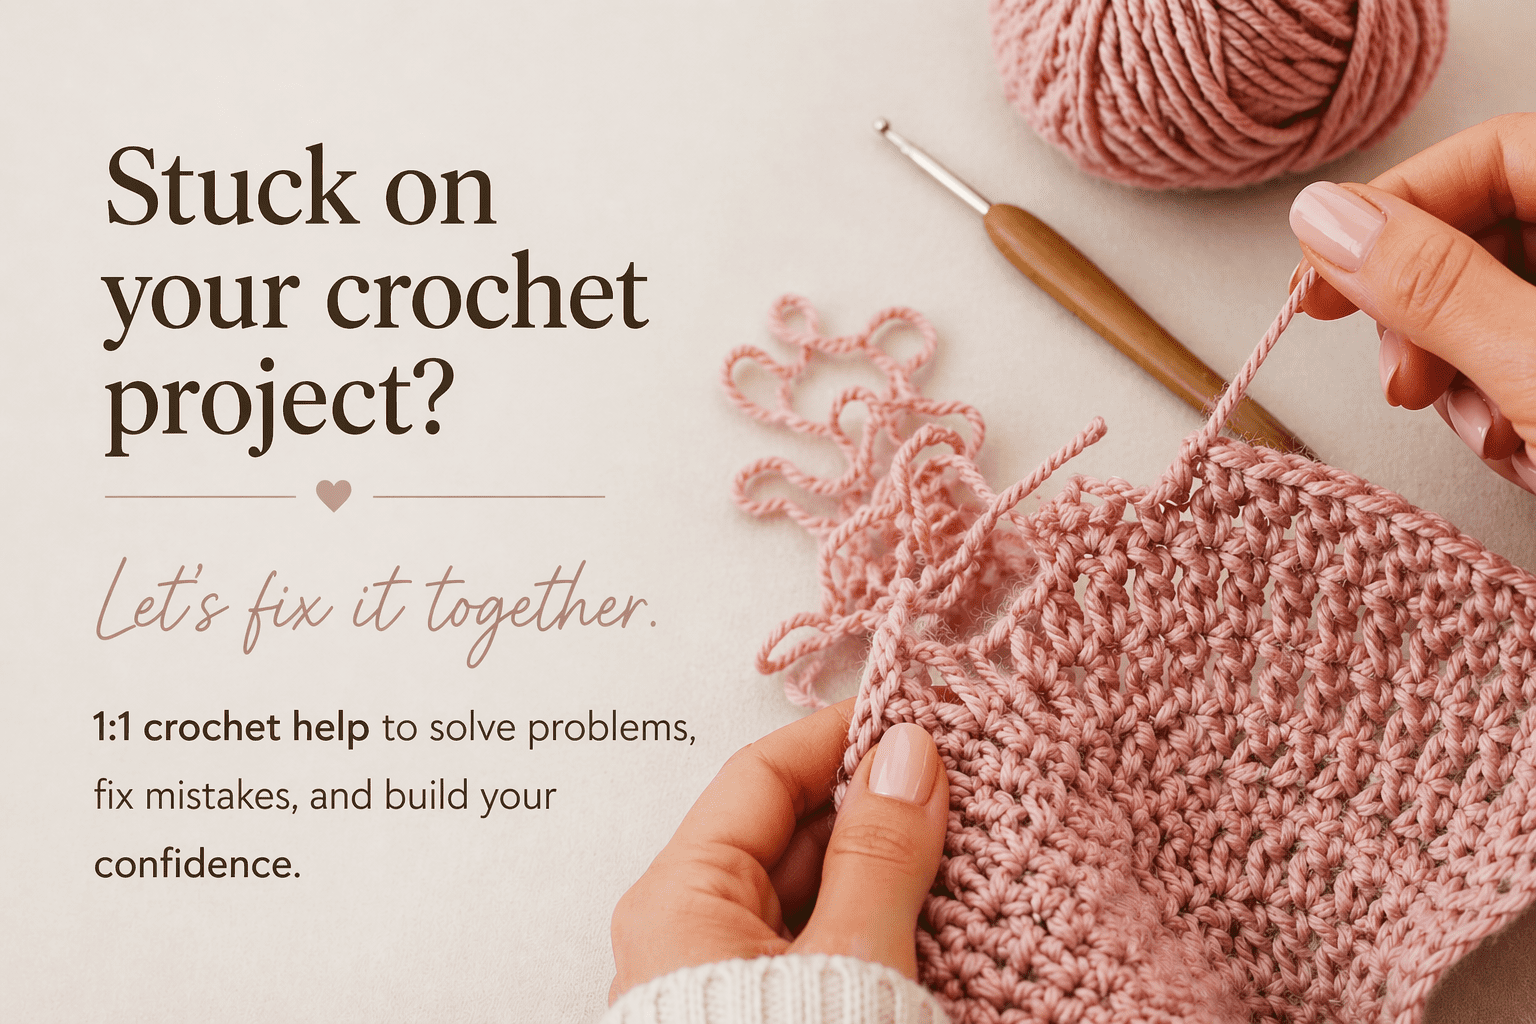
Need extra help?
Stuck on your blanket?
If you get stuck on sizing, stitch count, shaping, working in the round, or understanding the instructions, you can book a 30 minute 1:1 crochet help session and work through it properly.
New to Reading Crochet Patterns?
If pattern abbreviations, repeats, sizing, and stitch counts feel confusing, my complete guide breaks everything down clearly so you can follow crochet patterns with more confidence.

Buy the Pattern
The downloadable PDF gives you a cleaner crochet experience with structured, step-by-step instructions, printable formatting, photo support, and no ads or distractions — so you can focus fully on making your mermaid tail blanket with confidence.
Prices may be slightly higher on other platforms due to selling fees.
Want More Easy Crochet Patterns?
Take a look at more Crochet Patterns, stitch guides, and helpful beginner resources on Peanut & Plum.
Happy Crocheting!
I’d love to see your finished blanket. Share your makes with #PeanutandPlum.


Just downloaded this pattern and can’t wait to make it. My granddaughter will love it. Could you please clarify something for me? On the stitch numbers on each row, which ( ) number is for the teen size. Thank you,
Kathryn
Hi, oh lovely! I am sure that she will 🙂 for Teen it is the 3rd number in size the last of the sizes. Thanks
I purchased yarn from you for this mermaid tail blanket (to make 2) and saved directions and ordered 25 mm hook as required. Now ready to start and directions are totally different and hook sizes are smaller and strand changed from 4 to 2. I’m so confused and frustrated. What happened to original directions and why the change? Which are correct?
Hi, this is a pattern for those not wanting to use 25mm hook. Also this is a full pattern with sizes.
You will need to follow the pattern “one evening mermaid blanket” for your desired pattern.
Thanks Emma
On the Adult size Row 56 you say to count in 3 stitches. Does that mean that you skip them? Or do you do hdc’s in each of them & then in the 4th you do 2 hdc’s. If you skip then you would be decreasing & I think at that point you should be increasing. Can you tell me which is correct?
Hi, yes you hdc 3 and then increase. I will edit the pattern. Thanks for pointing this out for me. Emma x
Hi I am from the UK and I am getting very frustrated trying to get the fun correct please could you tell me what this should be in UK terms please many thanks
Hi Marichu, I’m not sure what you mean by fun? (Is that autocorrect) if you mean terms then you can crochet a half double crochet (hdc) US / half treble crochet (dtr) UK. Wrap the yarn round the crochet hook. Insert the hook in next stitch and wrap the yarn round the hook. Pull the yarn through, leaving 3 loops on your hook. A single crochet US is a UK double crochet.
Hope this helps!
Emma
What size would I use for a girl that will soon be 7? She is very tall for age! I want he to be able to use it for a long time!
Thanks again
Hi, a junior should be just fine. That is 35″ a Teen is 40″ you can measure from under arm to floor to make sure you have correct height if you would like a bit longer. Thanks
Hi which of the color of yarn did you use? I love the way it looks! What size was yours? Also how many sheins of yard did you use?
Thank you so much
Hi,
Thanks for getting in touch. We don’t have in stock the colour I used for pattern. I have used this one https://peanutandplum.yarnshopping.com/products/s.magic-light#inc632 as well it’s what I call “Rainbow” it gives a lovely finish. If you prefer more pink or yellow etc there are a lot of different colour mixes in my store. Just go to yarn store and search “Magic light”. Hope this helps. Thanks
What does dc/sc mean in instructions? Both or either?
Hi, that is UK and US terms. UK being first. Thanks
Does sc/dc crochet mean do both ? And how many stitches for a longer full fin?
Hi, no this is uk/us terms.
Thanks
In the instructions for tail, what does dc/sc mean?
I know my Granddaughter is going to love this!
Thank you,
Donna
Hi Peanut and Plum,
Could I ask what color yarn you chose from the 15 choices of Magic Light yarn? It’s just beautiful and I’d love to make one (almost) identical to yours for my 6 year old 😀 Thank you for providing such a BEAUTIFUL pattern and sharing with us 🙂
Hi Kristen,
Thanks 😊 I am glad you like it! I used this one Magic Light Yellow Purple Pink Green Blue. It really is a beautiful colour combination, but it is so hard to choose!!
hi i am making this pattern. if i increase 2hdc on both sides and then next row no increase all the way up, will this work out?
Hi Jane,
I am not sure, you could always try it. I have alternated rows to get the right shape gradually and at the main points like thighs etc.
Do you have the left handed instructions also.
Hi, very sorry I don’t. It’s something I could look into another time. I have not written a left handed pattern before.
Hi there- what a gorgeous pattern!
My daughter loves it, so I think I may make one for her birthday, but I was just wondering about the amount of yarn needed. If I am making an adult size, I am guessing that is the 1800 measurement? However, if I buy the magic light I will need to use double strands- so do I buy enough for 3600 yard? Or will it just be 1800?
Thanks 🙂
Hi Olivia, glad you like the pattern 😊 You would need to double the amount you need for each size. 1800 would be an adult and you would use 1800 if you use chunky yarn. Thanks for contacting me, I will write this into pattern. If you need anymore help let me know x Emma
On the tail part of the pattern, do you sc in the back loops of all rows or just the row 2 repeat?
Hi Sara, sorry I will edit this. You will Sc in back loops for all rows. It will create the nice ridges you can see in tail.
Hello. I was curious if you mind if we sell our own creations from your patterns. I am considering opening a shop using some of my own patterns but I am very much in love with this. If not I understand 🙂
of course giving credit to you for the pattern in turn.
Hi Kelly, I don’t mind you selling the items you make from my patterns. please see pattern details on how to obtain license to sell products made with this pattern. If you would like to share this free pattern I just ask that you credit back to me and link to my page, this helps me continue to give all of my patterns for free.
Please subscribe to my page and I can keep you up to date with all my new free patterns. I will also be offering free items in exchange for reviews. I would love to see your items when you have finished. Good luck with the shop!
What are the correct hook sizes please? Your mm and letter hook sizes don’t match up for example you list 6mm as an h hook but 6mm is a J hook and 9mm is definetly not an F hook.
Hi, the correct sizes are in mm. I have updated this in the pattern for you now. Thanks for question.
Good luck and I hope everything runs as smoothly as possible for you! I can’t wait to see more about it. fun and exciting!
So exciting! Congratulations on your new adventure! Gorgeous photos – you are going to do so great.
Aww this is absolutely gorgeous. I want one!